

Contents
Ceiling leaks can lead to more than just unsightly stains; they can compromise the structural integrity of your home. If you notice water pooling or discoloration, it’s vital to act quickly and methodically. Understanding the right cleanup strategies mitigates damage and protects against future issues. Let’s explore the essential steps you need to follow to effectively address and prevent ceiling leak damage.
Key Takeaways
- Assess and document damage types, including water stains and mold, to prioritize cleanup efforts effectively.
- Ensure safety by wearing protective gear and evaluating the environment for hazards before beginning cleanup.
- Remove excess water using a wet/dry vacuum and check for hidden moisture behind walls or ceilings.
- Address mold growth by cleaning affected areas with appropriate mold removers and improving ventilation.
- Perform necessary repairs promptly, using durable materials and consulting professionals for extensive damage.
Assessing the Damage
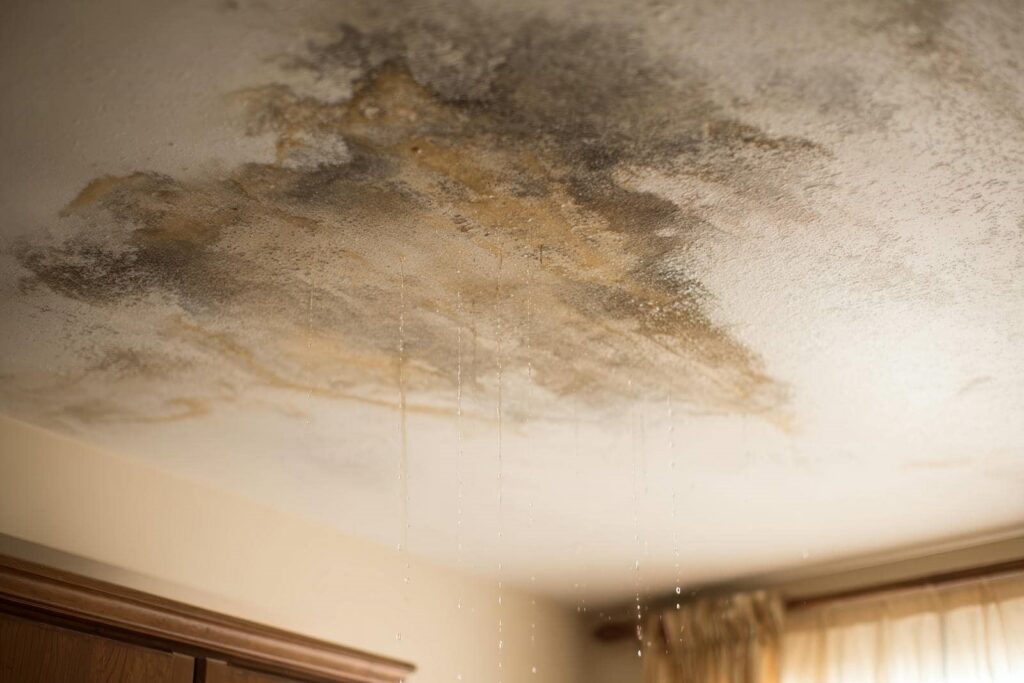
Before you can tackle the cleanup from a ceiling leak, it’s essential to assess the damage thoroughly. Start by identifying the damage types, which can include water stains, mold growth, and structural issues. A careful inspection of the ceiling and surrounding areas will help you determine the extent of the damage.
Look for discoloration, bubbling paint, or sagging sections, as these are indicators of water intrusion.
Next, perform a damage assessment of your belongings, such as furniture or electronics that may have been affected. Document everything with photos for insurance purposes. It’s important to note that different materials react differently to water exposure; drywall may be more vulnerable than wood beams.
Once you’ve completed your assessment, you’ll have a clearer picture of the situation and can prioritize your cleanup efforts. This methodical approach not only helps you act efficiently but also fosters a sense of community as you share your experiences with others facing similar challenges.
Ensuring Safety First
While you may be enthusiastic to start the cleanup process, ensuring safety should be your top priority.
Begin by evaluating your environment for hazards, such as electrical wires or mold, which can pose serious risks. Equip yourself with the right safety equipment—gloves, goggles, and a mask are essential for protecting yourself from debris and contaminants.
Always use personal protective gear when handling water-damaged materials to minimize exposure to harmful substances.
It’s wise to have a sturdy ladder if you need to reach high areas, ensuring it’s stable before climbing. If the leak is extensive, consider turning off your electricity and water supply to prevent further accidents.
Gathering Necessary Supplies
Once you’ve ensured a safe working environment, the next step is gathering the necessary supplies for effective cleanup.
Having the right tools on hand makes the process smoother and more efficient. Here’s what you’ll need:
Protective gear: Wear gloves, goggles, and a mask to shield yourself from potential mold and toxins.
Absorbent towels: These are essential for soaking up water and preventing further damage.
Mold cleaner: A good cleaning solution will help eliminate any mold growth that may occur from the leak.
Buckets or containers: Use these to collect excess water and debris, keeping your workspace organized.
Removing Excess Water
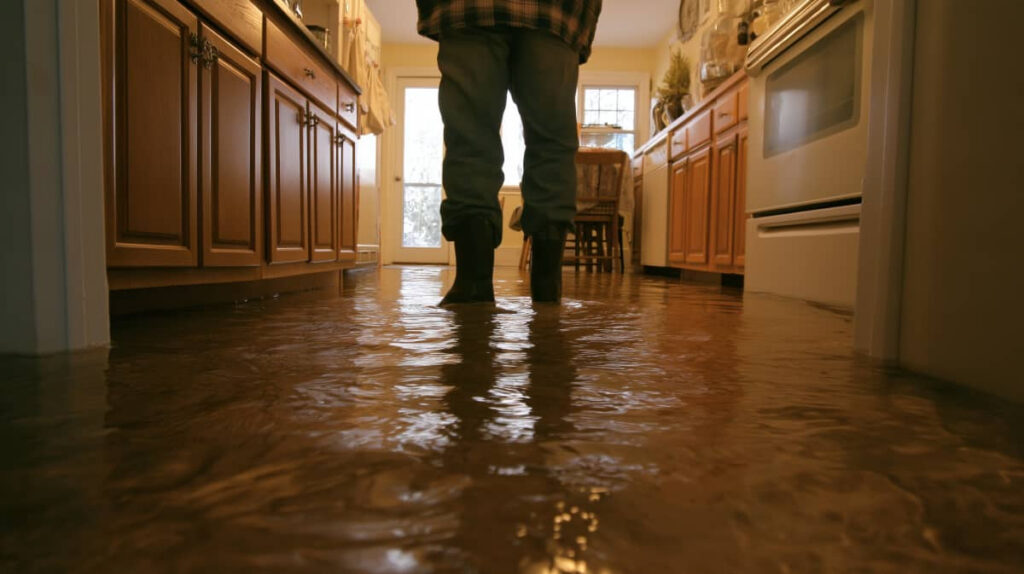
To effectively remove excess water, start by evaluating the leak’s source to prevent further damage.
Once you’ve identified the origin, use a water extraction method, such as a shop vacuum or a wet/dry vac, to eliminate standing water.
This critical step won’t only mitigate damage but also help in creating a safer environment as you move forward with repairs.
Assess Leak Source
As you begin the cleanup process for ceiling leak damage, it’s crucial to first identify and remove any excess water that may have accumulated.
Effective leak detection will help you find the water sources contributing to the problem. Here are four steps to guide you:
Inspect the ceiling: Look for visible signs of water stains or sagging areas.
Check plumbing fixtures: Examine any nearby pipes, faucets, or appliances that could be leaking.
Assess roof condition: If applicable, inspect your roof for missing shingles or damage that might allow water to seep in.
Monitor humidity levels: Use a hygrometer to verify there’s no excess moisture in the air, which can worsen damage.
Use Water Extraction
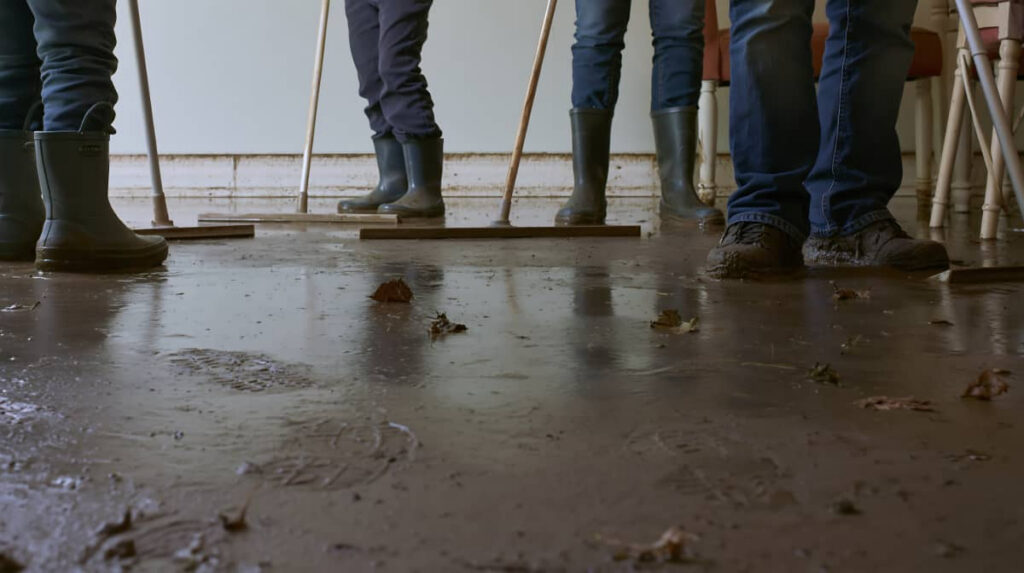
Before you can begin repairing the damage, you need to remove any standing water to prevent further issues. Start by utilizing effective water extraction techniques to eliminate excess moisture.
Invest in high-quality equipment like wet/dry vacuums or submersible pumps, as these tools can drastically speed up the process. Make certain you wear protective gear during this step, as safety is key.
After extracting the water, thoroughly dry the affected area using dehumidifiers and fans—this helps prevent mold growth. Don’t forget to check hidden spots, such as behind walls or ceiling tiles, where water may linger.
Drying Out the Affected Area
Effective drying of the affected area is essential in preventing mold growth and further damage after a ceiling leak. To achieve this, you should focus on enhancing air circulation and utilizing dehumidifier usage.
Follow these steps for best results:
Ventilate the space: Open windows and doors to encourage airflow, helping moisture escape.
Use a dehumidifier: Set it up in the affected area to extract excess moisture from the air, speeding up the drying process.
Employ fans: Position fans strategically to boost air circulation, directing airflow towards damp surfaces.
Check humidity levels: Use a hygrometer to monitor humidity, aiming for levels below 60% to ensure thorough drying.
Addressing Mold and Mildew
To effectively address mold and mildew, you need to start by identifying any moisture sources that may have contributed to the problem.
Once you’ve pinpointed these areas, thoroughly clean the affected surfaces using appropriate mold removers.
Finally, take proactive steps to prevent future growth by ensuring proper ventilation and humidity control in your space.
Identify Moisture Sources
While it may seem like a minor issue, identifying moisture sources is essential for preventing mold and mildew growth in your home.
Effective moisture detection and leak identification can save you from extensive damage down the line. Here are four key areas to examine:
Roofing: Inspect your roof for damage or missing shingles that could let water in.
Plumbing: Check pipes and fixtures for leaks, especially in bathrooms and kitchens.
Windows and Doors: Look for gaps or poor seals that might allow moisture to enter.
Basements and Crawl Spaces: Monitor these areas for excess humidity, which can lead to mold growth.
Clean Affected Areas
Once you’ve pinpointed the moisture sources causing the ceiling leak, it’s time to tackle the cleanup of affected areas, particularly mold and mildew.
Start by wearing protective gear—gloves, goggles, and a mask—to safeguard your health. Use effective cleaning techniques, such as a mixture of water and mild detergent, to scrub affected materials like drywall or wood.
For stubborn mold, a solution of one cup of bleach to a gallon of water can be effective, but ensure proper ventilation during this process.
After cleaning, dry the surfaces thoroughly to prevent future growth. Dispose of any porous materials that can’t be cleaned effectively.
Prevent Future Growth
Preventing future growth of mold and mildew is essential after addressing ceiling leak damage, as even minor moisture can lead to recurring issues.
To ensure effective mold prevention and maintain humidity control, follow these steps:
Ventilate: Keep your home well-ventilated by opening windows or using exhaust fans, especially in high-humidity areas like bathrooms and kitchens.
Dehumidify: Use a dehumidifier to maintain indoor humidity levels below 60%, which discourages mold growth.
Inspect Regularly: Routinely check for leaks or condensation in your ceilings and walls to catch moisture issues early.
Use Mold-Resistant Products: Consider using mold-resistant paints and materials during repairs to further protect against future growth.
Repairing Structural Damage
When you discover structural damage from a ceiling leak, addressing it promptly is vital to prevent further deterioration.
First, assess the extent of the damage to understand how it affects the structural integrity of your home. Look for signs such as sagging beams or warped drywall.
Next, employ appropriate repair techniques. For minor damage, reinforce weakened areas with wood braces or metal supports. If the damage is more severe, you might need to replace affected beams or joists entirely.
Be certain to consult a professional if you’re unsure about the repairs or if extensive work is needed.
After you’ve completed the repairs, verify that you monitor the area regularly. This proactive approach maintains your home’s safety and fosters a sense of belonging, knowing you’ve taken vital steps to protect your living space.
Preventing Future Leaks
To ensure your home remains safe and dry, it’s essential to implement strategies that thwart future leaks.
By focusing on proactive measures, you can greatly reduce the risk of water damage.
Here are four key strategies:
Regular Roof Maintenance: Schedule inspections at least twice a year to identify potential issues early.
Leak Detection Systems: Invest in modern leak detection technology that alerts you to moisture buildup before it becomes a major problem.
Gutter Cleaning: Keep gutters free of debris to ensure proper water flow and prevent overflow that could lead to leaks.
Seal Cracks and Gaps: Regularly check and seal any gaps in roofing materials and around windows to minimize water entry points.
Frequently Asked Questions
How Long Does It Take for Ceiling Leak Damage to Show Symptoms?
Ceiling leak damage often shows symptoms within 24 to 48 hours. You should prioritize leak detection and damage assessment to identify issues early, preventing further complications and ensuring your living space remains safe and comfortable.
Can I Use a Regular Vacuum to Remove Water From Ceilings?
You can’t use a regular vacuum for water extraction from ceilings. Instead, opt for a wet/dry vacuum designed for this purpose. It’ll efficiently handle moisture, helping you prevent further damage and maintain your space’s integrity.
Is It Safe to Sleep in a Room With a Ceiling Leak?
Sleeping under a leaky ceiling’s like inviting a storm into your dreams! For sleep safety, it’s best to avoid the room. Moisture can lead to mold growth, risking your health and peace of mind.
What Are the Signs of Hidden Water Damage in Ceilings?
You’ll notice signs of hidden water damage in ceilings through water stains, peeling paint, and mold growth. Regularly inspect these areas to catch issues early, ensuring your space remains safe and comfortable for you and your family.
Should I Contact Professionals for Small Ceiling Leaks?
Yes, you should contact professionals for small ceiling leaks. They’ll provide leak detection services and discuss repair options, ensuring your home remains safe and preventing further damage. It’s always better to be cautious with water issues.
Summary
In the aftermath of a ceiling leak, think of your space as a wounded tree—proper care can restore its strength. By systematically evaluating damage, ensuring safety, and thoroughly drying the area, you’re laying the groundwork for recovery. Don’t forget to address mold and repair any structural issues, as they’re crucial for long-term health. With these effective cleanup strategies, you can protect your home and prevent future leaks, nurturing it back to its original beauty.