

Contents
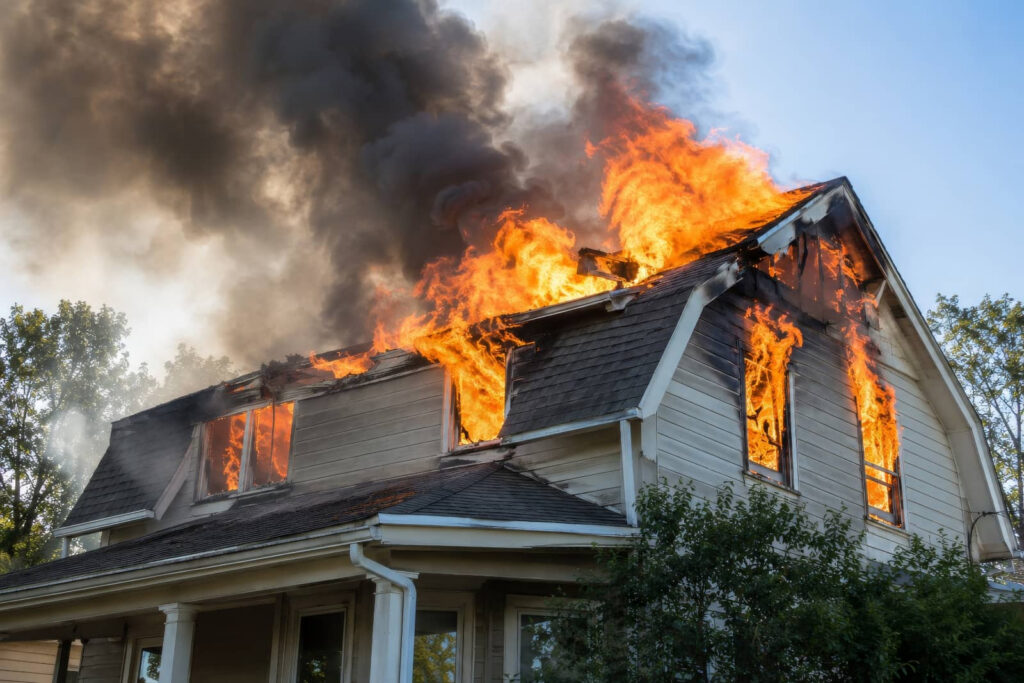
After a fire and flood, you need to move fast when sewage enters the picture. You’ll isolate the area, document the damage, and wear proper PPE before you touch anything. Then you’ll remove contaminated water, clear debris, and disinfect every affected surface to control bacteria and odor. The first steps matter, because hidden damage can spread beyond what you see, and the next decisions can change the entire sewage damage cleanup outcome.
Key Takeaways
- Shut off the affected area, keep people and pets away, and document the damage before cleanup begins.
- Remove standing sewage water quickly using pumps or wet vacs after turning off power to contaminated circuits.
- Seal off the area, block drains, and use proper protective gear to prevent spread and exposure.
- Sanitize all exposed surfaces with approved disinfectants and maintain drying and ventilation to prevent mold.
- Inspect for hidden structural, electrical, and plumbing damage, and call restoration professionals for safe recovery.
What To Do Right After Sewage Damage
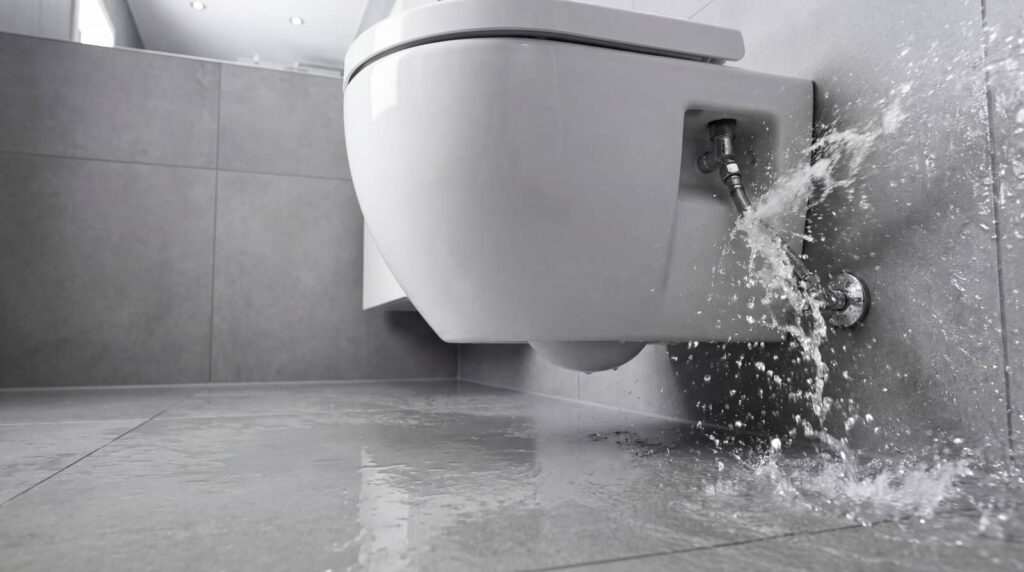
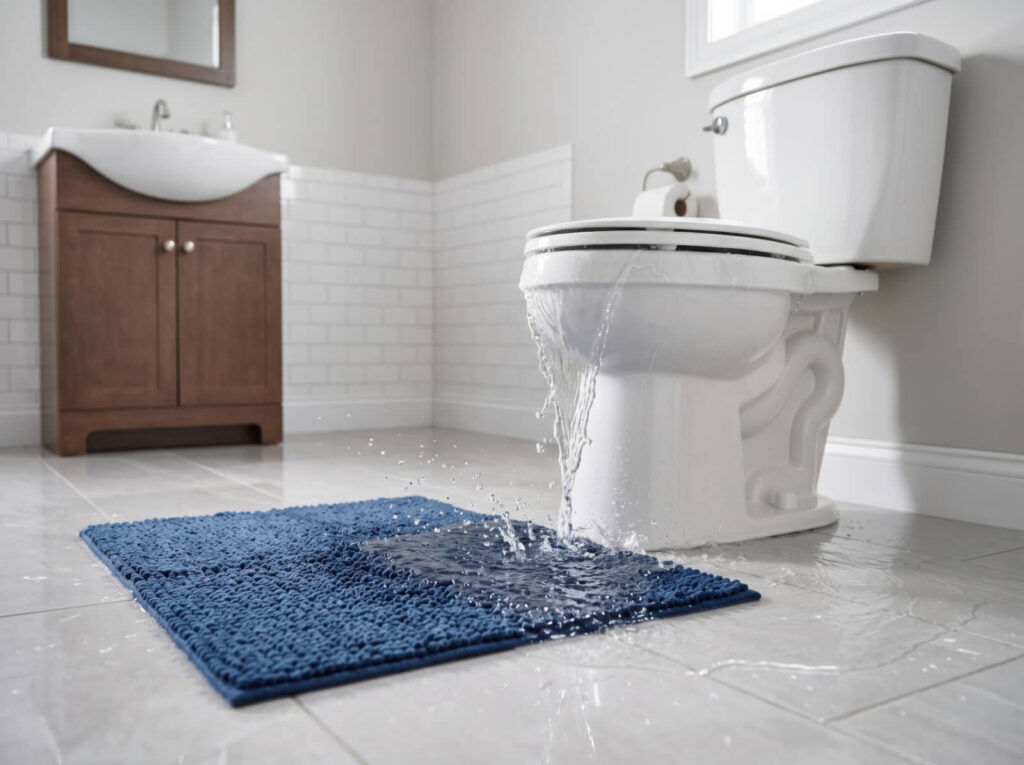
If sewage damage has just occurred, act fast: shut off the affected area if you can do so safely, keep people and pets away, and stop using any plumbing connected to the backup.
Then you should document the scene with photos for your records and contact a qualified restoration team right away. You’re protecting your household from serious health risks, including bacteria, viruses, and mold growth.
Wear gloves, boots, and a mask if you must enter briefly, and wash exposed skin with soap and water afterward.
Don’t use fans or vacuum equipment on contaminated surfaces. Take note of porous items that may need disposal.
These early prevention strategies help you reduce exposure, support a safer cleanup, and keep you connected to the people who’ll help you restore your space.
Stop Sewage From Spreading Fast
You should isolate the contaminated area immediately to limit foot traffic and keep sewage from tracking into clean spaces.
Next, block drain pathways so wastewater can’t backflow or spread through connected fixtures.
Then remove standing wastewater as quickly as possible to reduce saturation, odor, and contamination risk.
Isolate Contaminated Areas
Seal off the affected area immediately to slow sewage migration and reduce exposure risks. You protect your team and your space by setting clear boundaries and completing a quick contamination assessment before anyone enters.
Use isolation techniques that keep traffic out, limit contact with wet materials, and define a clean route for safe movement. You’ll want everyone to understand the perimeter, so assign one point of entry and brief each person on the rules.
Keep personal items, tools, and recovered materials outside the zone unless they’re needed for controlled work. When you stay organized and communicate clearly, you help your crew work as one unit while reducing the chance of cross-contamination.
This step gives you time to stabilize conditions and prepare for the next cleanup actions.
Block Drain Pathways
Cut off drain pathways as soon as possible to slow sewage spread and limit backup into adjacent areas. You should cap floor drains, close cleanouts, and seal unused fixtures so contaminated flow can’t migrate through the system.
If you’ve got access to the main line, use approved plugs or backflow barriers that match the pipe size. These steps support effective drain maintenance and reduce pressure on affected branches.
During recovery, schedule plumbing inspections to confirm traps, valves, and joints are intact before you reopen any pathway. You’re protecting your space and the people in it when you block these routes quickly and methodically.
Keep records of each closure point, and verify every seal after any shift in water level or structural movement.
Remove Standing Wastewater
Once drain pathways are isolated, remove standing wastewater quickly to keep it from spreading into flooring, wall cavities, and adjacent rooms.
You’ll use wastewater removal tools such as a wet vacuum, pump, or extraction unit, depending on depth and access. Wear gloves, boots, and eye protection, because sewage carries health hazards that can affect your team and household.
- Shut off power to affected circuits.
- Extract liquid from the lowest point first.
- Collect residue in sealed containers for disposal.
- Check hidden spaces for seepage.
Work methodically, and keep traffic out until surfaces are clear.
If you stay organized, you’ll protect the structure and help everyone feel confident that cleanup is moving in the right direction.
How Sewage Cleanup Works
Sewage cleanup works in a structured sequence that starts with safety assessment and containment, then moves to removal, disinfection, drying, and final verification.
You’ll be guided through each step so your space feels controlled and safe. Crews use proven sewage removal techniques and proper safety equipment to limit exposure while they isolate affected areas.
They then clean and treat surfaces with targeted disinfectants, reducing microbial risk without overcomplicating the process. After that, they monitor moisture levels and verify that conditions meet cleanup standards.
You’re not left guessing; each phase has a clear purpose and measurable result. This method protects your property, supports your recovery, and helps you feel confident that the job’s been done right.
Remove Contaminated Water And Debris
First, crews pump out the contaminated water and remove any soaked debris so the affected area can be contained and stabilized.
You’ll see technicians use pumps, wet vacuums, and sealed containers to keep the work controlled and efficient. This debris removal step protects your property team by limiting spread and creating a safer path for recovery.
- Extract standing contaminated water.
- Sort and bag unsalvageable debris.
- Load waste into approved transport containers.
- Verify the area is clear for the next phase.
When you stay involved, you can track progress and feel confident the cleanup is moving in the right direction.
Each pass reduces hazards, improves access, and prepares your space for the next restoration stage.
Sanitize Surfaces And Stop Mold
With the contaminated water and debris removed, crews can sanitize all exposed surfaces to eliminate remaining bacteria and reduce odor.
You’ll want every wall, floor, trim joint, and fixture treated with an approved disinfectant that reaches porous and nonporous materials alike.
Careful surface treatment helps break down residue that can feed hidden growth, and it supports mold prevention by lowering moisture and organic buildup.
You can trust a methodical process: clean first, apply the sanitizer at the correct dwell time, then verify complete coverage.
If your space is part of a shared home or workplace, this step protects everyone’s environment and helps you feel confident moving forward together.
After sanitation, dry conditions and airflow keep the area stable, so mold doesn’t return.
Restore Safety After Cleanup
After cleanup, you should disinfect and sanitize all affected areas with approved antimicrobial products to reduce remaining contamination.
You’ll also need to verify structural safety by checking floors, walls, subfloors, and supports for damage or instability.
Once these checks pass, you can safely move toward normal use of the space.
Disinfection And Sanitization
Once standing water and contaminated debris are removed, you can begin disinfection to make the area safe again.
Use approved disinfection methods on hard, nonporous surfaces, then follow with sanitization techniques that reduce residual contaminants.
Wear gloves, eye protection, and a respirator if aerosols may remain. Clean visible soil first, because disinfectants work best on prepared surfaces.
- Mix and apply the correct solution.
- Keep surfaces wet for the full contact time.
- Rinse or wipe as directed by the product label.
- Air-dry the area and repeat where needed.
You’re not handling this alone; steady, methodical sanitation helps your space feel clean, controlled, and ready for safe use again.
Structural Safety Checks
Before you reenter or rebuild, inspect the structure carefully for hidden damage that sewage water may have caused.
Check framing, subfloors, drywall, insulation, and support posts for swelling, soft spots, cracking, or separation.
Verify that electrical conduits, HVAC components, and plumbing penetrations stayed stable and dry.
Use inspection protocols that document moisture readings, load-bearing movement, and fastener corrosion.
If you detect sagging, buckling, or persistent odor, pause occupancy and call a qualified structural professional.
These checks protect structural integrity and help your team move forward with confidence.
You’re not alone in this step; careful evaluation gives your space a safe foundation for the next phase of recovery, repairs, and restoration.
Frequently Asked Questions
How Soon Should Sewage-Contaminated Items Be Discarded?
Discard sewage-contaminated items immediately. You should follow sanitation protocols at once because contamination risks rise fast. Remove porous materials within hours, and bag nonwashables promptly. You’re safer acting quickly with a trusted cleanup team.
Can Insurance Cover Sewage Damage Cleanup Costs?
Yes—your insurance can cover sewage cleanup, if your coverage limits allow it and policy exclusions don’t laugh you out of the room. You’ll want to review your policy closely and file promptly.
Is It Safe to Stay in the Home During Cleanup?
No, you shouldn’t stay if cleanup exposes you to sewage; health risks rise quickly. Follow evacuation procedures, keep the area isolated, and return only after professionals confirm it’s safe. You’ll protect yourself and your home.
How Long Does Sewage Odor Usually Linger After Cleanup?
Usually, sewage odor fades within 24–72 hours after thorough cleanup, though persistence can last longer. You’ll investigate the truth by checking hidden contamination; effective odor removal techniques usually shorten sewage odor persistence and restore comfort.
What Signs Indicate Hidden Sewage Behind Walls?
You’ll notice hidden leaks by musty odors, bubbling paint, wall discoloration, softened drywall, swelling baseboards, and unexplained dampness. These signs mean sewage may be behind walls, so you should inspect quickly and safely.
Conclusion
After fire and flood damage, you need to act fast to limit sewage contamination and protect the structure. Once you isolate the area, remove wastewater, and sanitize all affected surfaces, you reduce bacteria, odors, and mold risk. Why wait when hidden damage can spread so quickly? You can restore safety by documenting conditions, inspecting thoroughly, and keeping your cleanup team aligned. With the right PPE and disinfectants, you’ll help the property recover cleanly and safely.