Contents
Imagine a ship taking on water; if you don’t patch the leak, the whole vessel could sink. After a ceiling leak, it’s crucial to act quickly and methodically to minimize damage and prevent future issues. Start by evaluating the situation and prioritizing safety. But what steps should you take next to ensure your home stays dry and protected? Let’s explore the necessary actions to tackle this pressing problem.
Key Takeaways
- Assess the damage and identify the source of the leak to prevent further issues and document for insurance claims.
- Turn off electricity in the affected area to prioritize safety before addressing the leak.
- Remove standing water and moisture promptly to minimize damage and promote a quicker recovery.
- Check for mold growth and clean surfaces thoroughly using disinfectants to ensure a safe environment.
- Repair and restore damaged areas while implementing preventative measures to avoid future leaks.
Assess the Damage
After a ceiling leak, the first step is to assess the damage thoroughly. Start by inspecting the affected area closely. Look for water stains, peeling paint, or sagging ceilings, which can indicate deeper issues. Document everything with photos or videos, as this will be essential for your damage assessment and any insurance claims.
If the leak is ongoing, try to identify the source to prevent further damage.
Next, check for signs of mold or mildew, especially in humid areas. It’s important to act quickly, as mold can develop within 24-48 hours. Make a list of damaged items, including furniture and personal belongings, as your insurance may cover replacements.
Finally, contact your insurance provider to initiate the claims process. Having thorough documentation will help streamline this process and ensure you get the support you need.
You’re not alone; many have faced similar situations and successfully navigated the recovery.
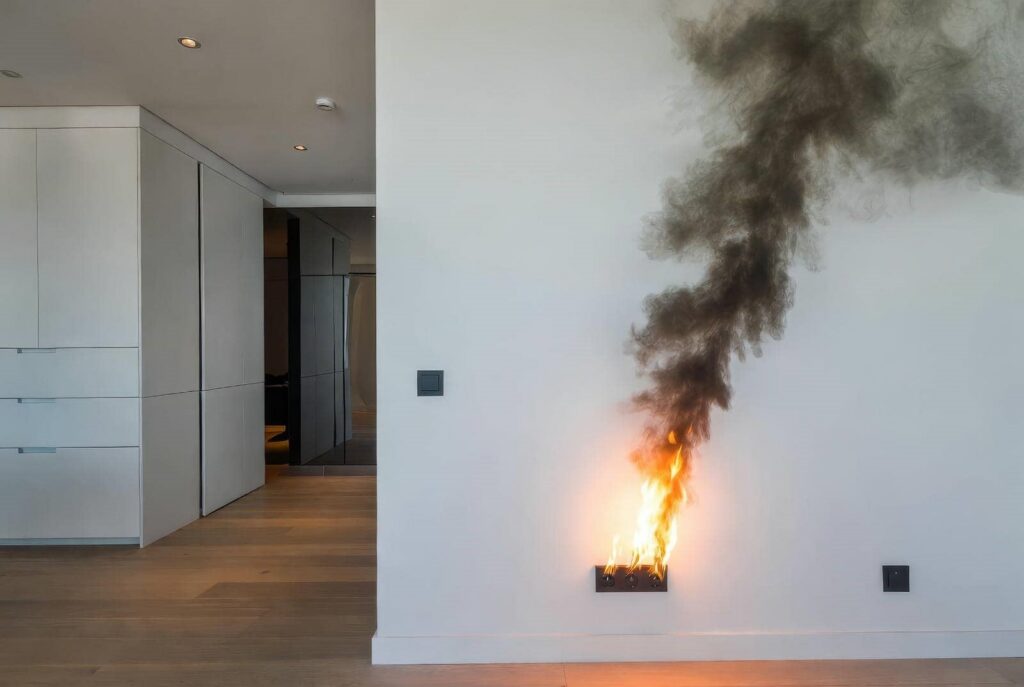
Turn Off Electricity
Before you begin any repairs, it’s crucial to turn off the electricity in the affected area to ensure your safety.
Start by locating your circuit breaker panel; this is where you’ll find the switches that control the power to different rooms. Flip the switch for the affected area to the “off” position. This simple safety precaution helps you avoid potential electrical hazards while you assess the damage and make repairs.
If you’re unsure which circuit controls the area, it’s wise to turn off the main power temporarily.
Remember, when dealing with water-damaged areas, moisture and electricity don’t mix well, so take this step seriously.
After cutting off the power, use a voltage tester to confirm that there’s no electricity flowing to the area.
With the electricity off, you can proceed to tackle the leak with confidence, knowing you’ve put your safety first.
Identify the Source of the Leak
Once you’ve verified the area is safe by turning off the electricity, it’s time to pinpoint the source of the leak.
Start with thorough leak detection to identify where the water is coming from. This process often involves examining your plumbing system, as many leaks originate from broken pipes or faulty fixtures.
Consider these key steps:
Inspect visible pipes for any signs of water damage or corrosion.
Check the ceiling or walls for discoloration, which can indicate moisture buildup.
Conduct a plumbing inspection to ascertain everything is functioning correctly.
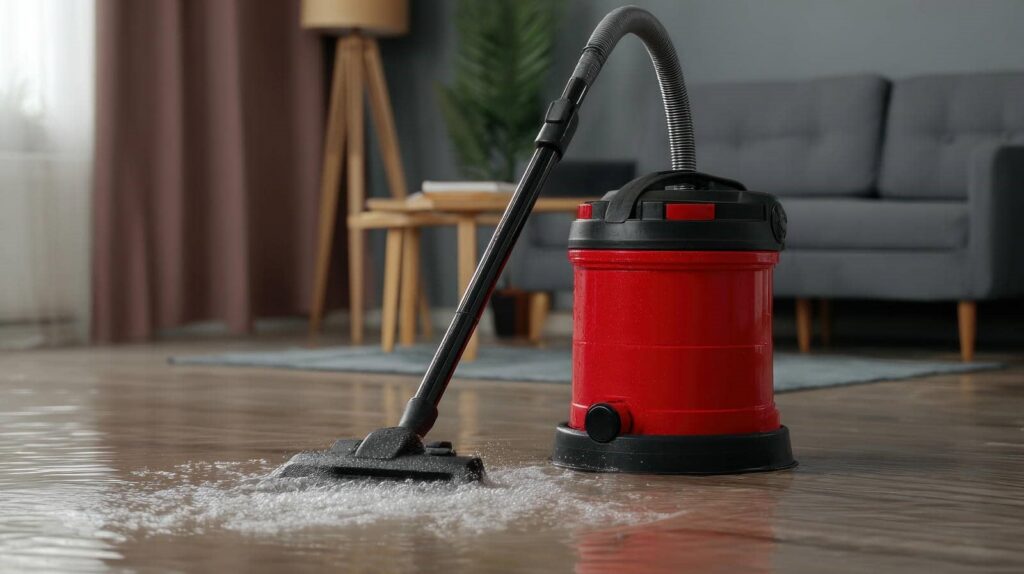
Remove Water and Moisture
Once you’ve identified the source of the leak, it’s time to tackle the water and moisture.
Start by using absorbent materials like towels or a wet/dry vacuum to soak up any standing water.
After that, make sure to thoroughly dry the affected areas to prevent mold and further damage.
Identify Water Source
How can you effectively tackle a ceiling leak? The first step is identifying the water source to prevent further damage. Leaks can come from various places, so thorough leak detection is essential. Check your plumbing, roof, or even appliances like dishwashers for any signs of water intrusion.
Inspect ceilings for discoloration or sagging.
Look for puddles or damp spots in other areas.
Examine walls for moisture and peeling paint.
Once you pinpoint the source, you can take action to fix it. Don’t hesitate to call a professional if the situation feels overwhelming.
Use Absorbent Materials
After identifying the source of the leak, it’s essential to act quickly to remove any water and moisture from your ceiling and surrounding areas.
Start by gathering absorbent materials, like towels, sponges, or even a wet/dry vacuum. These will help you tackle water retention effectively.
Place the absorbent materials directly under the leak to soak up excess moisture, and don’t forget to wring them out frequently to maximize their efficiency.
If you notice significant pooling, consider using buckets or bowls to catch water, preventing further damage.
Remember, prompt action protects your home and fosters a sense of community as you take charge of the situation.
You’re not alone in this; many face similar challenges.
Dry Affected Areas
Start by drying the affected areas as soon as possible to prevent mold growth and further damage. Effective moisture control is essential in this situation.
Utilize various drying techniques to speed up the process and ensure your space stays safe and comfortable.
- Use fans to circulate air and enhance evaporation.
- Dehumidifiers can help remove excess moisture from the air.
- Open windows to promote ventilation and natural drying.
Act swiftly and methodically. Check for hidden pockets of moisture behind walls or under flooring.
Remember, you’re not alone in this; many people face ceiling leaks, and taking these steps can help restore your home to its original state.
Prioritize drying, and you’ll create a healthier environment for everyone.
Dry the Affected Area
Once you’ve removed the excess water, it’s essential to dry the affected area thoroughly.
Use fans and dehumidifiers to speed up the drying process, as moisture can linger in hidden spots.
Don’t forget to check for mold growth after everything is dry, since it can develop quickly in damp environments.
Remove Excess Water
To effectively tackle a ceiling leak, your first step is to remove excess water and dry the affected area as quickly as possible. This will prevent further damage and help maintain a healthy environment.
Start with water extraction; use towels, a wet/dry vacuum, or a mop to soak up the water.
- Check for any hidden pockets of moisture.
- Inspect surrounding areas to ensure no additional leaks exist.
- Dispose of any waterlogged materials to promote moisture control.
Once you’ve removed the visible water, focus on drying surfaces thoroughly. This will help you avoid mold growth and ensure your home feels safe and welcoming again.
Taking these steps now can save you from bigger headaches later!
Use Fans and Dehumidifiers
As you move forward with drying the affected area, using fans and dehumidifiers can markedly accelerate the process.
Start by strategically placing fans to create airflow across the wet surfaces. Aim them towards the walls and ceiling to enhance evaporation.
Next, adjust your dehumidifier settings to the ideal level—around 30-60% humidity—so it effectively removes moisture from the air. Make sure to empty the reservoir regularly for consistent operation.
For the best results, run the fans and dehumidifiers continuously until the area is thoroughly dry. This helps prevent further damage and creates a healthier environment for you and your loved ones.
Together, these tools can make a significant impact on your recovery efforts.
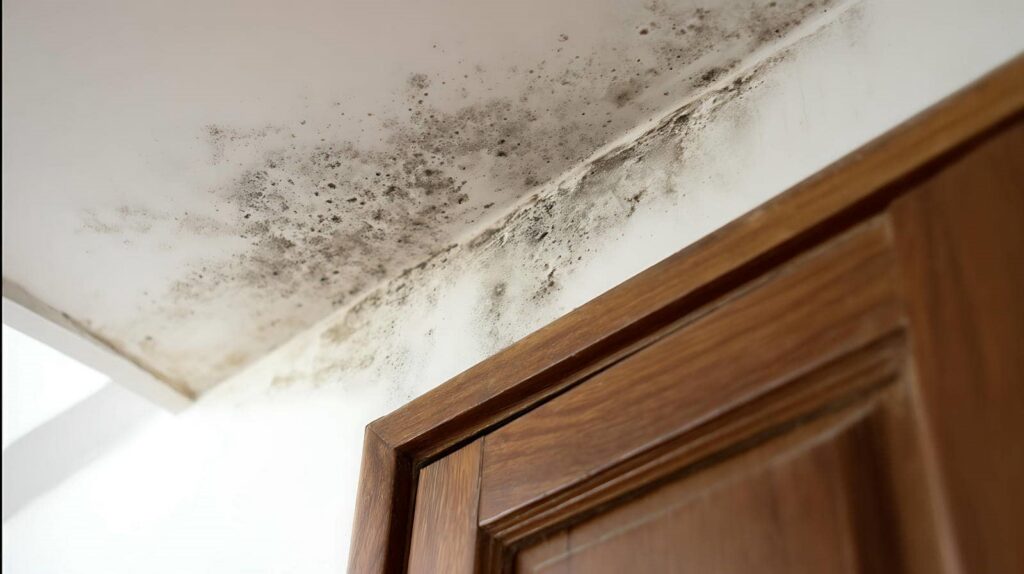
Check for Mold Growth
How can you ensure your space is safe after dealing with a ceiling leak? Checking for mold growth is essential.
Even after drying the affected area, lingering moisture can lead to mold, which can compromise your health and home’s integrity.
Here are some steps to ensure mold prevention and effective mold remediation:
- Inspect for visible mold on walls, ceilings, and surfaces.
- Use a moisture meter to identify damp spots that mightn’t be visible.
- Seal and discard any porous materials that show signs of mold.
Addressing mold quickly can prevent larger issues down the line.
If you find significant growth, consider consulting a professional for proper mold remediation. Your space should feel safe and welcoming again!
Inspect for Mold Growth
Since mold can start to grow within 24 to 48 hours after a leak, it’s crucial to inspect the affected area promptly.
Begin by examining the ceiling, walls, and any nearby surfaces for discoloration, spots, or a musty smell—these are signs of potential mold growth. Pay close attention to corners, crevices, and hidden areas where moisture may linger.
If you spot any mold, don’t panic. It’s important to address it quickly, as mold can pose serious health risks, particularly for those with allergies or respiratory issues.
Consider consulting with a mold remediation professional to ensure safe and effective removal. They can help assess the extent of the problem and guide you through necessary steps.
Remember, promptly taking action protects your home and fosters a healthy environment for you and your loved ones.
You’re not alone in this—many face similar challenges, and support is available.
Clean and Disinfect Surfaces
After identifying any mold, it’s essential to clean and disinfect surfaces that were affected by the leak. Start by gathering your cleaning supplies, ensuring you have everything you need for effective disinfecting techniques. Use a mixture of water and a suitable cleaner or a commercial disinfectant to wipe down all surfaces.
- Wear gloves and a mask to protect yourself.
- Focus on high-touch areas like light switches and doorknobs.
- Don’t forget to ventilate the space while cleaning.
Once you’ve thoroughly cleaned the surfaces, allow them to dry completely to prevent further mold growth.
Regularly check for any signs of dampness or mold, as staying proactive can make a huge difference. By taking these steps, you’re not just fixing a problem; you’re creating a healthier environment for yourself and your loved ones.
Repair and Restore Damaged Areas
Begin the repair process by evaluating the extent of the damage caused by the ceiling leak. Check for signs of mold, peeling paint, or sagging drywall.
Once you identify the affected areas, you can choose appropriate repair techniques. For minor damage, patching holes or cracks with spackle or joint compound is effective. Sanding and repainting will restore the surface’s appearance.
If the damage is more severe, consider replacing entire sections of drywall. Use restoration methods like installing new insulation and sealing any leaks to prevent future problems.
Always ensure that the area is dry before you start repairs; moisture can lead to mold growth if left unchecked.
Finally, don’t forget to prime and paint the repaired areas to blend them seamlessly with the rest of your ceiling. Taking these steps restores your ceiling and brings a sense of comfort and security back to your space.
Prevent Future Leaks
Restoring your ceiling isn’t just about repairing damage; it’s also about ensuring it doesn’t happen again.
Implementing effective leak prevention strategies is essential for maintaining your home’s integrity. Regular maintenance can save you from future headaches and costly repairs.
Here are some practical steps to take into account:
Inspect plumbing regularly: Check for leaks or corrosion in pipes, especially in areas prone to moisture.
Clear gutters and downspouts: Make certain water flows freely away from your roof to prevent overflow and potential leaks.
Seal roof and window openings: Regularly inspect and reseal any gaps or cracks to block water ingress.
Frequently Asked Questions
How Can I Tell if My Ceiling Is Structurally Safe After a Leak?
You should conduct a thorough ceiling inspection, checking for sagging, cracks, or water stains. If you notice any issues, consult a professional to assess the structural integrity and ensure your ceiling’s safety for your peace of mind.
Should I Call a Professional for Small Leaks?
You should definitely call a professional for small leaks. Most water damage occurs from seemingly minor issues. A leak assessment ensures you explore all repair options, preventing further problems and fostering a safe home environment.
What Insurance Coverage Do I Need for Ceiling Leaks?
You need a homeowner’s insurance policy that covers water damage. Check if your policy includes specific provisions for ceiling leaks. Understanding your coverage ensures you’re protected and can manage any repairs or claims effectively.
How Long Does It Take for a Ceiling to Dry Completely?
It usually takes 1 to 3 weeks for a ceiling to dry completely, depending on drying techniques used and thorough moisture assessment. Ensure proper ventilation and consider dehumidifiers to speed up the process effectively.
Can I Use a Hairdryer to Dry the Ceiling?
Can you imagine rushing to dry a soaked ceiling? A hairdryer can help, but its effectiveness varies. For better results, combine it with fans and proper ceiling drying techniques to ensure thorough moisture removal.
Review
Now that you’ve tackled the immediate aftermath of a ceiling leak, think of yourself as the hero in your home’s story, ready to protect it from future disasters. By staying proactive—turning off electricity, removing moisture, and inspecting for mold—you’re not just fixing a problem; you’re fortifying your castle. Remember, regular maintenance is your shield against the unexpected. With these measures in place, you can rest easy knowing your home is safe from the threat of leaks.