

Contents
When fire and sewage hit the same property, you need a controlled response, not guesswork. You’ll secure hazards, document damage, and bring in emergency cleanup before contamination spreads. From standing water and smoke residue to hidden moisture and mold, each step affects the next. If you miss one critical detail, repairs can stall or worsen, and the real challenge may be the part you can’t see yet.
Key Takeaways
- Secure the property immediately by shutting off utilities, marking hazards, and restricting access to unsafe areas.
- Document all fire and sewage damage with clear photos, notes, and item details for insurance claims.
- Call restoration professionals quickly for emergency cleanup, spill containment, and safe disinfection.
- Remove contaminated materials, control odors, and dry hidden moisture to prevent mold and further damage.
- Rebuild only after final safety checks, replacing damaged porous materials and confirming code compliance.
What to Do After Fire and Sewage Damage
After fire and sewage damage, you should act quickly to secure the property and limit further contamination.
Then document every affected area with photos and notes, so you can support your claim and track losses accurately.
Contact your insurer promptly and request insurance guidance on claim forms, emergency expenses, and approved vendors.
You should also notify local restoration professionals who understand biohazard and smoke residue risks, because they can help you plan safe next steps.
Keep family members and occupants informed, and lean on emotional support from trusted people if the event feels overwhelming.
Separate salvageable items from contaminated materials only if you can do so safely, and preserve receipts for all temporary repairs.
Clear communication helps you stay organized, protected, and connected.
Secure the Property and Shut Off Hazards
You should shut off electricity, gas, and water at the main controls if it’s safe to do so, because damaged systems can create fire, electrocution, or contamination hazards.
Mark unstable floors, compromised walls, and sewage-affected zones with barriers or warning tape so no one enters them accidentally.
Restrict access to the property with locks or controlled entry points until qualified responders verify that the site is safe.
Shut Off Utilities
Before anyone re-enters the property, shut off the main water supply, electricity, and gas if it’s safe to do so, because fire and sewage damage can create hidden hazards that worsen quickly.
You protect your team and your household when you follow utility safety protocols and keep emergency procedures simple and deliberate.
If you smell gas, hear hissing, or see sparking, don’t touch switches or appliances; leave the area and call the utility provider or emergency services.
After power is isolated, avoid standing water near outlets, panels, or cords.
When sewage is involved, stop any water-fed equipment that could spread contamination.
Label shutoff points for everyone on site so you all stay aligned and can respond consistently.
Block Unsafe Areas
Block off every compromised room, hallway, and exterior entry point as soon as you can, using tape, barriers, or locked access to keep people away from collapse zones, contamination, and hidden heat or structural failures.
You should mark hot surfaces, weakened flooring, and smoke-damaged ceilings so your team can move with fire safety in mind.
In sewage prevention, isolate bathrooms, drains, and saturated materials to stop spread through foot traffic or airflow.
Post clear warning signs and keep your work zone organized so everyone on site knows where hazards start and end.
If you detect shifting debris, rising odor, or active leakage, reinforce the boundary immediately.
Your crew stays safer when each restricted area is obvious, controlled, and respected.
Limit Property Access
After you isolate the hazard zones, lock down the property and shut off utilities to prevent additional damage and unauthorized entry.
You should post clear property restrictions at every entrance, then verify access limitations with all occupants, contractors, and responders.
Secure doors, windows, and gates, and log who enters each zone so your team stays coordinated and safe.
Shut off gas, electricity, and water only if you can do so without exposing yourself to hidden hazards.
- Install temporary locks and barricades
- Label contaminated and safe zones
- Maintain a written entry log
- Brief cleanup crews before access
- Recheck shutoffs after each inspection
Photograph the Damage for Insurance Claims
Capture every affected area with clear, well-lit photos as soon as it’s safe to enter the property, because accurate documentation is critical for an insurance claim.
You should document wide shots and close-ups of structural loss, soot staining, water lines, and contaminated contents, then note each image’s location and time. This insurance documentation strengthens your damage assessment and helps your adjuster verify the extent of loss.
Include serial numbers, brand labels, and any visible debris patterns to support itemized valuation. If you can, keep a consistent sequence room by room so your records stay organized and easy to review.
Save originals in multiple secure formats, and don’t edit away important details. Clear evidence puts you and your recovery team on the same page.
Call for Emergency Sewage Cleanup
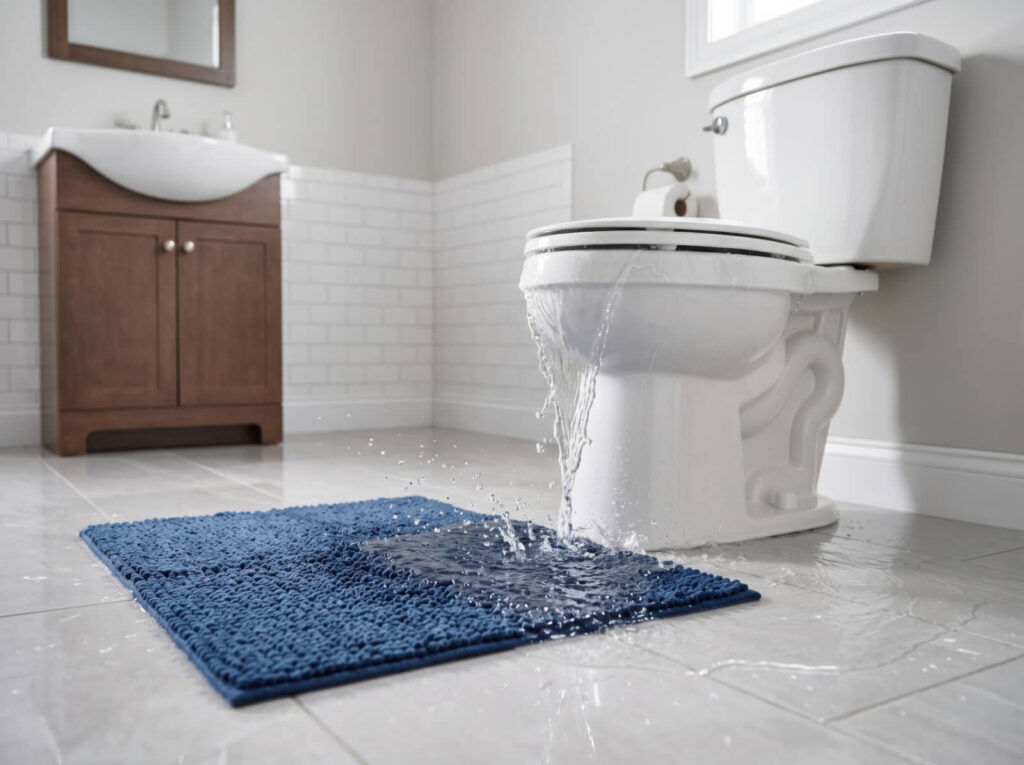
You should call for emergency sewage cleanup immediately to contain the spill and prevent further spread into affected materials and HVAC pathways.
Rapid response crews can remove contaminated wastewater, disinfect impacted surfaces, and reduce exposure to bacteria, viruses, and other health hazards.
With 24/7 dispatch, you can get technicians on-site quickly to start mitigation and limit structural damage.
Immediate Spill Response
When sewage spills occur, you need to act fast and call an emergency sewage cleanup service right away to limit contamination, protect indoor air quality, and reduce structural damage.
While you wait, focus on spill containment and initial assessment so you can keep the incident controlled and document the affected area for the response team.
- Mark the perimeter to prevent entry.
- Shut off nearby water sources if safe.
- Move dry materials away from the edge.
- Note visible spread, surfaces, and drains.
- Keep pets and occupants out of the zone.
You’ll help your team respond more efficiently when you provide clear details about the source, size, and access points.
Quick coordination builds confidence, supports your property, and helps everyone stay aligned during the first critical minutes.
Health Hazard Removal
Calling an emergency sewage cleanup service removes a major health hazard by addressing contaminated water, airborne pathogens, and porous materials that can retain bacteria and odors.
You reduce health risks when technicians isolate contamination sources, remove sewage-soaked debris, and disinfect affected surfaces with approved antimicrobials.
They’ll inspect hidden cavities, subfloors, and wall bases where waste can migrate, then verify that moisture and residue no longer support microbial growth.
This approach helps your home stay safe for everyone in your household, especially children, older adults, and anyone with respiratory issues.
By correcting the source of exposure quickly, you limit cross-contamination, improve indoor air quality, and restore a cleaner, more livable environment.
You can feel confident knowing the hazard’s been managed correctly.
24/7 Cleanup Dispatch
A 24/7 cleanup dispatch team can mobilize immediately after a sewage backup, coordinating containment, extraction, and disinfection before contamination spreads further. You get an emergency response that protects your property and your team’s health.
Trained technicians assess the source, isolate affected zones, and deploy cleanup strategies matched to Category 3 wastewater. They document damage, remove saturated materials, and apply EPA-approved antimicrobials to reduce biohazards.
- Rapid arrival limits structural penetration
- Moisture mapping guides precise removal
- HEPA filtration controls airborne particulates
- Sanitization targets high-contact surfaces
- Continuous monitoring verifies safe conditions
When you call, you’re joining a crew that acts fast, communicates clearly, and keeps you informed through every step, so you don’t face the cleanup alone.
Remove Standing Water and Contaminated Debris
Start by pumping out standing water and clearing contaminated debris as soon as conditions are safe, since every hour increases the risk of structural damage, microbial growth, and cross-contamination.
You should use targeted water extraction to remove pooled liquid from floors, cavities, and low spots, then inspect framing, subfloors, and insulation for saturation.
Bag, label, and move contaminated materials quickly to keep pathways clear and protect your team’s footing.
For debris disposal, separate porous items, sharp objects, and sewage-soaked contents into approved containers, following local waste rules.
Maintain PPE, limit traffic through affected rooms, and document what you remove for insurance and remediation records.
When you act methodically, you help restore control, reduce hazards, and support your crew through a safer, more organized recovery.
Disinfect Surfaces After Fire Damage
You should choose a disinfectant that’s compatible with the affected material, EPA-registered for the target pathogens, and safe to apply after you’ve removed soot and residue.
Clean and disinfect high-touch surfaces first, including door handles, switches, railings, and fixtures, since these areas can retain contamination after fire damage.
Follow the manufacturer’s contact time and ventilation requirements so you’re not leaving behind residual hazards or reducing the disinfectant’s effectiveness.
Safe Disinfectant Selection
When fire leaves soot, smoke residue, and moisture behind, you need a disinfectant that can sanitize affected surfaces without worsening corrosion, staining, or indoor air quality.
Choose products matched to the material, and test them in a hidden area first. You can use natural disinfectants for light residue when labels confirm surface compatibility, but verify they won’t leave film or odors.
Chemical disinfectants often deliver stronger microbial control, yet you should follow dilution, dwell time, and ventilation instructions exactly.
- Read Safety Data Sheets before use.
- Match pH to the substrate.
- Avoid bleach on metals and fabrics.
- Use low-VOC formulas when possible.
- Rinse or wipe residues as directed.
High-Touch Surface Cleaning
Focus first on the high-touch surfaces people contact most often, because they can spread soot, ash, and microbes long after the fire is out. You should clean doorknobs, light switches, handrails, countertops, appliance handles, and remote controls as part of your restoration plan.
Use gloves, microfiber cloths, and the approved detergent from your cleaning protocols, then wipe from the cleanest area to the dirtiest. Don’t dry-dust; that can aerosolize residue and increase exposure.
After washing, apply a compatible disinfectant and keep the required wet contact time. Replace cloths often to avoid cross-contamination.
If surfaces are porous, damaged, or heavily charred, isolate them for professional assessment. With a disciplined routine, you’ll protect your space, support your household, and restore a safer, healthier environment together.
Remove Smoke and Sewage Odors
Smoke and sewage odors often linger long after visible damage disappears, so you’ll need to treat both the source and the affected materials to fully eliminate them. Use odor neutralization techniques, not masking agents, to break down volatile compounds and reduce microbial byproducts.
Improve ventilation strategies by exhausting contaminated air outdoors and bringing in filtered fresh air. You’ll work faster when you isolate the area and maintain negative pressure during cleanup.
- Apply enzymatic or oxidizing treatments on porous surfaces.
- Use HEPA air scrubbers with activated carbon filtration.
- Seal nonremovable materials after verified decontamination.
- Remove odor-contaminated furnishings that retain residues.
- Verify success with repeated air-quality checks and smell tests.
When you follow the process carefully, you help your team restore a cleaner, safer space everyone can trust.
Dry Walls, Floors, and Cavities
Once odors are under control, you need to remove hidden moisture before structural materials break down or mold takes hold. You should open wall bases, lift damaged flooring, and expose cavities so you can verify moisture control with meters and targeted drying.
Use dehumidifiers and steady air circulation to accelerate evaporation while preserving structural integrity. If drywall stays swollen, cut it out for drywall repair; if insulation is wet, schedule insulation replacement.
Treat framing and subfloors with a compatible wall treatment, then complete flooring restoration only after readings stabilize.
You also need health precautions: wear gloves, respirators, and eye protection while working. Keep the area clean to support odor removal, limit pest prevention issues, and help your team restore a safe, dependable space together.
Test for Mold and Hidden Contamination
Now that the structure is drying, you should test for mold and other hidden contamination before you close any cavities or reinstall finishes. Use mold testing to check air, surfaces, and porous materials that may still hold spores or residues.
A thorough contamination assessment helps you confirm whether cleanup succeeded and whether any concealed areas need further attention.
- Inspect behind baseboards, framing, and insulation
- Sample suspect surfaces with sterile swabs
- Measure moisture in wood and drywall
- Verify HVAC returns and duct openings
- Document odors, staining, and visible growth
When you work methodically, you protect your space and support the people who’ll return to it.
If results show elevated findings, pause work and bring in qualified specialists so your team stays aligned and safe.
Repair and Restore the Property
With contamination cleared, you can begin the repair phase by restoring damaged structural and finish materials in a controlled sequence.
Start with a final property assessment to verify framing, subflooring, wiring, and plumbing are stable enough for reconstruction. Replace charred drywall, insulation, and contaminated trim, then seal and repaint surfaces using restoration techniques that control odor and residue migration.
If sewage reached porous materials, remove and rebuild them rather than patching. Install new flooring only after moisture readings stay within acceptable limits.
You’ll work more confidently when each trade follows the same plan, because coordination reduces rework and helps your home feel whole again.
Finish by testing systems, documenting repairs, and confirming the space meets code and occupant safety standards before you move back in.
Frequently Asked Questions
How Long Does Fire and Sewage Damage Cleanup Usually Take?
Cleanup usually takes 3 to 10 days for minor damage, but extensive fire and sewage damage can take weeks. Your cleanup timeline depends on restoration factors like contamination, structural loss, drying, and approvals.
Will My Insurance Cover Temporary Housing During Restoration?
Yes, your insurance policies may cover temporary housing during restoration, sometimes by thousands if your home’s uninhabitable. You’ll need to review coverage limits, verify exclusions, and track housing costs carefully to maximize reimbursement.
Can I Stay in the Home During Partial Cleanup?
You can stay only if crews isolate the work area and you avoid health risks. Follow containment, ventilation, and PPE guidance to keep staying safe; otherwise, temporary relocation’s the smarter call for you.
How Do I Choose a Qualified Restoration Company?
You’ll want to choose a restoration company like a lighthouse in a storm: verify restoration certifications, compare company reviews, confirm insurance coverage, and ask about equipment, response times, and detailed cleanup protocols.
What Documents Should I Keep for My Claim?
Keep claim documentation, including photos, receipts, contractor estimates, inventory lists, police or fire reports, and your policy details. Keep all necessary paperwork organized, dated, and backed up so you can support your claim quickly and confidently.
Summary
By acting quickly after fire and sewage damage, you reduce health risks and limit structural loss. Secure the property, document every affected area, and bring in certified restoration professionals for cleanup, disinfection, and drying. One useful benchmark: mold can begin developing in as little as 24 to 48 hours after moisture exposure, so fast response matters. If you stay systematic, follow safety standards, and restore in stages, you’ll improve recovery and return the property to safe condition.