

Contents
When sewage backs up, you need to act fast and follow the right order. Best sewage backup mitigation starts with shutting off water, blocking contaminated areas, protecting anyone nearby, and removing standing water before it spreads. Then disinfect and dry the structure, inspect for hidden damage, and address conditions that could contribute to another backup. Each step affects the next, and skipping one can make recovery more difficult.
Key Takeaways
- Shut off water and stop using affected fixtures immediately to limit further sewage backup and contamination.
- Isolate the area, post warning signs, and wear protective gear to reduce exposure during cleanup.
- Remove standing water quickly with pumps or wet vacs, then disinfect surfaces with EPA-registered products.
- Dry the space thoroughly using fans and dehumidifiers, and check hidden corners for lingering moisture.
- Prevent future backups with routine plumbing inspections, cleanouts, backwater valves, and proper disposal habits.
Stop the Sewage Backup and Block Entry
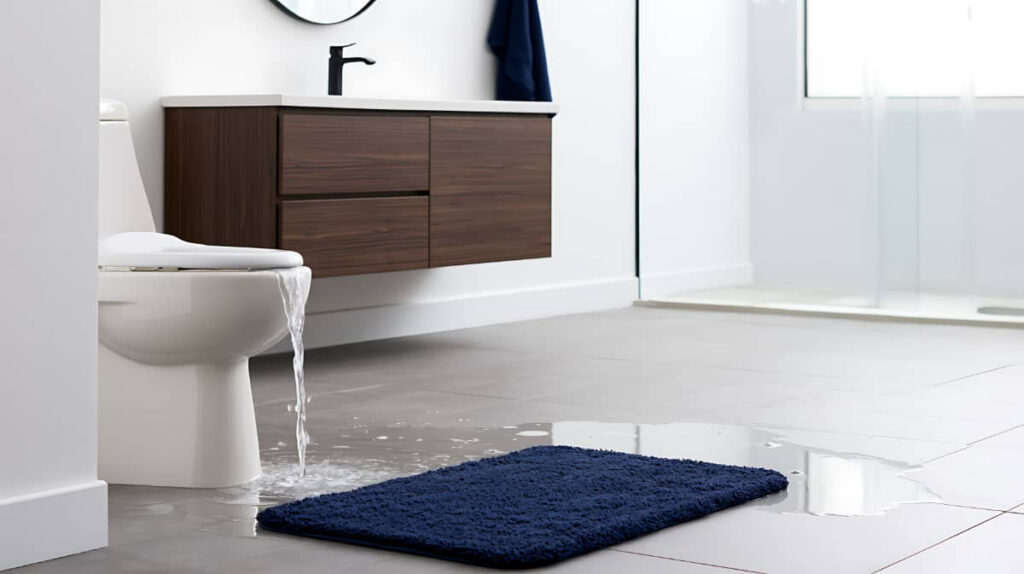
If sewage is still flowing, shut off any upstream water source you can access and stop using sinks, toilets, and appliances that feed the line.
Then close the nearest cleanout or main access if it’s designed to seal, and keep doors or access panels shut so you don’t let more flow into the space. You’re reducing spread, not forcing the line clear.
Check for a clogged trap, backed-up floor drain, or failed valve, and restore only what you can verify is safe.
Use basic sewage prevention methods: keep grease, wipes, and solids out of drains.
Follow plumbing maintenance tips by inspecting joints, checking venting, and clearing partial blockages early.
Act fast, stay calm, and work with your household to keep the backup contained.
Protect Workers and Secure the Area
You should isolate all contaminated zones right away to keep workers out of sewage exposure.
Set up protective barriers and clear warning signs to control access to the affected area.
This limits cross-contamination and helps you maintain a safer work zone during cleanup.
Isolate Contaminated Zones
Before anyone enters the affected area, isolate the contaminated zone to limit exposure and keep the cleanup controlled.
You should map zone identification first, then note contaminant types so your team knows where sewage, gray water, and solids have spread.
Shut off nonessential access, and assign one entry point for trained workers only.
Post clear signs at every boundary so everyone on-site understands the hazard and stays out.
Keep traffic, tools, and supplies outside the zone until you’ve finished assessment.
If you need to move materials, route them through clean paths to avoid cross-contamination.
Use Protective Barriers
With the contaminated zone marked and access limited, add protective barriers to separate workers, equipment, and clean areas from sewage exposure.
Use rigid panels, plastic sheeting, or water resistant materials to block splashes and aerosol spread. Seal seams, tape edges, and anchor barriers so they don’t shift during cleanup.
Place absorbent mats outside entry points to catch drips, and route runoff toward drainage systems that won’t recirculate contamination.
You should create controlled access points for trained crew members only, with clear signage and PPE reminders.
When you set up barriers early, your team stays safer, your site stays organized, and everyone works with confidence.
Recheck the perimeter often, especially after pumping, scrubbing, or moving debris, so weak spots don’t compromise the cleanup zone.
Remove Standing Water Quickly
You should remove standing water as quickly as possible with pumps, wet vacs, or extraction equipment.
Fast water removal limits seepage into flooring, walls, and substructures, which helps prevent secondary damage.
Keep working until the affected area’s surface water is gone and you can begin drying and cleanup.
Rapid Water Extraction
Start pumping or mopping out standing sewage water as soon as it’s safe to enter the area, because every minute of delay increases contamination, odor, and material damage.
Use proven water removal techniques, beginning with a wet vac or submersible pump for deeper pooling and absorbent mops for thin layers. Choose extraction equipment rated for dirty water so solids don’t clog it. Work from the lowest point toward the exit to keep runoff controlled.
Empty containers outside the contaminated zone, then resume extraction until no visible liquid remains. You’ll move faster and with less exposure when you team up and keep tools ready.
After each pass, inspect corners, drains, and seams for hidden water. Quick, disciplined extraction helps your crew regain control and limits the spread of sewage.
Prevent Secondary Damage
The faster you remove standing sewage water, the less damage it can do to floors, walls, cabinets, and framing. Act at once, and you’ll protect your home’s structure and your crew’s health. Use sump pumps, wet vacs, and disinfectants to support moisture control, then start routine cleaning.
- Shut off affected circuits.
- Open windows for ventilation.
- Remove porous materials fast.
- Document damage for claims.
- Schedule plumbing inspections after cleanup.
Strong sewage prevention depends on drainage maintenance, waste management, pipe upgrades, flood barriers, and landscaping solutions that move water away from the foundation.
Dry surfaces, dehumidify daily, and check hidden cavities for trapped moisture. When you stay organized and work together, you cut secondary damage and keep your space safer for everyone.
Disinfect Contaminated Surfaces
Once you’ve removed the sewage and scrubbed away visible residue, disinfect every contaminated surface with an EPA-registered disinfectant or a bleach solution labeled for sewage cleanup.
Focus on surface cleaning that reaches cracks, seams, baseboards, and other porous edges where pathogens can linger. Choose disinfectant types approved for sewage exposure, and follow the contact time on the label; wiping it off early cuts effectiveness.
Wear gloves, eye protection, and a mask to reduce exposure while you work. Use fresh solution for each area so you don’t spread contamination from one room to another.
If a surface stays stained, sticky, or odor persists, repeat the treatment until it’s fully sanitary. This step helps you restore a safer space for everyone in your home.
Dry the Area With Commercial Equipment
Bring in commercial fans, air movers, and dehumidifiers to dry the affected area quickly after disinfection.
You’ll control moisture faster when you use targeted drying techniques and verify airflow paths each day. Keep doors open when safe, and place equipment to create cross-ventilation.
Monitor humidity so dehumidifier usage stays efficient and steady. As part of your team, you should keep the space dry, clean, and ready for the next step.
- Position fans low for floor-level air movement
- Run air movers continuously
- Empty dehumidifiers as needed
- Check humidity readings often
- Adjust equipment placement for better coverage
Inspect Walls, Floors, and Subfloors
After the area dries, inspect walls, floors, and subfloors for sewage intrusion, staining, warping, and soft spots.
You should trace water damage from the baseboard up and around seams, then probe damaged materials with a clean tool. If drywall crumbles, flooring lifts, or subflooring flexes, you’ve likely got compromised structural integrity and possible mold growth.
Document every affected area with photos and notes for insurance claims, and keep your findings organized for restoration processes.
Wear PPE and follow safety protocols because lingering contamination can create health hazards. Open windows or run fans only if ventilation issues won’t spread odors or dust.
Mark materials that need removal, then use targeted cleanup strategies to limit repair costs and keep your space safe.
Prevent the Next Sewage Backup
To prevent another sewage backup, have a licensed plumber inspect the line for root intrusion, sagging, blockages, and broken pipes. Then schedule a camera inspection if the cause isn’t obvious.
Pair homeowner education with regular maintenance so you can spot early warning signs and stay connected to neighbors facing the same risks. Use sewer inspections, landscaping solutions, drainage systems, plumbing upgrades, emergency preparedness, and community awareness to reduce repeat failures.
- Clean and test cleanouts annually.
- Install backwater valves where code allows.
- Keep grease, wipes, and debris out.
- Grade soil away from the foundation.
- Document repairs and service dates.
Frequently Asked Questions
How Often Should Sewer Lines Be Professionally Inspected?
You should schedule professional sewer inspections every 1 to 2 years for routine sewer maintenance. If your system’s older, tree-lined, or slow-draining, increase inspection frequency to annual checks to protect your home and community.
What Insurance Typically Covers Sewage Backup Damage?
You’ll usually need homeowner insurance with sewage backup coverage, often added as an endorsement. It typically covers cleanup, repairs, and damaged belongings, but not flooding from outside water unless you’ve bought separate flood insurance.
Are There Warning Signs Before a Sewage Backup Happens?
Yes—you’ll often notice warning signs like sewage odors, slow drains, gurgling sounds, toilet backups, and other plumbing issues before a sewage backup. You can act fast, stay connected, and protect your home.
Can Tree Roots Cause Recurring Sewer Backups?
Yes—like a hidden ivy strangling stone, tree root intrusion can keep causing recurring sewer backups. You’ll need sewer line maintenance, including inspections and root removal, to restore flow and prevent your system from failing again.
How Can I Reduce Sewage Backup Risk During Heavy Rain?
You can reduce sewage backup risk by clearing gutters, testing sump pumps, and sealing basement entry points. Install flood barriers and maintain drainage systems so stormwater moves away fast, protecting your home and neighborhood together.
Recap
By stopping the backup fast, you stop a tiny plumbing problem from turning into a full-blown disaster zone. You protect workers, clear water, disinfect hard surfaces, and dry everything with commercial gear so hidden damage doesn’t silently grow. Then you inspect walls, floors, and subfloors like your home’s future depends on it—because it does. Finally, you prevent the next backup with smart maintenance, so one sewage event doesn’t become an endless nightmare.