

Contents
When sewage backs up, do you wait for the smell to fade, or do you act at once? You stop the source, gear up with gloves, boots, and a mask, then pump out waste and remove damaged items. Next, you disinfect every affected surface, dry the area fully, inspect walls and floors for hidden damage, and call sewage cleanup professionals if the scope isn’t clear yet.
Key Takeaways
- Shut off water sources, locate the blockage, and call a licensed plumber if the backup cannot be safely isolated.
- Wear chemical-resistant gloves, waterproof boots, and a fitted mask before starting any sewage cleanup.
- Extract contaminated liquid with a sewage-rated pump, ventilate the area, and remove unsalvageable materials.
- Disinfect affected surfaces with a properly mixed disinfectant, allowing full wet contact for the required dwell time.
- Inspect for hidden moisture or structural damage, document affected areas, and call professionals if damage remains.
Stop the Sewage Backup at the Source
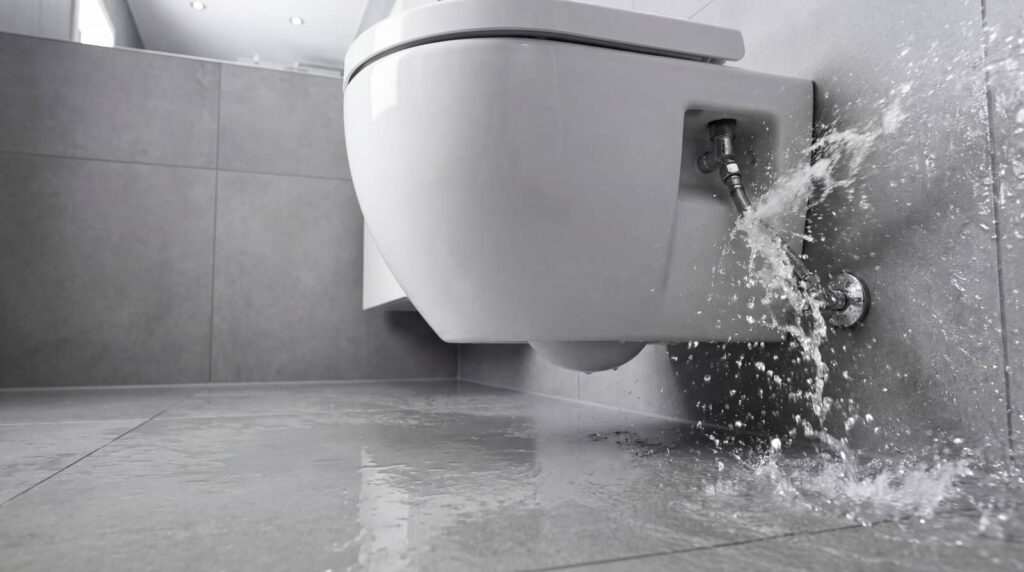
Before you begin cleanup, you need to stop the sewage backup at the source so wastewater no longer enters the affected area.
Shut off nearby water fixtures, then locate the main cleanout or shutoff point and verify the obstruction or line failure. If you can’t isolate it safely, contact a licensed plumber for emergency response.
Document the condition for homeowner insurance, and follow local regulations for reporting and disposal. You protect your household and your community by treating this as a health-risk control step, not a cosmetic task.
Use plumbing maintenance records to identify recurring failures and support backup prevention.
Once flow stops, limit access, reduce exposure, and avoid spreading contamination. Quick action also reduces environmental impact and helps your home stay within a safer recovery path.
Put on Gloves, Boots, and a Mask
Once the source is secured, put on full personal protective equipment before you touch any contaminated surfaces. You’ll need chemical-resistant gloves, waterproof boots, and a fitted mask to reduce health risks and protect personal safety.
Choose protective gear that seals well at the wrists, ankles, and face, because gaps increase contamination concerns. Keep your sleeves over the gloves and your pant legs outside the boots to limit exposure. If your group follows the same safety protocols, everyone stays protected and coordinated.
Avoid touching your face, and replace any damaged item immediately. After each task, remove gear carefully, then begin proper disposal and hygiene practices.
Wash your hands, disinfect reusable items, and follow approved cleaning techniques so you can work confidently and safely.
Pump Out Sewage and Remove Damaged Items
Use a pump rated for sewage to extract the contaminated liquid into a sealed holding tank or approved disposal container.
Work methodically and keep the area ventilated while you remove any damaged items that can’t be sanitized.
Bag and label unsalvageable materials immediately, then move them to a designated disposal zone.
Safe Sewage Extraction
Start sewage extraction by isolating the affected area, donning full PPE, and pumping out standing sewage with a suitable wet vacuum or submersible pump into a contained disposal system.
You’ll protect your team by keeping traffic out and verifying electrical shutoff before you begin.
Apply sewage safety controls throughout the process, including splash reduction, closed transfer hoses, and sealed collection containers.
Use extraction methods that match the volume and access conditions, and work from the outer edge toward the center to limit spread.
As you remove debris, place contaminated items into lined containment bags and label them for disposal review.
Maintain clear communication, monitor odors, and check for hidden pooling under fixtures and trim.
When you follow this sequence, you help your crew stay coordinated, efficient, and safe.
Remove Unsalvageable Materials
With the area still contained and the sewage source controlled, pump out any remaining liquid and remove materials that can’t be cleaned or restored. You’ll protect your team and the space by separating porous items immediately. Bag debris, seal it, and document each load for proper material disposal.
- Cut out soaked drywall, insulation, and carpet padding.
- Remove warped wood, contaminated fabric, and damaged insulation.
- Place salvageable items in a clean holding zone.
- Check hidden cavities for residue and health risks.
Wear full PPE, work from clean to dirty zones, and avoid cross-contamination. If you see saturated structural components, treat them as unsalvageable until a qualified inspector clears them.
This step reduces odor, limits microbial spread, and prepares the area for disinfection and rebuilding.
Disinfect All Affected Surfaces
After you finish removing visible contamination, disinfect every affected surface to reduce the risk of lingering pathogens.
You should wear gloves and eye protection, then mix a disinfectant approved for sewage cleanup according to the label. Apply it to floors, walls, baseboards, fixtures, and tools you kept.
Use disinfection techniques that maintain full wet contact for the specified dwell time, because rushed application weakens control. Scrub porous-looking residue first, then repeat surface sanitization on seams, corners, and undersides where contamination can hide.
Don’t mix chemicals, and don’t wipe the solution off early unless the product directions require it.
If you and your crew stay methodical, you’ll restore a safer space and help everyone feel confident returning to the area together.
Dry the Area to Prevent Mold
Once the disinfectant has finished its dwell time and the surfaces are clean, remove moisture quickly to limit mold growth.
You’ll protect your space and support mold prevention by restoring moisture control right away. Open windows if conditions allow, then run fans to move air across wet surfaces. Set dehumidifiers to pull humidity down and empty them often. Use wet vacuums, absorbent towels, and mops to lift standing water before it spreads.
Keep airflow steady until all accessible materials feel dry.
- Position fans to cross-ventilate the room.
- Run dehumidifiers continuously in closed areas.
- Replace saturated towels and pads promptly.
- Monitor humidity until it stays low.
Check Walls and Floors for Hidden Damage
Inspect walls and floors for hidden damage before you restore the space to normal use. You should probe baseboards, drywall, trim, and flooring for soft spots, staining, warping, and separation at seams.
Use moisture detection tools to map damp zones behind finishes and around joints, then compare readings across adjacent surfaces. Check for bulging paint, swollen subflooring, and cracked grout, since these signs can indicate trapped contamination.
If you find compromised materials, mark the affected areas and document the extent for your cleanup plan. Protect structural integrity by confirming that framing, joists, and wall cavities stay sound and dry.
Work methodically, and you’ll help your home feel safe again, with every surface ready for the next step in recovery.
Call Sewage Cleanup Pros Right Away
If your wall or floor checks reveal hidden moisture, staining, or soft material, call sewage cleanup pros right away. You need an emergency response team that can isolate the area, assess contamination, and start controlled removal before damage spreads.
Sewage exposure carries serious health risks, so don’t wait for odors to fade or surfaces to dry.
- Shut off access to the affected room.
- Keep children and pets out.
- Avoid touching wet materials.
- Document visible damage for the crew.
When you bring in trained technicians, you’re protecting your home and your people. They’ll use proper containment, disinfection, and drying protocols, then verify that moisture levels return to safe ranges.
That’s how you move forward with confidence and stay part of a safer recovery process.
Frequently Asked Questions
How Long Does Sewage Contamination Remain Dangerous?
It can stay dangerous for days or weeks, depending on contamination types and cleanup quality. You’ll face long term effects if you handle it improperly, so you should isolate, disinfect, and verify clearance before reentry.
Can Sewage Backup Affect My Home Insurance Claim?
Yes, your sewage backup can affect your home insurance claim—because insurance loves surprises. You’ll need to check your insurance policy, coverage limits, and endorsements, then document damage, file promptly, and follow procedures exactly.
What Health Symptoms Require Medical Attention After Exposure?
You should seek medical evaluation if you develop fever, vomiting, diarrhea, abdominal pain, rash, coughing, breathing trouble, eye irritation, or worsening fatigue. Prompt symptom recognition helps you protect yourself and your household.
Should I Keep Electrical Power on During Cleanup?
No, you shouldn’t keep power on; shut off electricity first to reduce electrical hazards. Follow safety precautions, and if you’re unsure, you can join others by calling a licensed electrician before cleanup begins.
How Soon Can I Safely Re-Enter the Affected Area?
You can re-enter only after cleanup and drying are complete—because wading into sewage like a hero isn’t wise. Follow safety precautions and re entry guidelines; you’ll usually return after 24–48 hours, pending inspection.
Wrap-Up
By stopping the backup, suiting up, pumping out waste, disinfecting surfaces, drying the area, checking for hidden damage, and calling pros when needed, you close the loop on safe sewage cleanup. Follow these steps in order, because each one reduces contamination and limits structural risk. Think of the process like sealing a breach in a dam: if you miss one point, the damage can spread. Act quickly, stay methodical, and protect your space.