

Contents
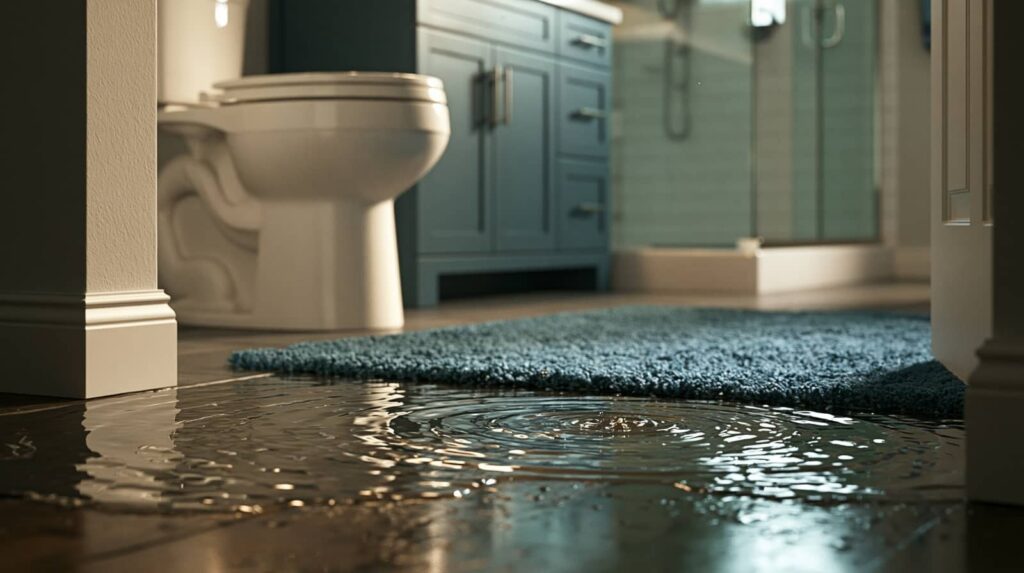
When sewage invades your space, it acts like a silent storm cloud over everything it touches. You need to Clean Up Sewage by first assessing the damage safely, stopping the source, and containing the spread before moving anything. Then, remove contaminated materials, disinfect every affected surface, and dry the area completely so hidden moisture doesn’t lead to mold growth. The final step can determine whether your space is truly recoverable.
Key Takeaways
- Assess the area safely from a distance, wear protective gear, and shut off electricity only if it can be done safely.
- Stop the sewage source, contain spread with plastic barriers, and keep people out of the contaminated area.
- Remove porous or visibly contaminated materials in sealed bags; avoid dry sweeping or actions that spread contaminants.
- Disinfect all exposed surfaces with an EPA-registered disinfectant, then dry the area with dehumidifiers and air movers.
- Inspect for hidden moisture, mold, and structural damage, replace damaged materials, and monitor until readings stabilize.
Check the Damage Safely First
Before you start any cleanup, check the damage from a safe distance and treat the area as contaminated. You should wear protective gear before entering, then inspect floors, walls, and fixtures for visible sewage, soaking, and structural weakening.
Keep others out and document what you see for insurance and repair planning. Use safety precautions such as turning off electricity only if you can do it without exposure, and avoid touching surfaces with bare skin.
A careful damage assessment helps you decide what materials need disposal, drying, or professional handling. If the odor is strong, the waterline is rising, or the space feels unstable, step back and call qualified help.
You’re not alone in this process; careful evaluation protects your household and supports a safer recovery.
Stop the Sewage Source and Contain It
If you can do so safely, stop the sewage at its source right away by shutting off the affected fixture, closing the main water supply, or stopping any appliance feeding the backup.
Then identify all sewage sources so you can prevent more overflow and protect your space. Use containment methods that keep contaminated water from spreading into clean areas and shared paths.
- Shut valves, breakers, or controls linked to the backup.
- Block floor openings with plastic sheeting and tape.
- Place absorbent barriers at door thresholds.
- Keep traffic out so your team stays safer.
You’re not handling this alone; these steps help you regain control fast and create a safer setup for the next cleanup stage.
Remove Sewage and Contaminated Materials
You should identify every porous or visibly contaminated item, including drywall, insulation, carpet, and baseboards, because sewage can penetrate materials that look only lightly affected.
Remove damaged materials carefully, using sealed containers or heavy-duty bags to limit spread, and avoid dry sweeping or breaking up debris that can aerosolize contaminants.
Bag all waste securely, label it if required by local rules, and dispose of it through approved channels to prevent further exposure.
Identify Contaminated Materials
Sewage can contaminate far more than the visibly soaked area, so inspect every affected surface and material before cleanup begins.
Use material assessment to separate porous items from nonporous ones and note contamination types such as direct soak, splash, and wicking. You’ll protect your household best when you document each zone and work methodically.
Check drywall, insulation, carpet, and padding for hidden saturation.
Inspect wood framing, subfloors, and baseboards for seepage at joints.
Look at furniture seams, fabric backing, and cushions for trapped waste.
Evaluate HVAC returns, vents, and nearby tools for spread.
Mark anything that shows odor, staining, swelling, or residue, because those signs tell you contamination has spread beyond the obvious edge.
Remove Damaged Items
Start by removing all contaminated materials that can’t be fully cleaned and disinfected, including soaked drywall, insulation, carpet padding, carpet tack strips, warped wood, and any porous furnishings with visible waste, staining, or odor.
You’ll make faster progress when you work room by room and keep the clean zone separate from the damaged area. Use furniture removal methods that let you move salvageable pieces without dragging residue across floors.
Disconnect utilities before appliance disposal, then take out refrigerators, washers, and water heaters only if sewage reached their bases or interiors.
Strip out baseboards, trim, and underlayment that absorbed moisture. Inspect hidden cavities for trapped contamination, and remove anything that stays damp or smells after exposure.
Stay organized, and you’ll protect your home and your crew.
Bag And Dispose Safely
Once you’ve pulled out the damaged materials, bag contaminated debris immediately so it doesn’t spread through the rest of the property. You should wear gloves, boots, and a respirator, then seal waste in heavy-duty contractor bags. Keep each bag only two-thirds full so you can close it tightly without tearing.
Follow these steps:
- Line a second bag if the waste is wet or sharp.
- Double-bag porous items like carpet, insulation, and drywall.
- Label bags as sewage-contaminated before moving them.
- Check local disposal regulations before placing anything at the curb.
Move bags outside fast, but keep them away from clean tools and living areas.
These safety precautions help you protect your home crew, reduce odor, and keep cleanup on track.
Disinfect the Commercial Space Thoroughly
After you remove all contaminated debris, you’ll need to disinfect every exposed surface with an EPA-registered disinfectant mixed and applied at the label’s required concentration and contact time.
Work methodically from clean areas toward the most affected zones, scrubbing nonporous surfaces first so the disinfectant can penetrate residue and reduce microbial load.
Then disinfect all high-touch points—door handles, switches, railings, counters, and equipment controls—since these areas can spread contamination if you miss even one pass.
Surface Sanitization Steps
Disinfect every affected surface with an EPA-registered sanitizer or disinfectant labeled for sewage cleanup, following the product’s contact time exactly.
After surface cleaning, rinse if the label requires it, then let areas dry completely so your sanitation techniques work as intended. You’re protecting your team and restoring a clean, safe space together.
- Mix the solution exactly as directed.
- Apply it evenly with clean cloths or sprayers.
- Keep surfaces visibly wet for the full dwell time.
- Replace contaminated cloths and gloves often.
Work methodically from the cleanest zone toward the dirtiest, and don’t skip walls, counters, trim, or sealed floors.
Use fresh supplies, ventilate the space, and inspect for residue before reopening.
High-Touch Area Disinfection
Because high-touch surfaces spread contamination fastest, you’ll need to disinfect every commercial contact point with extra care, including door handles, push bars, light switches, elevator buttons, shared equipment controls, faucets, railings, and reception counters.
Use EPA-registered cleaners first, then apply approved disinfectants at the correct dilution and dwell time. Work from cleaner zones to dirtier ones, and change cloths or wipes often so you don’t cross-contaminate high touch surfaces.
Wear gloves, eye protection, and boots when needed, and ventilate the space well. For porous items, follow the product label or replace them if contamination soaked in.
Document your disinfection methods, including dates, products, and contact times, so your team can verify compliance and feel confident the space is safe again.
Dry Walls, Floors, and HVAC Systems
Once you’ve removed standing water and unsalvageable materials, you need to dry the remaining walls, floors, and HVAC components as quickly as possible to limit mold growth and structural damage.
Use industrial dehumidifiers and air movers to pull moisture from framing, drywall, and subflooring. If you’re pursuing drywall restoration, keep airflow steady and check damp spots daily.
For flooring, lift baseboards and run fans under edges; if warping continues, plan floor replacement. Shut off the HVAC, then schedule HVAC cleaning to clear contaminated dust and moisture from ducts, coils, and registers.
- Seal the area.
- Position equipment.
- Measure moisture levels.
- Maintain drying until materials stabilize.
Inspect for Hidden Damage and Mold
After drying slows the worst damage, inspect hidden cavities, framing, and finishes for trapped moisture, staining, soft spots, and mold growth.
Use inspection techniques like probing baseboards, lifting trim, and checking behind insulation, cabinets, and wall voids. A moisture assessment with a meter helps you find hidden leaks that visual checks miss.
Watch for musty odors, bubbling paint, warped wood, and dark spotting, since these signs can signal active mold growth and health risks.
If you find damp materials, isolate the area and document each finding for targeted remediation strategies.
Protect your air quality by running ventilation only after filters are clean and contamination is contained.
Keep your team aligned with clear prevention tips: dry fast, monitor daily, and repeat checks until readings stay stable.
Repair Damage and Prepare to Reopen
With hidden moisture mapped out, you can move from assessment to structural repair and final cleanup so the space can safely reopen.
Replace porous drywall, insulation, baseboards, and any warped framing you can’t fully disinfect. Seal concrete, sanitize hard surfaces, and verify drying with moisture meters before you close walls.
Coordinate temporary barriers, so you protect clean zones and keep business continuity on track.
- Remove damaged materials and bag waste immediately.
- Repair plumbing, flooring, and wall assemblies to code.
- Disinfect, dry, and document every finished area.
- Share clear customer communication about reopening timing and access.
Reinstall fixtures, test HVAC, and confirm odor control.
Then walk the site with your team, verify safety checks, and reopen only when you’re confident the space feels clean, stable, and ready for everyone.
Frequently Asked Questions
How Do I File a Sewage Damage Insurance Claim?
You file a sewage damage insurance claim by notifying your insurer, documenting damage, and submitting forms promptly. Follow claim process requirements, keep receipts, photos, and contractor estimates; these documentation tips strengthen your case.
When Should I Call Local Health Authorities After Sewage Backup?
Call local health authorities immediately if backup signs linger or spread, because health risks escalate fast. You’ll protect your home, neighbors, and crew by reporting any sewage exposure, foul odors, or repeated overflow right away.
Can Sewage Damage Affect Nearby Tenants or Customers?
Yes—sewage damage can affect nearby tenants or customers by increasing health risks and contamination spread. You should isolate the area, protect tenant safety, and act fast; untreated damage can also reduce property value and trust.
What Permits Are Needed for Sewage-Related Repairs?
You’ll usually need plumbing, building, and sometimes health permits; local sewage repair regulations may also demand necessary inspections. Check with your city first—because bureaucracy loves surprises almost as much as sewage does.
How Long Should I Keep Records After Sewage Cleanup?
You should keep records for at least seven years; insurance, warranty, and permit claims often need them. Save photos, invoices, lab reports, and your cleanup timeline to support record retention and future repairs.
Recap
You’ve handled the worst of the sewage cleanup, but don’t rush the final check. Verify every surface is dry, inspect walls, floors, and HVAC for hidden moisture, and repair any damage before reopening. If you skip this step, mold can spread like an unseen fire in the walls. Keep documenting conditions, use approved disinfectants, and confirm the space is safe. With careful follow-through, you’ll restore the area and protect everyone who enters it.