

Contents
You can speed up fire cleanup without making the damage worse. First, you’ll check for safety risks, then remove soot, dry out water, and sort salvageable contents before odors set in. The key is using the right tools in the right order, because rushing the wrong step can lock in smoke and spread residue. Here’s how you handle each stage efficiently and know when to call in help.
Key Takeaways
- Confirm the structure is safe, shut off utilities if possible, and wear protective gear before entering.
- Remove loose soot and smoke residue quickly with a HEPA vacuum, dry sponge, and microfiber cloths.
- Clean hard surfaces with a pH-neutral cleaner using light strokes, working from top to bottom.
- Extract standing water, improve airflow with fans, and run dehumidifiers to prevent moisture damage.
- Photograph belongings, sort salvageable items, and call professionals for heavy soot, odor, or hidden damage.
Check for Fire Damage and Safety Hazards
Before you start cleaning, inspect the area for visible fire damage and immediate safety hazards. You should enter only if local authorities say it’s safe, and you’ve confirmed stable footing, intact walls, and no active heat.
Use fire safety basics: shut off electricity and gas if you can do so without risk, and keep children, pets, and unprotected people away.
Perform a careful hazard assessment for weakened ceilings, sharp debris, exposed wiring, and hidden hot spots. Wear gloves, boots, eye protection, and a respirator if smoke remains.
If you smell gas, hear hissing, or see structural shift, leave at once and call emergency services.
When you check first, you protect your crew, your home, and your place in recovery.
Remove Soot and Smoke Fast
Once the area is safe, move quickly to remove loose soot and smoke residue before they bond to surfaces and spread deeper into materials. You’ll protect your home faster by using dry-cleaning sponges, HEPA vacuums, and microfiber cloths on ceilings, walls, and hard surfaces.
Work from top to bottom, and replace soiled tools often so you don’t redeposit grime. For sensitive finishes, test a small spot before applying any cleaner.
Use soot removal techniques matched to the surface: gentle wiping for painted walls, specialized cleaners for metal, and careful vacuuming for upholstery.
Address smoke odor elimination at the same time by opening the space, filtering air, and cleaning hidden crevices.
Stay methodical, and you’ll help your space feel clean again.
Dry Out Water From Firefighting
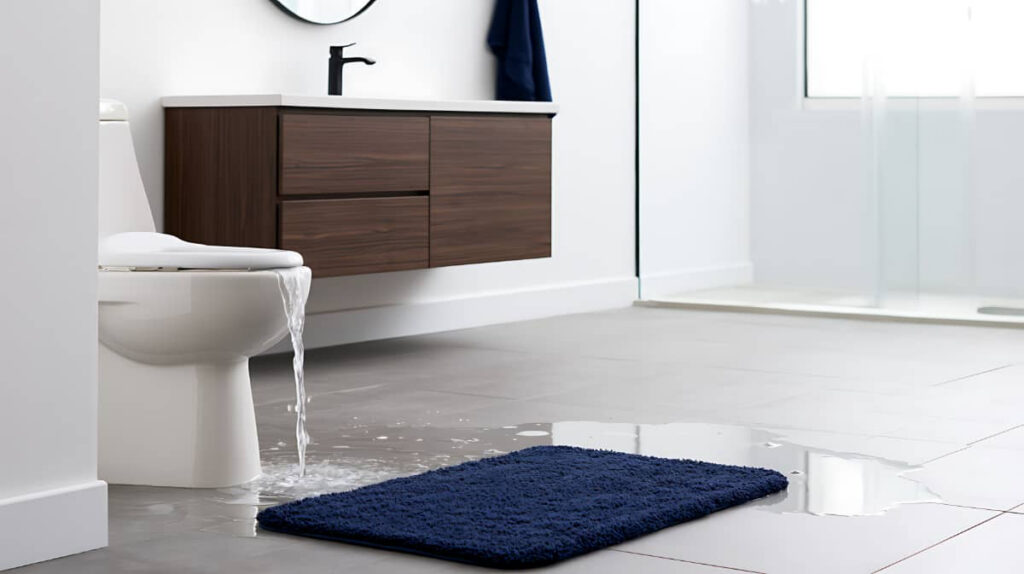
Start by removing any standing water with pumps, wet vacs, or towels so moisture doesn’t keep spreading.
Then boost air circulation with fans and open windows, and run dehumidifiers in damp rooms to pull water out of walls, floors, and furnishings.
These steps help you dry the space quickly and reduce the risk of mold and further damage.
Remove Standing Water
Immediately remove any standing water left by firefighting so it doesn’t soak deeper into floors, walls, and structural materials.
You should start water extraction with pumps, wet vacs, or absorbent tools, working room by room to keep the damage contained.
After the bulk water is gone, perform a moisture assessment on floors, baseboards, and low wall areas to confirm what still needs attention.
Don’t leave hidden pockets behind cabinets, under rugs, or inside cavities, since trapped water can weaken materials fast.
You’re not dealing with this alone; a disciplined cleanup plan helps your space recover faster and more safely.
Keep surfaces checked until they feel stable and no fresh seepage appears.
Boost Air Circulation
With standing water removed, you can speed drying by increasing airflow throughout the affected areas. Open windows if weather allows, and place fans to move air across walls, floors, and hidden corners.
You’ll help moisture escape from porous materials and reduce the chance of lingering smoke odor. If your home has ventilation systems, run them continuously to refresh the space and keep air moving through closed rooms.
Position air purifiers to support circulation, not replace it, especially where soot may still float. Keep doors open between adjoining rooms so air can travel freely.
Work in a coordinated pattern, checking that each area feels steady airflow. You’re not doing this alone; these steps help your space recover faster and set up the next phase of cleanup confidently.
Dehumidify Damp Areas
Next, bring in dehumidifiers to pull moisture left behind by firefighting efforts from walls, floors, and framing. You’ll speed drying and protect the space from secondary damage.
Set dehumidifier settings to match room size, temperature, and humidity, then check them daily. Keep doors and windows closed so the units can work efficiently.
Place hoses to drain continuously when possible, and empty reservoirs before they overflow. Use a hygrometer to track moisture control in each affected area, especially near baseboards and hidden cavities.
If surfaces still feel damp after 24 hours, keep equipment running and recheck airflow. You’re not handling this alone steady drying helps your home recover safely, one controlled step at a time.
Clean Soot and Remove Smoke Odors
Start by removing loose soot with a HEPA vacuum and a dry chemical sponge, working from top to bottom so you don’t spread the residue. For effective soot removal, keep your strokes light and replace sponges when they load up.
Then wipe hard surfaces with a pH-neutral cleaner and microfiber cloths; harsh chemicals can set stains and damage finishes. Use targeted smoke neutralization to cut odors at the source.
- Vacuum ceilings, walls, and trim first.
- Clean surfaces with minimal moisture.
- Run air scrubbers or odor absorbers as needed.
You can handle this with steady steps, and you’re not doing it alone many crews use the same sequence to restore clean air and a safer feel in the space.
Save Contents and Make an Inventory
First, photograph each affected item from multiple angles to document its condition before you move anything.
Then sort belongings into salvageable, damaged, and discard categories so you can prioritize recovery and disposal.
Label each storage group clearly to keep items organized and protect what you can save.
Photograph Affected Items
Before you move or discard anything, photograph each affected item from multiple angles and capture close-ups of visible soot, water damage, warping, and corrosion.
Use steady photograph techniques: keep the lens level, fill the frame, and include a reference object or room marker when needed. This gives you clear insurance documentation and helps your claims process stay organized.
You’re not doing this alone; a careful record protects your household’s next steps and keeps your team aligned.
- Wide shot of the room and each item in place
- Close-up of labels, serial numbers, and damage points
- Timestamped image set stored in one folder
Name files consistently, and back them up right away. A complete visual log makes cleanup faster and safer for everyone involved.
Sort Salvageable Belongings
Once you’ve documented the damage, sort every item into clear groups: salvageable, questionable, and unsalvageable.
Work methodically so you can protect what matters and reduce guesswork. Check each surface for heat warping, soot penetration, moisture, and odor.
Use salvage techniques suited to the material, and separate anything that needs specialist cleaning from items you can handle safely.
Treat sentimental items with extra care; even if they’re damaged, keep them in the review group until you know their condition.
Build a simple inventory as you go, noting what you found and where it came from. This helps you stay organized, preserve your sense of control, and focus on the belongings most likely to return to your home.
Label Storage Categories
After you’ve sorted what can be saved, label each storage category so nothing gets mixed back in. Use durable label types that resist heat, moisture, and smudging, and place them on bins, boxes, and shelving.
Create clear storage solutions for items you’ll keep, clean, document, or discard. Then make a simple inventory so you can track every piece and know where it belongs. That keeps your process organized and helps your household feel steadier during cleanup.
Keep: seal intact items in labeled containers.
Clean: group contents needing washing or deodorizing.
Document: list valuables, photos, and records before moving them.
Update your inventory as you pack. If you stay consistent, you’ll reduce mix-ups, save time, and protect what matters most.
Call Fire Damage Cleanup Pros When Needed
If the fire left deep soot, heavy smoke odor, water damage, or structural instability, call fire damage cleanup pros right away. You’ll protect your home, your health, and your peace of mind.
Certified teams use moisture meters, HEPA vacuums, air scrubbers, and thermal tools to assess hidden damage fast. They also document losses for insurance claims, helping you keep records accurate and your restoration timeline realistic.
If walls, wiring, or HVAC systems are affected, don’t guess trained technicians can test, isolate, and stabilize hazards before cleanup continues. You’re not alone in this process; pros can guide you through each step and restore a safer, cleaner space with less stress and fewer delays.
Frequently Asked Questions
How Soon Should Fire-Damaged Items Be Tossed?
Toss them immediately after a fire damage assessment confirms they’re unsafe or unsalvageable. You can keep salvageable items only if they’re cool, dry, and odor-free; otherwise, discard them fast to protect your home and peace of mind.
Can Smoke Odors Return After Cleaning?
Yes, smoke odors can return if you miss hidden residue. You’ll need thorough smoke removal techniques and odor neutralization methods, plus sealing porous surfaces. Act quickly, and you’ll restore comfort and confidence in your space.
Will Insurance Cover Temporary Housing Costs?
Yes, your insurance policy may cover temporary accommodation, like a lifeboat in a storm, if your home’s uninhabitable. You’ll need to check limits, document costs, and contact your insurer quickly for confirmation.
How Do I Restore Fire-Damaged Electronics?
You’ll restore fire-damaged electronics by powering them off, drying them, and seeking electronic salvage or data recovery pros. Don’t test them yourself; smoke, heat, and soot cause hidden shorts. Your gear deserves careful, expert recovery.
Should I Replace HVAC Filters After a Fire?
Yes—replace them immediately. Like a smoke alarm’s warning, fire leaves soot and odors in filters. You’ll protect your HVAC maintenance system and family comfort by choosing the correct filter types and scheduling inspection.
To Sum Up
When you’re cleaning fire damage fast, start by checking safety, then move top to bottom: clear soot, dry water, and inventory every salvageable item. I once saw a kitchen recover after a small grease fire the walls were dark, but the process was like peeling charcoal off an orange, revealing what was still intact. If damage is heavy, don’t push it alone; call pros. Acting quickly can cut odor retention and secondary damage dramatically.