

Contents
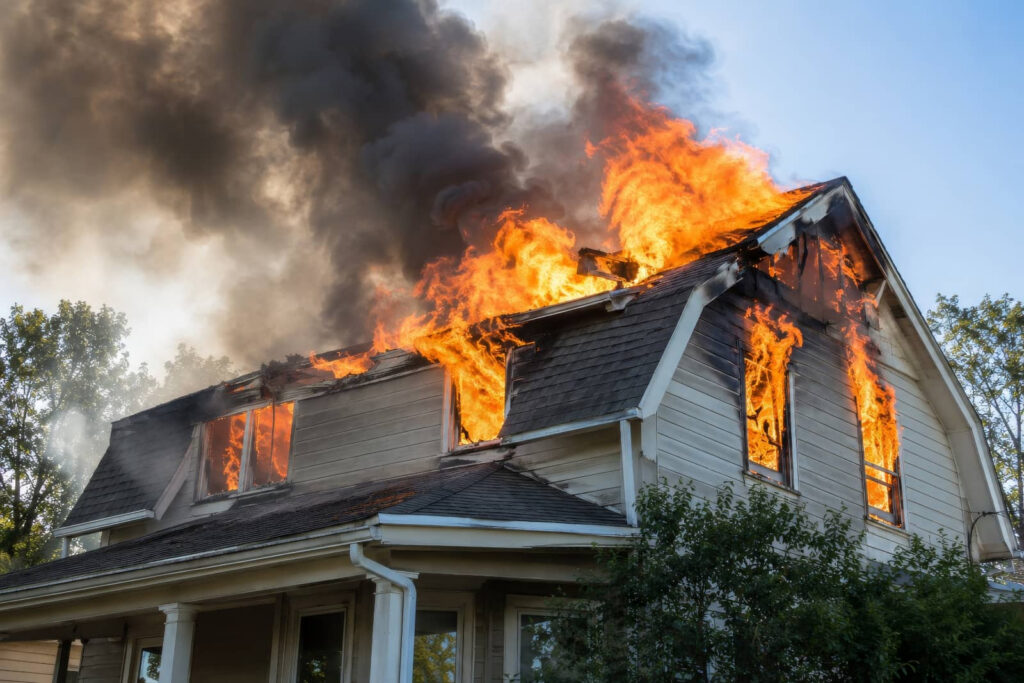
When you start storm water damage reconstruction, you need to check for hidden hazards before anything else, because a weakened structure can look stable and fail fast. You’ll also need to remove standing water quickly, then dry walls and floors with controlled airflow and dehumidification. After that, you can decide what to repair, what to replace, and how to restore finishes without trapping moisture. The order matters more than you might think.
Key Takeaways
- Inspect the structure first for cracks, sagging, exposed wiring, gas leaks, and other safety hazards before entering damaged areas.
- Pump out standing water quickly, starting in the lowest areas, and direct discharge away from the building.
- Dry walls and floors immediately with fans, dehumidifiers, and open windows when weather allows.
- Remove and replace porous materials like insulation and carpet padding that trap water and promote mold.
- Verify hidden moisture is gone, then restore finishes using mold-preventive materials and proper sealing.
Check for Damage and Safety Hazards
After a storm, do a quick but thorough walkthrough to spot structural damage and immediate hazards before anyone starts cleanup or repairs.
You should check ceilings, walls, floors, windows, doors, and the roofline for cracks, sagging, loosened materials, or impact damage. Use safety inspections to confirm that framing, electrical fixtures, and gas lines haven’t shifted or failed.
For hazard identification, watch for exposed wiring, sharp debris, unstable surfaces, broken glass, and leaking utilities. If you smell gas, hear hissing, or see sparking, leave the area and call professionals right away.
Mark unsafe rooms and keep everyone out until you’ve verified they’re stable. When you work together and stay alert, you protect your crew, reduce risk, and set up a safer recovery.
Remove Standing Water Fast
Once you’ve cleared safety hazards, remove standing water as quickly as possible to limit structural damage, mold growth, and material failure.
Start with the lowest areas and move water toward exits or temporary drainage solutions. Use the right pump types for the volume and debris load: submersible pumps handle deeper water, while utility pumps work well for shallower pools.
Place discharge hoses where runoff won’t re-enter the building or overwhelm neighboring areas. If water is thin and widespread, squeegees, wet vacs, and buckets can help your team finish faster.
Check for hidden pockets under appliances, in cavities, and behind built-ins. Work methodically, document progress, and coordinate with your crew so everyone stays aligned and efficient.
Dry Out Walls and Floors
Open the structure to air movement and start drying walls and floors immediately. You should set up fans, dehumidifiers, and open windows when weather allows.
Remove baseboards if needed to improve airflow at the wall cavity. Keep surface temperatures stable, and monitor humidity so you can adjust drying techniques fast.
Check hidden spaces with a moisture meter, especially behind trim and along floor edges. Wipe standing dampness from smooth surfaces, and lift rugs or pads so air reaches the floor.
Stay on a daily inspection schedule, because moisture control works best when you track progress closely. You’re not doing this alone; use the same routine your team follows to keep every room moving toward safe dryness and reduce the risk of lingering odors, mold, or warped finishes.
Repair or Replace Damaged Materials
Inspect each wet or swollen material and decide whether you can salvage it or need to remove it. You should assess materials by type, exposure time, and structural condition.
Solid wood, metal, and some masonry may dry and return to service if they show no warping, rust, or separation.
Porous products like insulation, particleboard, and carpet padding usually need replacement because they trap water and lose strength.
Compare repair effort with cost considerations, because saving a damaged item isn’t smart if labor, transport, and rework exceed replacement.
Match new pieces to the existing assembly so your crew stays aligned and the rebuild moves faster.
Document what you keep, what you remove, and why, so everyone on your team can follow the same plan with confidence.
Restore Finishes and Prevent Mold
After you’ve replaced unsalvageable materials, rebuild the finish layers that protect the structure and control moisture. You’ll restore drywall, trim, flooring, and coatings with finish restoration methods that match the original assembly.
Keep the area dry and ventilated so your team can work safely and stay on schedule.
- Inspect framing for hidden damp spots.
- Install vapor-open materials where appropriate.
- Seal joints, penetrations, and edges.
- Run dehumidifiers until moisture readings stabilize.
Use mold prevention practices at every step: clean dust, remove wet insulation, and apply approved antimicrobial treatments when needed.
Choose finishes that tolerate humidity and allow drying. If you stay disciplined, you’ll help the space recover faster and protect everyone who lives or works there.
Frequently Asked Questions
How Soon Should I Contact My Insurance Company After Storm Damage?
Contact your insurance company immediately, ideally within 24 hours, so you can start the insurance claim process and schedule a storm damage assessment. Acting fast helps you protect coverage, document losses, and keep your community rebuilding.
Can I Stay in My Home During Storm Water Reconstruction?
Yes, you can stay if structural drying is complete and hazards are controlled, but you’ll need safety precautions and temporary living arrangements if mold, electrical risks, or sewage contamination remain. Your contractor should assess conditions first.
What Permits Are Needed for Storm Damage Repairs?
You’ll usually need building, electrical, plumbing, and sometimes demolition permit types for storm damage repairs. You should check local repair regulations first, then submit plans, fees, and inspections so your work passes code and protects your community.
How Do I Choose a Reliable Storm Damage Contractor?
Choose a contractor like you’d choose a steady hand in a storm: check contractor qualifications, licenses, insurance, and references, then compare bids, review the project timeline, and trust clear communication and proven local experience.
What Documents Should I Keep for Storm Damage Claims?
Keep claim documentation, damage assessment photos, repair estimates, receipts, adjuster notes, and correspondence. You’ll strengthen your claim, track losses, and stay connected to the process. Organize everything chronologically, and back it up digitally.
Review
By checking for hazards first, you’ll keep the site safe and avoid added damage. Remove standing water as soon as possible, because moisture spreads fast, like ink on paper. Then dry walls and floors with fans, dehumidifiers, and open airflow. Next, repair or replace compromised materials based on salvageability. Finally, restore finishes with moisture-resistant products and keep mold prevention in place so your storm water damage reconstruction stays durable and clean.