

Contents
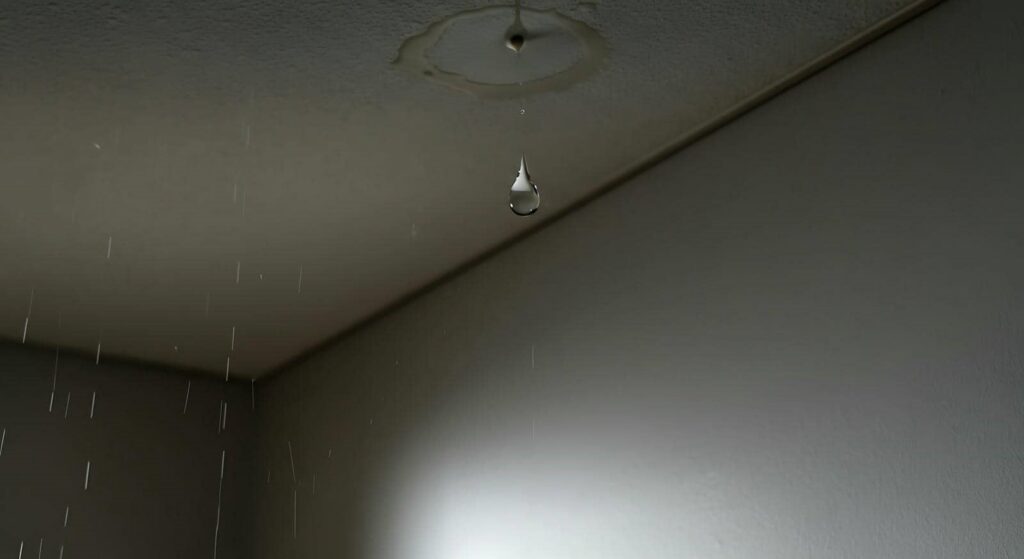
When you discover a ceiling leak, it’s essential to act quickly to minimize water damage. Start by evaluating the extent of the issue and ensuring your safety. You’ll want to turn off the electricity and water supply right away. The next steps are just as important, from removing affected furniture to drying the area thoroughly. But what should you do next to prevent further complications? Let’s explore effective strategies for efficient cleanup.
Key Takeaways
- Inspect the ceiling for water stains, sagging, or mold growth, and document all damage for insurance claims.
- Turn off electricity and water supply before starting cleanup to ensure safety from hazards.
- Remove furniture and belongings from the affected area, protecting them with blankets or wraps to prevent further damage.
- Use dehumidifiers and fans to dry out the area thoroughly, monitoring humidity levels to prevent mold growth.
- Consider hiring professionals for repairs and ensure you document all interactions and agreements for insurance purposes.
Assess the Damage Immediately
As soon as you notice a ceiling leak, it’s important to assess the damage immediately to prevent further issues.
Start by inspecting the affected area closely; look for water stains, peeling paint, or sagging drywall. These signs indicate how extensive the damage might be. You’ll want to check for mold growth, which can develop quickly in damp conditions.
Next, take note of any structural concerns. Is the ceiling bowing or cracking? Document your findings for a more thorough damage assessment. This information will be significant for repairs or when discussing with specialists.
Your immediate response is critical. If the leak is significant, act quickly to limit the damage and protect your home.
Turn Off Electricity and Water Supply
Before you start any cleanup, safety’s your top priority.
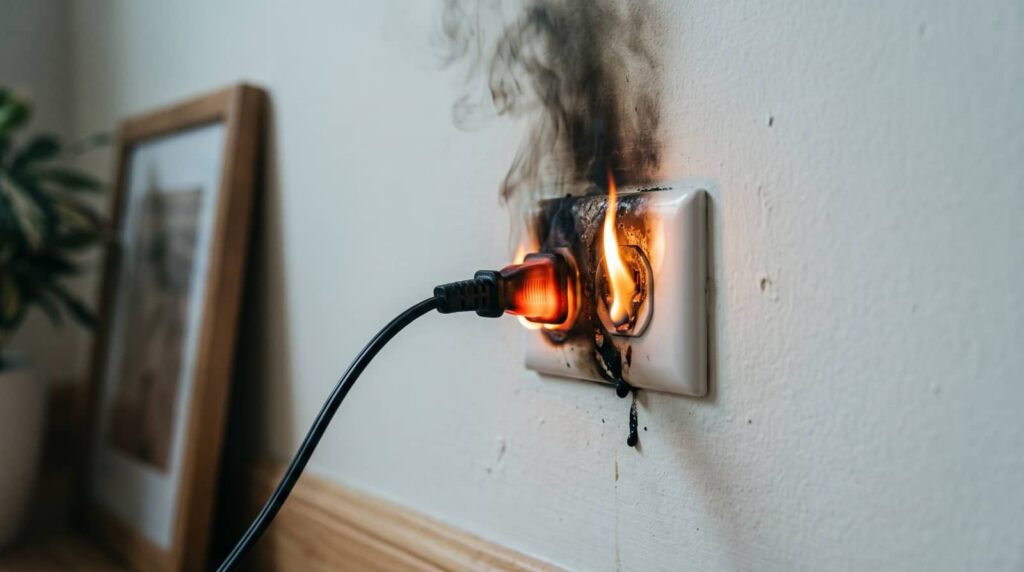
First, locate the main electricity switch and turn it off to prevent any electrical hazards, then follow up by shutting off the water supply to stop further leakage.
Taking these steps will protect you and help minimize additional damage to your home.
Safety First
When tackling a ceiling leak, your first priority should be ensuring safety by turning off the electricity and water supply.
Start by locating your main circuit breaker and shutting off power to the affected area. This prevents any risk of electrical shock while you clean up.
Next, turn off the water supply to stop further damage. Wearing protective gear like gloves and goggles is essential to shield yourself from contaminants.
It’s wise to keep emergency contacts handy—whether it’s a plumber or an electrician—so you can quickly reach out for professional help if needed.
Locate Main Switch
To effectively manage a ceiling leak, you need to locate the main switch for both electricity and water supply right away.
Start by finding the main breaker in your electrical panel. This is essential, as it helps prevent electrical hazards while you assess the leak. Once you’ve identified the main breaker, flip it off to secure your safety. You don’t want to risk electrocution while dealing with water damage.
Next, check your water supply line and shut that off as well. By taking these steps, you’re protecting yourself and your home.
Shut Off Water
Shutting off the water supply is essential to prevent further damage from a ceiling leak. First, locate your main water shutoff valve, which is typically near your water meter or where the water line enters your home. Turn the valve clockwise to stop the water flow.
Next, prioritize your safety by turning off the electricity in the affected area. This step minimizes the risk of electrical hazards caused by standing water.
Being prepared for emergencies like this means knowing your home’s layout and where to find these shutoff points. By acting quickly, you protect your home and belongings from extensive damage.
Remove Furniture and Belongings
Start by carefully removing any furniture and belongings from the affected area to prevent further damage and facilitate the cleanup process. This step is essential to protect your valuable items and make the cleanup more efficient.
Here are some tips for effective removal:
Use furniture protection: Wrap delicate items in moving blankets or plastic wrap to shield them from moisture.
Organize belongings storage: Sort your items into categories like keep, repair, or discard, which makes it easier to assess what can be salvaged.
Move items to a dry location: Confirm you relocate everything to a space where they won’t be exposed to more water damage.
Document your belongings: Take photos of your items before moving them to have a record for insurance claims.
Taking these steps safeguards your possessions and lays the groundwork for a successful cleanup.
Dry the Affected Area
Once you’ve removed your furniture and belongings, it’s time to assess the extent of the water damage.
Use dehumidifiers strategically to draw moisture out of the air and the affected surfaces, ensuring you position them in the right spots for maximum efficiency.
Also, keep windows open and fans running to maintain proper airflow, which will speed up the drying process and help prevent mold growth.
Assess Water Damage Extent
Evaluating the extent of water damage in your ceiling is essential for effective cleanup and restoration.
Start by identifying the water source to prevent further issues. Once you’ve addressed that, conduct a thorough damage assessment.
Here are key steps to take:
- Inspect for discoloration or sagging in the ceiling.
- Check for mold growth or dampness in adjacent walls.
- Evaluate insulation and framing for moisture retention.
- Document everything for insurance claims.
Use Dehumidifiers Effectively
As you begin to dry the affected area, using dehumidifiers effectively can markedly speed up the process and prevent further damage.
Set your dehumidifier to the ideal settings for moisture control, typically around 30-60% humidity, to enhance drying efficiency. Place the unit in the center of the affected space, ensuring it has enough room to circulate air freely.
Regularly check the water tank to avoid overflow and keep the unit running continuously until the area is completely dry. Additionally, monitor humidity levels with a hygrometer to track your progress.
Maintain Proper Airflow
To effectively dry the affected area, maintaining proper airflow is essential, since stagnant air can exacerbate moisture problems and promote mold growth.
You can enhance airflow circulation and achieve better humidity control by following these practical tips:
- Open windows and doors to create a cross-breeze.
- Use fans to direct air toward damp areas, accelerating evaporation.
- Position dehumidifiers strategically to work alongside fans, expelling moist air.
- Keep interior doors open to allow airflow to circulate freely throughout the space.
Inspect for Mold Growth
Mold can silently thrive in the damp, dark corners of your ceiling after a leak, posing serious health risks.
It’s vital to inspect these areas as soon as you notice water damage. Look for discoloration, unusual odors, or fuzzy growths, which are all signs of mold. You’ll want to check behind insulation and along seams where moisture tends to accumulate.
If you discover mold, don’t panic. Act quickly to initiate mold remediation. Wear protective gear, remove affected materials like drywall and insulation, and ensure proper ventilation during the process.
Mold prevention is key; keep your space dry and well-ventilated to discourage future growth. Consider using mold-resistant paints and materials during repairs to safeguard against recurrence.
Repair the Leak Source
Once you’ve identified the source of the leak, addressing it promptly is crucial to prevent further damage.
Whether it’s a small crack or a significant issue, taking action now will save you from more extensive repairs later.
Here’s how to effectively tackle the leak:
Inspect the area: Look closely for any signs of water damage or decay.
Identify leak sources: Determine if it’s from plumbing, the roof, or windows.
Patch roof or any openings: Use roofing cement or a tarp for temporary fixes until a professional can help.
Seal joints and seams: Verify all potential leak points are securely sealed.
Document the Damage for Insurance Claims
How can you ensure that your insurance claim for water damage is as effective as possible? Start with thorough insurance documentation.
Begin by taking clear photographs of the affected areas, capturing both the damage and any belongings impacted. Next, jot down detailed notes about when the leak occurred and the extent of the damage you’ve observed. This damage assessment is essential for your claim, as it provides your insurer with a clear understanding of the situation.
Don’t forget to keep records of any repairs or restoration efforts you undertake. If you hire professionals, request detailed invoices and reports.
All of this information strengthens your case and helps you feel more connected to the process. By being diligent and organized, you’ll not only make it easier for your insurer to process your claim, but you’ll also foster a sense of community by sharing your experience with others facing similar challenges.
Frequently Asked Questions
How Long Does It Take for Water Damage to Show Signs?
Water damage can show signs within hours to days, depending on the severity. You can use detection methods like visual inspections and moisture meters to identify issues early, preventing further damage and costly repairs.
Can I Use a Hairdryer to Dry the Ceiling?
Sure, you can use a hairdryer for ceiling drying, but it’s not the most effective method. It’ll take forever! Instead, consider fans or dehumidifiers for quicker, more efficient water damage restoration. Prioritize proper techniques!
What Type of Mold Is Most Common After Water Damage?
After water damage, you’ll most often find black mold or Aspergillus. For effective mold identification and prevention, regularly inspect damp areas, maintain ventilation, and address leaks promptly to keep your space safe and welcoming.
Should I Call a Professional for Minor Leaks?
For minor leaks, you might handle the situation with DIY cleanup techniques, but a professional can provide a thorough minor leak assessment, ensuring no hidden issues remain. It’s about protecting your space and peace of mind.
How Do I Know if My Insurance Covers Ceiling Leaks?
To know if your insurance covers ceiling leaks, review your insurance policy carefully. Check the coverage limits and exclusions. Contact your agent for clarification, ensuring you fully understand your protection against potential water damage.
Review
In the aftermath of a ceiling leak, it’s essential to act swiftly and methodically. Think of your home as a canvas; by addressing the damage with care, you’re not just restoring it, but also protecting your investment. By following these tips, you’re paving the way for a smoother recovery process and ensuring your space remains a safe haven. Don’t underestimate the power of thorough documentation and professional help—both can turn a disaster into a manageable challenge.