

Contents
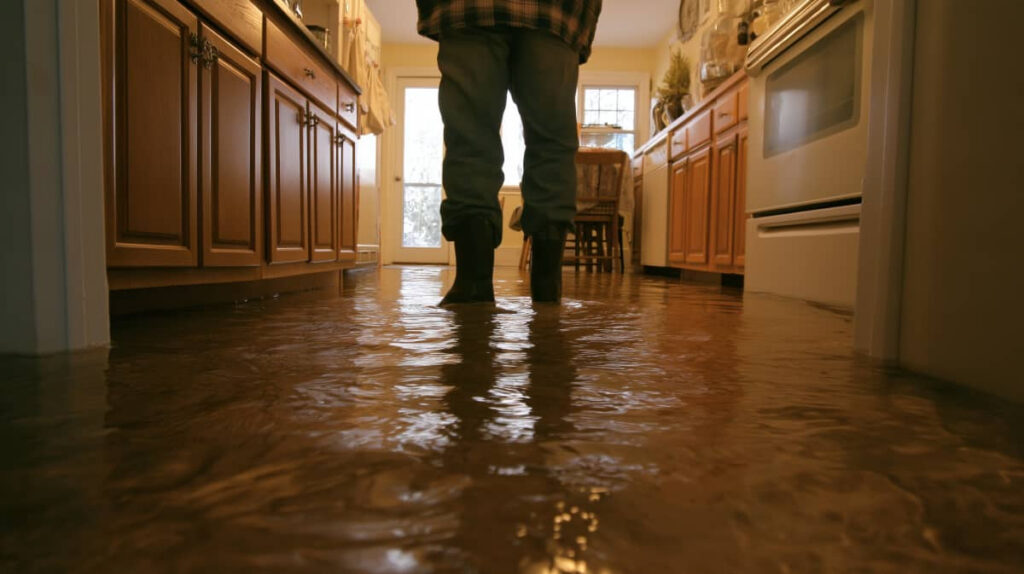
Emergency Storm Flood Restoration is critical because roughly 14,000 people face water damage emergencies every day, and the first 24 hours can determine the extent of the damage. You’ll need to make the area safe, stop the water source if possible, and document all losses before cleanup begins. Rapid water extraction and controlled drying help reduce mold growth and structural damage, but careful attention to detail is still required to avoid costly setbacks and ensure a complete restoration process.
Key Takeaways
- Prioritize safety: wait for clearance, wear protective gear, and avoid floodwater, gas leaks, and electrical hazards.
- Document all damage immediately with photos, videos, dates, and an item inventory before moving belongings.
- Stop additional water intrusion by shutting off the source, using sandbags, and checking sump pumps and runoff paths.
- Remove standing water fast, then dry with fans, dehumidifiers, and ventilation to prevent mold growth.
- Call restoration professionals for structural inspection, hidden damage assessment, and safe, efficient cleanup.
What to Do in the First 24 Hours
In the first 24 hours after storm flooding, you should focus on safety, damage control, and documentation. Contact your emergency contacts, then notify your insurer and local authorities as needed.
Photograph every affected room, item, and surface before you move anything; clear records help your claim. Save receipts for tarps, pumps, cleaners, and temporary lodging.
If you need support, check community resources for shelter, debris pickup, and financial assistance. Keep children and pets with you, and use only trusted power sources and devices that appear dry and intact.
Set aside important papers, medications, and chargers in a clean, accessible spot. You’re not dealing with this alone; organized steps now make recovery faster and more manageable for your household.
Make the Area Safe First
Before you start cleanup, make sure the area is safe to enter. You should walk through only if local authorities have cleared access and the structure looks stable.
Wear boots, gloves, and eye protection, and follow basic safety precautions as you check for slip hazards, sharp debris, exposed nails, and damaged flooring. Use a flashlight, not open flames, if power is out.
If you smell gas, hear hissing, or see leaning walls, leave at once and call professionals. A careful hazard assessment helps you decide where to step, what to avoid, and when to stop.
Stay with your team, communicate clearly, and keep children and pets away. When you move together, you reduce risk and protect the whole recovery crew.
Stop the Water Source
Once the area is safe, shut down the water source so the damage doesn’t grow. If you can reach the main shutoff valve safely, close it right away.
If the intrusion comes from rain runoff, redirect it with water diversion methods like temporary barriers, sandbags, or graded channels that steer flow away from doors and foundations.
Next, check sump pumps and confirm they’re powered, clear of debris, and discharging properly. If a pump has failed, switch to backup power or replace it as soon as possible.
You’re not handling this alone; every fast step you take protects your space and helps your team regain control.
Keep watching for new seepage, and stop any additional inflow before it spreads into walls, flooring, and hidden cavities.
Document Flood Damage for Insurance
Take clear photos and video of every affected area as soon as it’s safe, including floors, walls, insulation, baseboards, furniture, appliances, and visible water lines.
Then create a simple inventory with room names, item descriptions, estimated purchase dates, and serial numbers. Keep receipts, repair quotes, and any emergency invoices together for your insurance claims.
Note the date, time, flood source, and weather conditions, and add clear captions to each image so your adjuster can verify the loss quickly.
Use documentation tips that support consistency: store copies in the cloud, email them to yourself, and back them up on a phone.
You’re not handling this alone; careful records help your team, your insurer, and your restoration crew move forward with confidence.
Start Water Extraction
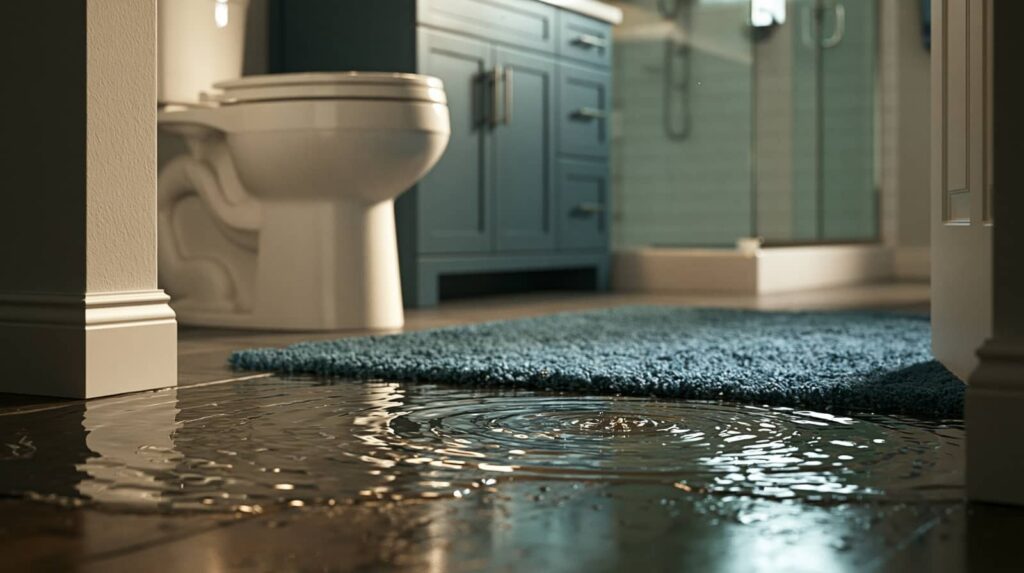
Get the water out as quickly as it’s safely possible, because standing water keeps soaking materials and raises the risk of mold, structural damage, and contamination.
You’ll protect the site by shutting off power to affected areas, wearing PPE, and mapping the deepest sections first.
Use water removal techniques matched to the volume: pumps for heavy flooding, wet vacuums for smaller pools, and squeegees to guide runoff.
Position extraction equipment on stable surfaces and work in overlapping passes so you don’t miss hidden pockets.
Check traps, baseboards, and corners for residual water, then repeat until no liquid remains.
Stay methodical, keep pathways clear, and coordinate with your team so everyone works safely and efficiently together.
Dry Walls, Floors, and Contents
After extraction, you need to dry the structure and contents fast to stop hidden moisture from spreading and to limit mold growth.
Position air movers to sweep across wet walls, floors, and furniture, and run dehumidifiers to pull vapor from the air.
Check a moisture assessment every day so you can track progress and adjust equipment.
Lift rugs, pad, and small items to let airflow reach trapped damp areas.
Open cabinet doors and move contents apart so each surface can dry evenly.
If baseboards or wall cavities still read high, continue drying until readings stabilize.
Perform an insulation evaluation where needed, because saturated insulation can hold moisture long after surfaces feel dry.
You’re restoring a safe, workable space, and steady drying helps your team move ahead with confidence.
Clear Out Dirty Water and Debris
Once the structure starts drying, you can clear out any remaining dirty water and debris so contamination doesn’t keep spreading.
Wear gloves, boots, and eye protection, then pump or bucket out pooled water from low spots first. Work room by room so you stay organized and your team can verify each area.
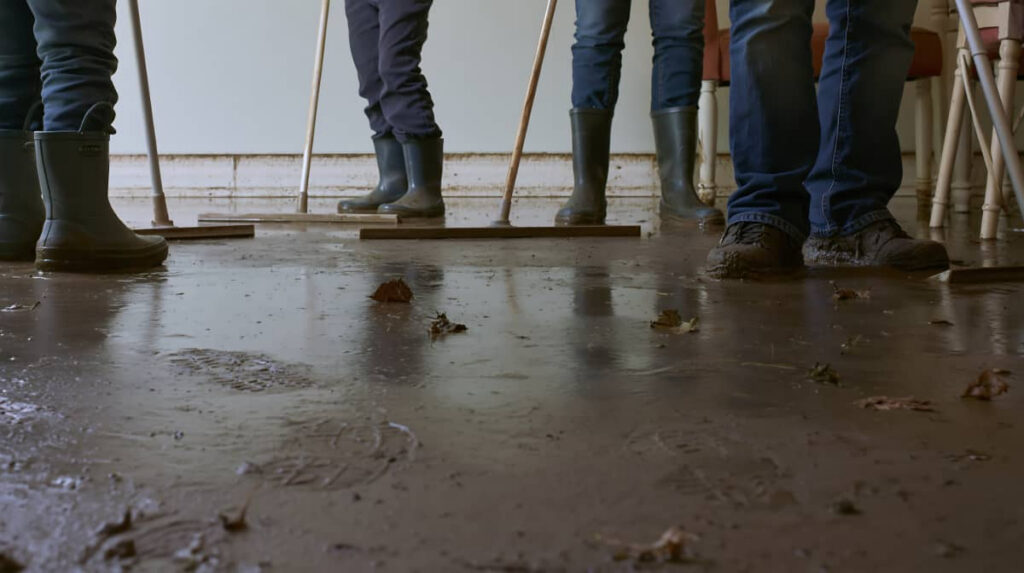
Remove mud, broken materials, and soaked items with shovels, bins, and sealed bags. Keep pathways open so you can move safely and avoid tracking water contamination into cleaner spaces.
Rinse hard surfaces with clean water after debris removal, then wipe them down to lift fine sediment.
If you notice strong odors or hidden sludge, keep documenting it and isolate the area.
You’re making steady progress, and that matters.
Prevent Mold Growth
Dry wet areas immediately with pumps, fans, and dehumidifiers to reduce the moisture mold needs to start.
Remove any damaged materials that stay damp, such as soaked drywall, insulation, or carpet padding, so they don’t trap water behind surfaces.
Improve air circulation by opening vents and running air movers, and keep monitoring humidity until the area stays dry.
Dry Wet Areas Fast
Quickly remove standing water and open up the area so moisture can escape. You can use proven water removal techniques like mops, wet vacuums, and squeegees to clear surfaces efficiently.
Then position drying equipment options such as air movers, dehumidifiers, and exhaust fans to keep air circulating and pull humidity down. Aim airflow across wet floors, walls, and trim, and keep doors or windows open when weather allows.
Check hidden pockets of moisture behind furniture and under rugs, because trapped water can fuel mold fast. Monitor progress with a moisture meter if you have one.
Stay methodical, stay calm, and work as a team so everyone’s space dries quickly and safely.
Remove Damaged Materials
Pull out any materials that stayed wet long enough to lose integrity, because porous items can trap moisture and feed mold.
You should remove soaked drywall, insulation, carpet pad, ceiling tile, and swollen particleboard right away. Cut back to dry, sound edges, then bag debris for material disposal in sealed, labeled bags.
Keep salvageable items separated so your mold removal efforts stay focused and safe. Wear gloves, eye protection, and a respirator when you handle contaminated debris, and avoid dragging pieces through clean areas.
If you find hidden decay behind walls or under flooring, mark the area for follow-up instead of forcing it apart. Your crew’s careful sorting now helps the whole recovery stay organized, reduces odor, and gives everyone a cleaner starting point.
Improve Air Circulation
Set up fans and dehumidifiers as soon as possible to move moist air out of the space and lower the risk of mold growth.
You’ll want to create crossflow by opening doors, windows, and interior passages when weather allows. Position fans to push damp air outside, not into hidden cavities.
Use ventilation techniques that keep air moving through corners, closets, and under cabinets, where moisture lingers. Run air purifiers with HEPA filtration to catch airborne spores while you dry the area.
Check humidity often; keep it below 60% if you can. Rotate equipment daily, clear blocked vents, and replace wet filters.
When you stay methodical, you protect your home and help everyone on the recovery team work in a safer, cleaner space.
Repair Structural Damage
Before you begin repairs, have a structural engineer or qualified contractor inspect the home for foundation shifts, wall cracking, roof damage, and compromised framing.
You’ll get a clear foundation assessment that tells you where water weakened load-bearing elements and where you can safely start.
Prioritize structural integrity by removing saturated drywall, buckled trim, and warped subfloor sections only after you confirm the framing is stable.
Then shore any sagging beams, replace damaged joists, and fasten sheathing with approved connectors.
Check doors, windows, and floors for misalignment as you work, because those clues show hidden movement.
As you rebuild, stay methodical and document each repair so your household can feel confident the structure is sound again and ready for the next step.
Call Flood Restoration Pros
Bring in flood restoration pros when the damage goes beyond surface cleanup, because they’ve got the equipment and expertise to dry, disinfect, and rebuild safely.
You’ll protect your home faster when you call certified crews who can assess moisture, remove contaminated materials, and set up industrial drying systems.
Their professional expertise helps you prevent hidden mold, warped framing, and electrical hazards before they spread.
Ask for a written scope, moisture readings, and a timeline so you know each step.
These flood restoration benefits save time, reduce stress, and help you feel like you’re not handling recovery alone.
When you work with a trusted team, you join a community of homeowners who get their spaces back with less risk and better results.
Frequently Asked Questions
How Do I Choose a Flood Restoration Company?
Choose a company with strong company credentials, proven service reviews, 24/7 response, and proper drying equipment. You should verify insurance, ask for a clear scope, and confirm they’ll document damage and communicate clearly.
What Should I Ask My Insurance Adjuster After Flooding?
Ask your adjuster what your flood insurance covers, how the claim process works, and what documentation you need. Like a map after a storm, these answers’ll guide you, and you’ll feel supported throughout.
Can Flood-Damaged Electronics Be Safely Repaired?
Sometimes, yes, you can repair flood-damaged electronics after a flood damage assessment. You’ll need professional electronic restoration techniques, fast power isolation, thorough drying, corrosion cleaning, and testing. You’re not alone; many units recover.
How Long Does Flood Restoration Usually Take?
You’ll usually need days to weeks; like Odysseus’s long return, your flood restoration timeline depends on factors affecting duration, including water depth, drying speed, material damage, and required repairs.
When Should I Replace Contaminated Carpet Completely?
You should replace contaminated carpet immediately if sewage, mold, or chemicals soaked through. You’ll need a contamination assessment, then carpet removal if cleaning won’t fully sanitize fibers, padding, or subfloor safely for your team.
Review
In the first 24 hours, you’ve got to move fast and stay safe. Wear protective gear, wait for clearance, and shut off the water source. Document every loss with photos and inventory lists for insurance. Extract standing water, clear debris, and ventilate the space to reduce mold risk. If damage is extensive, call flood restoration pros. These steps can save your property faster than you’d think and keep recovery on track.