

Contents
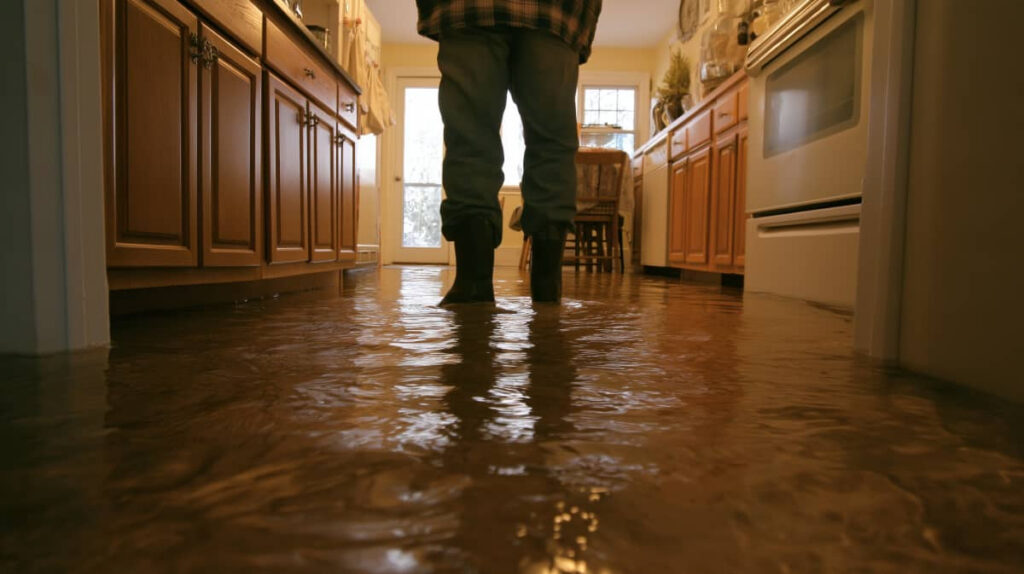
Most commercial sewage losses spread farther than the visible mess because Commercial Sewage Cleanup often involves contaminated moisture that can move into wall cavities and subfloors quickly. You need a controlled response that starts with assessing the damage, securing the site, wearing proper PPE, and determining when to bring in a professional cleanup team. From water removal to disinfection, drying, hidden-damage checks, and reopening, each step plays a role in getting the property back to a safe condition.
Key Takeaways
- Assess sewage damage, document affected areas, and isolate the site with barriers, signage, and HVAC shutdowns.
- Call professionals for black water, structural damage, or multiple contamination sources, and use proper PPE throughout cleanup.
- Remove contaminated water, debris, and porous materials safely, then bag and label hazardous waste for compliant disposal.
- Disinfect hard surfaces with EPA-registered products and maintain proper contact time to reduce biohazard risks.
- Dry the structure, check hidden dampness, verify moisture readings, and document all clearance before reopening.
Assess Sewage Damage
Before you start cleanup, you need to assess the sewage damage so you can determine the scope of contamination and the right response.
You’ll document the source, the affected materials, and how far wastewater has traveled through your property. During this sewage assessment, inspect floors, walls, insulation, contents, and hidden cavities for saturation or staining.
Use a damage evaluation process that classifies affected areas by contamination level, so you can prioritize materials that require removal versus those that may be cleaned and restored.
Check for structural weakening, electrical hazards, and odor penetration, because these signs guide your next steps.
When you gather accurate findings, you protect your team, reduce costs, and make confident decisions.
In a crisis, you’re not alone—you’re taking the same disciplined approach trusted by seasoned restoration professionals.
Secure the Area
Once you’ve mapped the contamination, move quickly to secure the area and stop further exposure.
You should establish area containment with barriers, warning signs, and controlled entry points so your crew knows exactly where the hazard begins.
Shut down HVAC systems if needed to prevent spread, and isolate affected zones from clean operations.
Follow strict safety protocols: require PPE, restrict traffic, and assign one access route for monitoring.
Keep floors, doors, and drains protected from tracking or runoff.
Communicate clearly with your team so everyone understands the perimeter and their role.
When you tighten control early, you reduce cross-contamination, protect staff, and keep the response organized.
This is how your crew stays aligned, safe, and ready for the next restoration step.
When to Call a Sewage Cleanup Team?
You should call a sewage cleanup team when contamination is severe, widespread, or includes hazardous waste that your crew can’t safely handle.
If you notice soaked drywall, warped flooring, sagging ceilings, or damaged structural supports, treat the site as unstable.
Professional response limits exposure, prevents deeper contamination, and helps you restore the property correctly.
Recognizing Severe Contamination
How severe is the contamination? You need a sewage cleanup team when sewage types include black water, backflow, or storm-driven mixtures, because the health risks rise fast.
If contamination sources include multiple drains, toilets, or a widespread spill, don’t wait. Your emergency response should isolate the area, stop access, and document conditions.
A qualified crew will apply cleanup protocols that match the waste class, use PPE, and verify disinfection. You also need prevention strategies after the incident so the same failure doesn’t return.
For commercial sites, regulatory compliance isn’t optional; it guides disposal, air monitoring, and reporting.
If you smell strong odor, see widespread saturation, or can’t confirm safe cleanup, call immediately. That’s how your team stays protected and coordinated.
Signs Of Structural Damage
Structural damage often shows up fast after sewage intrusion, and it’s a clear signal to call a sewage cleanup team before repairs get more expensive. You’ll spot cracking walls, warped floors, and water stains that spread beyond the wet area.
Watch for sagging ceilings, discoloration patterns, and musty odors, because they often mean moisture’s trapped inside materials. In a commercial space, these warning signs can affect your team’s safety and your property’s integrity.
- Check for foundation issues around doors, slabs, and load-bearing walls.
- Inspect for persistent pest infestations, which can follow hidden sewage leaks.
- Document visible changes and call professionals if damage keeps growing.
When you act quickly, you protect your building, your people, and your cleanup crew.
Wear PPE Before Cleanup
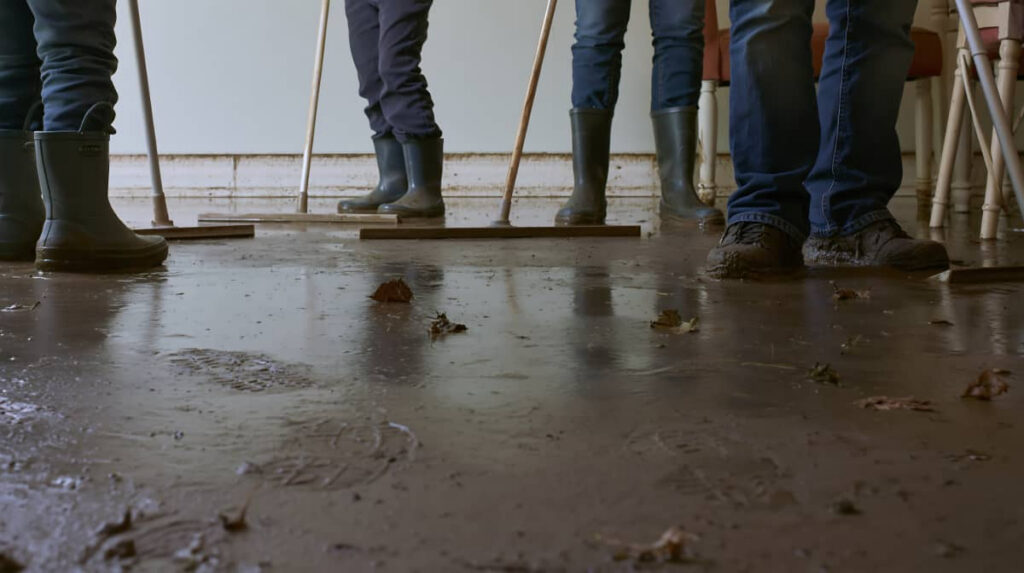
Before you touch any contaminated surface, put on the right personal protective equipment, including chemical-resistant gloves, waterproof boots, eye protection, and a respirator if airborne hazards are present.
This protective gear creates your first barrier against health risks from sewage, bacteria, and aerosolized contaminants. Wear disposable coveralls or a washable suit, and secure cuffs so nothing can seep in. Inspect each item for tears, cracks, or loose seals before entry.
If you’re working as a team, confirm everyone’s PPE fits correctly and stays on throughout the job, because one missed step can expose the whole crew. Remove jewelry, tie back hair, and follow your site’s safety protocol.
With the right setup, you protect yourself, support your crew, and keep cleanup controlled.
Remove Standing Water and Waste
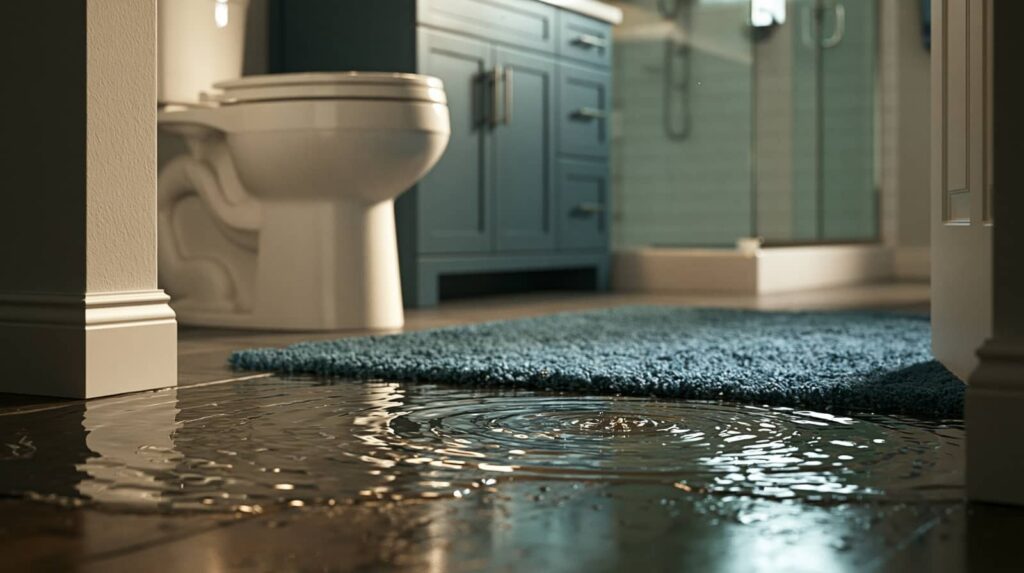
You should pump out all contaminated water with a suitable extraction system before it spreads further.
Next, remove any solid waste and debris by hand or with approved tools, then bag and dispose of it as hazardous material if required.
Once the area is clear, sanitize all exposed surfaces to reduce residual contamination and prepare the space for drying.
Pump Out Contaminated Water
Start by pumping out all standing sewage-contaminated water and collecting any visible waste so the area can dry out and crews can assess the full extent of the damage.
You’ll move faster when you use proven pump selection tips and match capacity to the affected zone. Choose water removal techniques that maintain continuous flow, minimize splash, and keep discharge routed to approved containment.
- Verify pump head height and hose length before you start.
- Isolate electrical hazards and monitor for backflow.
- Keep team communication tight so everyone works safely.
As you drain the space, watch for trapped water in low spots and around equipment bases.
Your crew can stay coordinated, limit secondary damage, and prepare the site for the next restoration step.
Extract Solid Waste
Once the bulk liquid is out, remove all solid waste, debris, and saturated materials by hand or with appropriate tools so the area can be fully assessed and sanitized.
You should sort items as you go, separating salvageable components from contamination that needs immediate disposal. Use sealed containers, sturdy liners, and clearly labeled carts to keep pathways controlled and limit cross-contamination during solid waste management.
If you’re handling wet drywall, insulation, carpet, or food residues, follow approved waste disposal techniques and local transport rules for commercial sites.
Work methodically from the perimeter inward, so you don’t miss hidden pockets beneath equipment or fixtures. Your crew should maintain situational awareness, wear proper PPE, and document removed materials for accountability.
Sanitize Exposed Surfaces
With the debris cleared, remove any remaining standing water and then sanitize all exposed surfaces to interrupt contamination and limit odor, bacterial growth, and corrosion. You’ll protect your crew and facility when you follow proven sanitation protocols and document each step.
Use wet vacuums, absorbent pads, and approved disinfectants on floors, walls, fixtures, and equipment bases.
Pump out pooled water quickly, then dry hidden cavities.
Apply surface treatments at the correct dwell time, keeping traffic out.
Rinse, inspect, and re-sanitize any area that still feels slick or smells foul.
Work methodically so everyone on site knows the area is controlled and safe. Consistent cleanup builds trust, supports compliance, and gets your operation back online faster with fewer surprises.
Dispose of Contaminated Materials
Contaminated materials from a sewage cleanup need immediate, controlled disposal to prevent cross-contamination and exposure.
You should gather porous items, PPE, and cleanup debris into heavy-duty, leakproof bags or approved containers, then seal and label them before removal.
Follow local regulations for hazardous waste transport and document each load for traceability.
Keep contaminated materials separate from clean inventory and traffic routes so your team stays protected and organized.
If an item can’t be fully recovered, choose safe disposal instead of trying to salvage it.
Use trained personnel, proper lifting methods, and designated holding areas to reduce handling errors.
When you manage waste this way, you help your crew work confidently, maintain compliance, and restore the site faster with fewer risks.
Disinfect Sewage-Contaminated Surfaces
After you remove sewage and contaminated debris, you should disinfect all affected surfaces with an EPA-registered disinfectant approved for biohazard cleanup. You’ll protect your team and restore confidence when you match disinfection methods to the surface materials involved.
Pre-clean hard, nonporous surfaces so the disinfectant can contact the entire area.
Apply the product at the labeled dilution and keep surfaces wet for the full contact time.
Use fresh solution and clean tools to prevent recontamination.
For porous or textured surface materials, follow manufacturer guidance and escalate to professional remediation when sanitizing isn’t enough.
You’re building a safer workspace when you document each step, verify coverage, and train staff on the right chemical handling practices.
Dry the Structure Thoroughly
You’ll need to map moisture in walls, floors, and concealed cavities with meters and thermal imaging so you can target every wet area.
Set structural drying equipment, including air movers and dehumidifiers, to maintain controlled airflow and humidity removal until readings stabilize.
Check for hidden dampness behind trim, under insulation, and inside voids, because trapped moisture can lead to secondary damage and microbial growth.
Moisture Mapping Methods
Moisture mapping starts with a systematic scan of every affected surface, so you can locate hidden saturation before you begin structural drying. Use moisture detection tools at consistent intervals and document readings on a floor plan. That way, your team can align on the same loss picture and avoid guesswork.
Mark wet, damp, and dry zones with clear boundaries.
Compare readings in wall cavities, subfloors, and trim to confirm migration.
Recheck mapping after each pass to verify progress and catch rebound moisture.
These mapping techniques help you target drying effort where it matters most, reduce unnecessary demolition, and keep everyone working from one accurate record.
When you map carefully, you protect the structure and strengthen your crew’s confidence.
Structural Drying Equipment
Once you’ve mapped the affected areas, you can match the right structural drying equipment to the loss and start removing moisture at the source.
Use air movers to lift humidity from floors, walls, and framing, and place dehumidifiers to pull vapor from the air before it migrates deeper.
Heat can speed evaporation, but you need balanced drying techniques so you don’t warp finishes or stress structural integrity.
Position equipment for direct airflow across wet materials, keep pathways clear, and verify that each zone has steady circulation.
In your crew, assign one person to track run time, temperature, and moisture removal so everyone works from the same plan.
When you dry the structure thoroughly, you help restore a safe, stable space your team can trust together.
Hidden Dampness Checks
Even after the visible surfaces feel dry, hidden dampness can remain inside wall cavities, under base plates, behind trim, and within insulation.
So you need to verify every concealed area before you stand down equipment. Use dampness detection tools to confirm readings in suspect assemblies, not just on the surface.
Trace moisture sources to their path, including seepage at penetrations, trapped residue, and capillary wicking from the slab.
- Probe base plates, corners, and drywall seams.
- Open small inspection points where readings stay elevated.
- Recheck after ventilation and heat stabilize conditions.
You protect the whole crew when you document dry standards, because missed pockets can drive odor, microbial growth, and callbacks.
Stay methodical, trust the meter, and keep drying until concealed materials read within target limits.
Inspect Walls for Hidden Damage
After the sewage has been removed, inspect the walls for hidden damage by checking for swelling, staining, soft drywall, peeling paint, and warped baseboards.
Use a flashlight and press along seams, corners, and trim to find hidden moisture that can threaten wall integrity. If panels feel spongy or cool, mark the area for opening and drying.
Remove any suspect baseboards so you can examine the lower wall cavity, where contamination often lingers. Watch for discoloration around outlets, because moisture can travel behind finishes and stay unseen.
Document every damaged section so your crew can coordinate repairs with confidence. When you catch these issues early, you protect the building, support your team, and keep the cleanup moving in a controlled, professional way.
Restore Operations After Cleanup
With the damaged walls identified and marked, you can shift from cleanup to getting the site back in service. You’ll restore operations fastest when you verify sanitation, moisture levels, and air quality before reopening.
Keep your crew aligned with the same restoration timelines so no one rushes the handoff.
Confirm all sewage residues are removed, then disinfect hard surfaces and touchpoints.
Match equipment selection to the space: dehumidifiers, air scrubbers, and extraction units should fit the load.
Reinstall utilities, test drains, and document every clearance for the next shift.
You’re not just reopening a building; you’re protecting your team, customers, and reputation.
Communicate each milestone clearly, and your people will feel confident returning to a clean, compliant, and ready site.
Frequently Asked Questions
What Permits Are Needed for Commercial Sewage Cleanup?
You’ll usually need cleanup permits from your local health department, wastewater authority, and sometimes environmental agencies; sewage regulations can also require disposal and transport permits. Check site-specific rules early, so you stay compliant and supported.
How Long Does Insurance Typically Cover Sewage Restoration Costs?
You’ll usually get insurance coverage for sewage damage during the active policy period, but claim deadlines vary. You should report losses fast; many policies cover restoration costs for 12 months, subject to deductibles and exclusions.
Can Businesses Stay Open During Partial Sewage Remediation?
Yes, you can sometimes stay open during partial remediation if you isolate affected areas, maintain business operations, and protect employee safety. You’ll need containment, ventilation, sanitation, and clearance from qualified professionals before continuing.
What Documents Should I Keep for Insurance Claims?
Keep invoices, photos, remediation reports, disposal manifests, and correspondence; one missed receipt can delay a claim process and leave you paying out-of-pocket. Use these documentation tips to protect your team, your business, and your place.
How Often Should Plumbing Be Inspected After Cleanup?
Inspect your plumbing at least quarterly after cleanup; increase inspection frequency to monthly if leaks, odors, or backups recur. You’ll protect your property with routine plumbing maintenance, documented checks, and quick repairs that keep systems reliable.
Final Thoughts
You’ve seen how fast sewage can turn a workplace into a hazard zone, so don’t rush the finish line. Assess the damage, secure the area, suit up, and clean with precision before you reopen. Like Theseus traversing the maze, you must track hidden moisture, disinfect thoroughly, and dry every surface. When you follow the right process—and call in pros when needed—you protect your team, your property, and your business from a costly setback.