

Contents
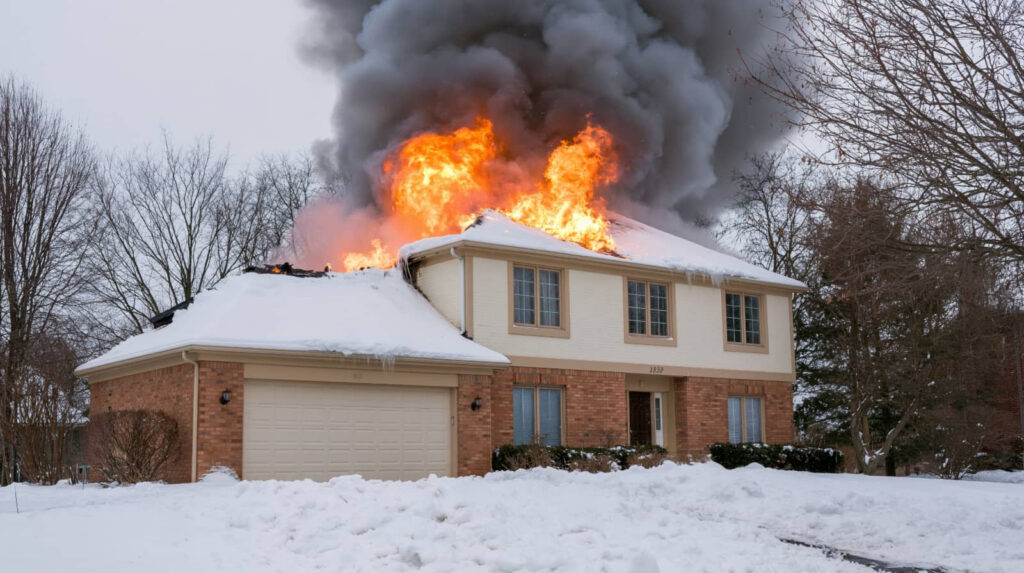
One bad fire or water event can turn your property into a full-scale fire and water damage repair project in minutes. You need to assess structural, smoke, and moisture damage right away, then shut off leaks and contain spread before conditions worsen.
From drying materials fast to removing soot, disinfecting surfaces, and restoring damaged areas, each step matters. With the right approach, you can limit losses and prevent the next disaster—but the first move is the one that counts.
Key Takeaways for Fire and Water Damage Repair
- Document all fire and water damage with photos, odors, and notes for insurance and contractor estimates.
- Prioritize safety first by checking structural stability, shutting off utilities, and avoiding compromised areas.
- Stop further damage quickly by containing leaks, sealing affected rooms, and turning off HVAC to limit smoke spread.
- Dry wet materials fast with fans, dehumidifiers, and moisture checks to prevent mold growth.
- Clean, repair, and refinish damaged surfaces using proper cleaners, structural repairs, and finish matching.
Assess Fire, Water, and Structural Damage
Before you start repairs, you need to assess the full extent of the fire, water, and structural damage so you can make safe, informed decisions.
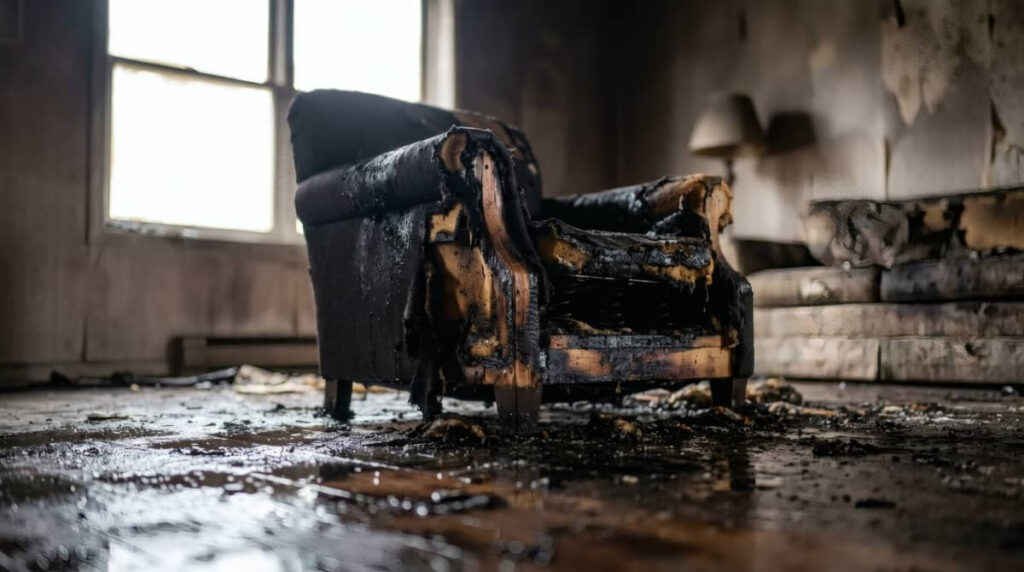
Walk through each room and document charring, warped framing, cracked masonry, stained drywall, and sagging ceilings. You’ll build a clear damage assessment that helps you prioritize what’s stable, what’s compromised, and what needs immediate professional review.
Photograph every affected area, note odors, and keep written records for insurance coverage. If you’re part of a home community recovering together, share findings with trusted contractors so you can compare estimates and coordinate next steps.
Check load-bearing walls, floors, and roof lines for movement before entering heavily affected zones. Careful assessment now can prevent costly mistakes later and help you move forward with confidence.
Stop Leaks, Smoke Spread, and Mold Fast
You should stop active leaks right away by shutting off the water source, isolating the damaged line, and applying a temporary seal if needed.
Next, you’ll block smoke spread by closing off affected rooms, sealing gaps, and using proper ventilation controls to limit contamination.
Then you’ll prevent mold growth by removing standing water, drying materials fast, and keeping humidity low until the area’s fully restored.
Stop Active Leaks
Shut off the water supply and contain the leak immediately to limit structural damage, smoke spread, and mold growth.
Next, inspect visible lines, joints, and fixtures for active drips, damp insulation, or staining. Use leak detection tools, like moisture meters or thermal imaging, to find hidden failures behind walls or under floors.
If you can’t isolate the source, call for emergency repairs right away so you’re not trading a small break for a bigger cleanup.
Remove standing water with wet vacs, and dry affected surfaces with fans and dehumidifiers. Keep electrical circuits off near wet areas, and protect belongings you’ve already moved.
Act fast, document what you see, and stay coordinated with your repair team so your home can recover cleanly and safely.
Block Smoke Spread
Once the leak is under control, contain smoke and contaminated air so damage doesn’t keep spreading through the structure. You can close interior doors, seal gaps with plastic sheeting, and set up smoke barriers around unaffected rooms.
Turn off HVAC systems if they’re moving soot, and use targeted ventilation strategies to exhaust smoke outdoors without pulling it deeper into walls or ductwork. Keep pathways clear so you can move safely while you work with your restoration team.
If you’re dealing with wet debris, isolate those areas too, because soot and moisture can travel together. Check for hidden openings around vents, cabinets, and crawl spaces, then block them fast.
Acting now helps your space stay safer, cleaner, and ready for the next repair step.
Prevent Mold Growth
As soon as standing water, wet insulation, or smoke-damaged materials are exposed, dry them out fast to stop mold before it starts.
You should pull damp drywall, carpets, and porous items that can’t be cleaned, then run dehumidifiers and fans to keep airflow moving.
Check hidden cavities, baseboards, and attic spaces, because trapped moisture fuels growth.
Use humidity control to keep indoor levels below 60%, and measure them daily with a hygrometer.
If plumbing, roof, or appliance leaks caused the damage, repair them right away so moisture doesn’t return.
Clean salvageable surfaces with approved disinfectants, and wear gloves and a respirator.
With steady mold prevention, you protect your home, your crew, and your peace of mind.
Dry Out the Property Quickly
The faster you dry out the property, the better you can limit structural damage, mold growth, and lingering odors. Start by shutting off affected utilities, opening windows if conditions allow, and using fans and dehumidifiers to push air through wet rooms.
Focus on moisture control by checking hidden spaces like wall cavities, subfloors, and insulation, since trapped water can keep materials damp for days. Use proven drying techniques: remove soaked carpet padding, lift baseboards, and separate furniture from walls so air can circulate.
Monitor humidity and surface moisture daily, and keep a log so your team stays coordinated. If materials still feel cool or damp, continue drying instead of rushing repairs. Acting quickly helps you protect your space and get your home back on track.
Remove Smoke, Soot, and Odors
After you’ve dried the property, focus on removing smoke residue and lingering odors before they set into porous materials.
You can start with dry soot removal using HEPA vacuuming and microfiber cloths, then apply approved smoke removal techniques to break down residues without spreading them.
Work room by room so you stay organized and keep your crew aligned. Open windows when weather allows, and use air scrubbers or hydroxyl units to help pull airborne particles from the space.
For persistent smells, rely on odor neutralization methods such as thermal fogging or ozone only when conditions and safety protocols permit.
Don’t mask odors with fragrance; eliminate the source instead.
As you clear each area, you’ll make the space feel safer, cleaner, and more like home again.
Clean and Disinfect Damaged Surfaces
Now that soot and odors are under control, you can clean and disinfect the affected surfaces to reduce contamination and prepare the area for repairs.
Start with cleaning techniques that match each material: use a HEPA vacuum for loose debris, then wash hard surfaces with warm water and a mild detergent. Rinse well, because residue can reduce disinfectant performance.
Next, choose disinfectant options approved for the surface and follow the label’s contact time exactly. Wear gloves, eye protection, and, if needed, a respirator to keep yourself safe while you work.
Change cloths often so you don’t spread contamination. Work from the cleanest areas toward the dirtiest, and use separate tools for each zone.
When you stay systematic, you help protect your home and support a healthier recovery.
Repair Structural and Surface Damage
You should inspect framing, subflooring, and wall cavities for hidden warping, rot, and compromised load paths before you close anything up.
Then repair or replace damaged members to restore structural stability and meet code requirements.
After that, patch, sand, and refinish surfaces so the affected areas regain a smooth, durable finish.
Assess Hidden Structural Issues
Hidden structural damage often hides beneath burned framing, soaked drywall, or warped flooring, so you should inspect load-bearing walls, joists, subfloors, ceilings, and roof components before you start cosmetic repairs.
Check for cracks, sagging, rot, corrosion, and moisture stains that signal hidden hazards. Probe soft wood, measure deflection, and verify that fasteners still hold.
If you find compromised beams or shifted supports, brace the area and call a structural professional quickly. You’ll protect structural integrity by documenting damage, testing suspect areas, and tracking moisture levels until they stabilize.
Work methodically with your team, because careful evaluation helps everyone stay safe and confident.
Don’t cover up problems with patchwork fixes; confirm the frame is sound first, then move on to the next repair stage.
Restore Damaged Surface Finishes
Once the frame is sound and moisture readings have stabilized, you can begin restoring surface finishes that were damaged by fire, smoke, or water.
You’ll help your home feel whole again by working methodically and documenting every layer before you rebuild. Use surface restoration techniques suited to each material, and test cleaners, primers, and fillers in hidden areas first.
- Remove soot, blistered paint, and warped drywall.
- Sand, seal, and patch substrates until they’re uniform.
- Match texture, sheen, and color with finish matching strategies.
- Recoat, inspect under varied light, and touch up seams.
If you stay disciplined, you’ll blend repairs cleanly and protect nearby rooms from dust, odor, and moisture.
That keeps your space comfortable, resilient, and ready for everyday life.
Prevent Future Fire and Water Losses
To reduce the risk of future fire and water losses, inspect your property regularly for hazards and weak points before they turn into emergencies.
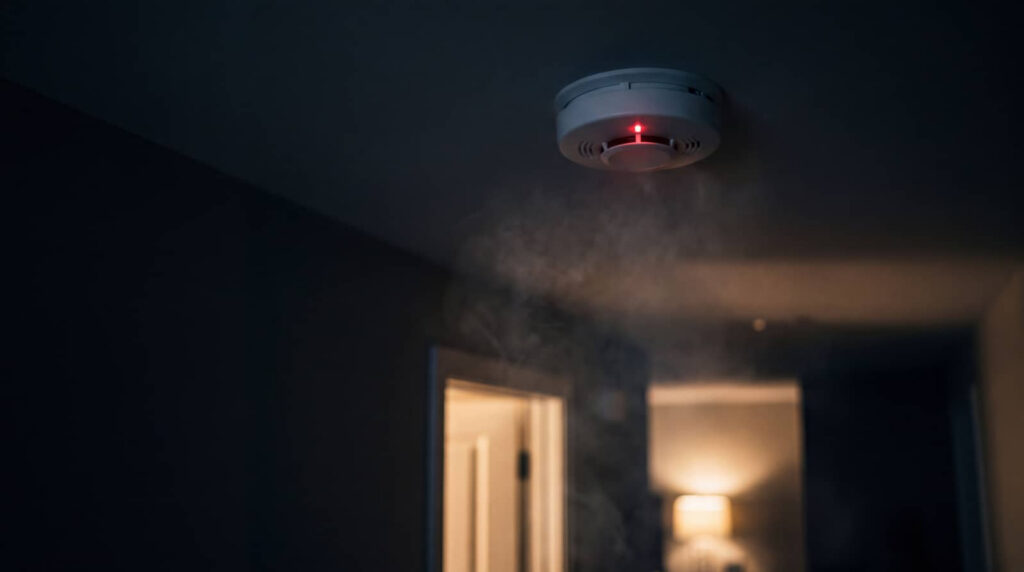
You should test smoke alarms, clean dryer vents, and keep combustibles away from heat sources for stronger fire safety.
For water protection, check supply lines, roofs, gutters, sump pumps, and caulking for leaks or wear.
Build emergency preparedness into your routine with shutoff drills, updated contact lists, and stored documents.
Use risk assessment during home inspections to spot faulty wiring, drainage issues, and hidden moisture.
Review insurance coverage so you know what’s protected and where gaps remain.
Stay connected to community resources for alerts, and keep restoration services on call if damage still occurs.
Frequently Asked Questions
How Long Should I Wait Before Moving Back Home?
You should wait until inspections confirm your home safety and the restoration timeline is complete. Don’t move back until repairs, drying, and air-quality checks finish, and you’ve gotten clearance from professionals.
Will My Insurance Cover Temporary Housing Costs?
Yes, you’ll often get temporary housing coverage if your policy includes loss-of-use benefits. Don’t assume it’s excluded—review your insurance claims, document displacement, and compare temporary housing options to keep your family stable.
Can I Salvage Electronics After Water Exposure?
Yes, you can sometimes salvage electronics after water damage, but act fast. You should unplug them, dry them thoroughly, and avoid powering them on. Professional electronics recovery can improve your chances and protect sensitive components.
Do I Need Permits for Major Restoration Work?
Yes—you usually do. If you’ve heard permits only slow work, that’s rarely true; you’ll need to verify local restoration regulations and permit requirements before structural, electrical, or plumbing restoration begins.
How Do I Choose a Reliable Restoration Contractor?
You choose a reliable restoration contractor by verifying contractor qualifications, checking licenses, insurance, and references, then comparing restoration timelines and written scopes. You’ll feel confident when they communicate clearly, respond quickly, and document every step.
Review
You’ve assessed the damage, stopped leaks, and started drying fast, so you’re already on the right track. Now keep working with careful cleaning, solid structural repairs, and smart safety steps. You’ll clear smoke, soothe surfaces, and stop mold before it spreads. With regular inspections and ready response plans, you’ll protect your property from future fire and water losses. Stay systematic, stay safe, and restore your space with confidence.