Contents
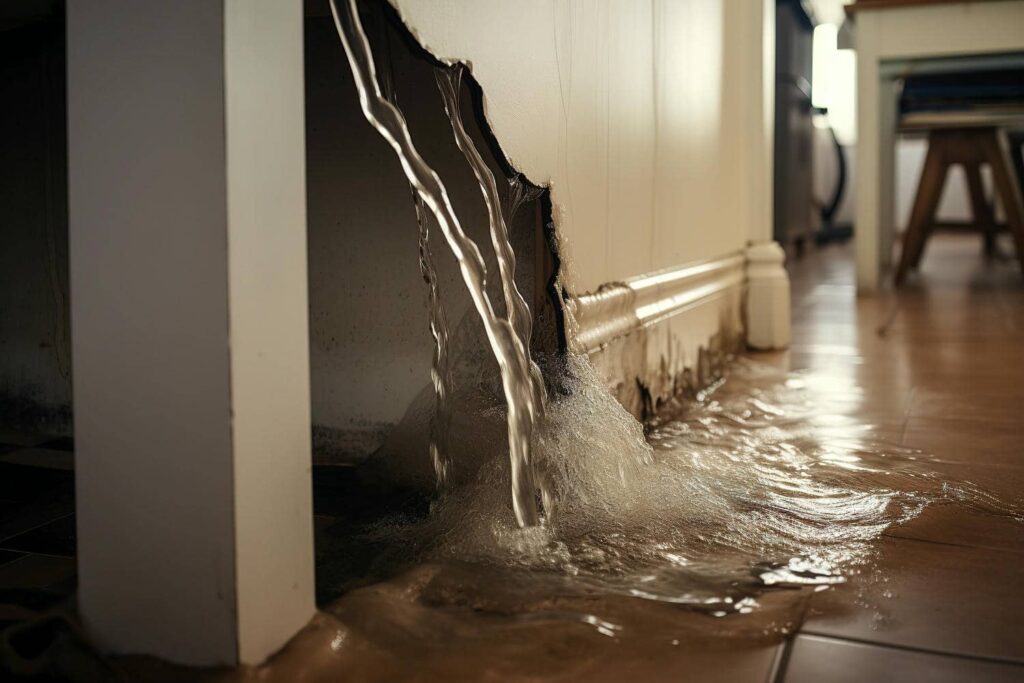
It’s often believed that once water damage occurs from burst pipes, the situation is beyond control. However, this isn’t entirely true. By following a series of structured steps, you can effectively restore your space and minimize long-term damage. First, you’ll need to assess the extent of the damage and act quickly. What comes next could make all the difference in preventing further complications.
Key Takeaways
- Assess and document the damage using moisture detection tools to identify affected areas and potential mold growth before starting restoration.
- Shut off the main water supply to prevent further flooding and locate the valve quickly.
- Remove standing water with pumps or wet/dry vacuums and dry the area using dehumidifiers and fans to promote airflow.
- Clean and sanitize surfaces with appropriate cleaners and disinfectants to eliminate contaminants after ensuring they are dry.
- Seek professional help if damage persists or if structural issues or extensive damage are present for expert assessment and restoration.
Assessing the Damage
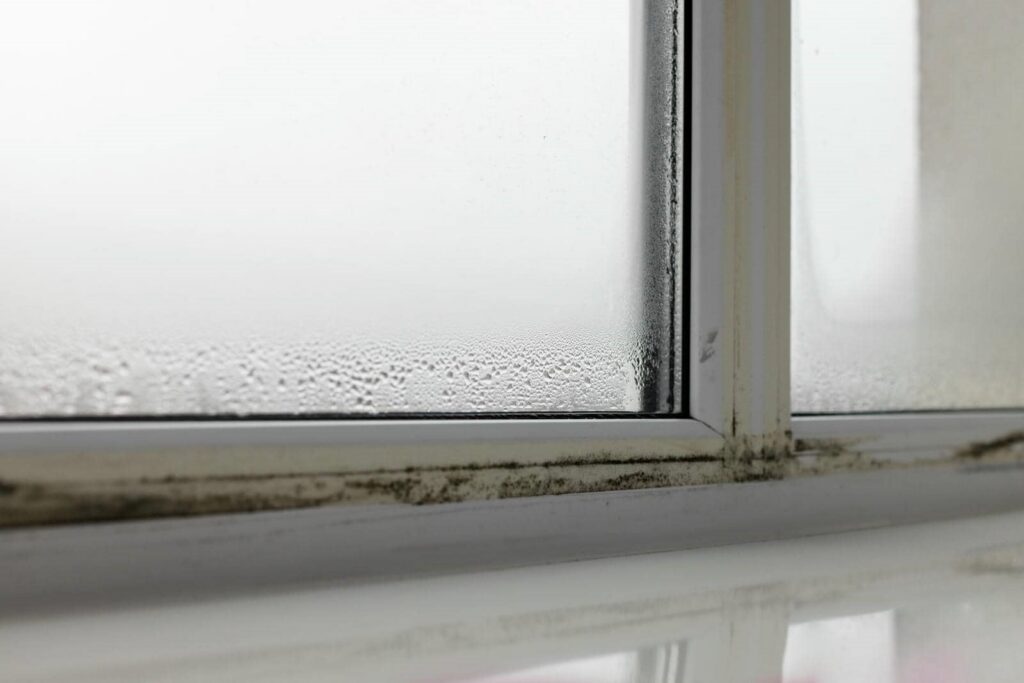
When you discover water damage, the first step is to assess the extent of the problem. Begin with a detailed damage evaluation by inspecting the affected areas. Look for visible signs like discoloration or warping on walls, ceilings, and floors.
Use moisture detection tools, such as a moisture meter, to identify hidden water pockets behind materials. Make sure to check insulation and drywall, as they can retain moisture and promote mold growth.
Document your findings, noting locations and severity, which will guide you during the restoration process. If you find extensive damage, consider consulting a professional who can provide a thorough assessment.
Shutting Off the Water Supply
To effectively manage water damage, your first step is to locate the main water valve in your home.
Once you’ve found it, turn off the water supply to prevent further flooding and minimize damage.
This action is vital before you begin any restoration efforts.
Locate Main Water Valve
Locating the main water valve is essential for effectively shutting off the water supply and preventing further damage.
Knowing where to find it can save you time and stress during a crisis. Here’s how to locate the main valve quickly:
Check the Basement or Crawl Space: Most valves are located near the water meter.
Look Near Exterior Walls: Often, the main valve is close to where the water line enters your home.
Inspect the Garage: If applicable, check for the valve near the garage entrance.
Consult Building Plans: If you have access, blueprints or schematics can help pinpoint the main valve’s location.
Turn Off Supply
Once you’ve located the main water valve, shutting off the water supply is the next critical step in preventing further damage.
To perform a proper water shutoff, turn the valve clockwise until it’s tightly closed. This action initiates essential emergency procedures, halting the flow of water and minimizing damage to your property.
If your valve is difficult to turn, consider using a wrench for added leverage. Remember to check for any leaks around the valve after shutting it off, ensuring a complete seal.
You’re not just protecting your space; you’re also creating a safe environment for those around you. By taking swift action, you’re part of a community that prioritizes safety and restoration, helping everyone feel more secure.
Removing Standing Water
Start by quickly gauging the extent of the standing water in your space. Evaluating the situation helps you determine the best water removal techniques.
Remember, standing water hazards like mold growth and structural damage can escalate quickly, so act fast. Here’s how:
Shut Off Power: Confirm all electrical sources are turned off to prevent shocks.
Use a Wet/Dry Vacuum: This tool is ideal for removing small to moderate amounts of water efficiently.
Bail Water: For larger areas, use buckets to manually remove excess water before employing pumps.
Consider Pumps: If water is deep, submersible pumps can effectively clear large volumes.
Drying Out Affected Areas
As you move forward with your water damage restoration, drying out the affected areas is essential to prevent further complications like mold growth and structural damage.
Start by using moisture detection tools to identify hidden damp spots in walls, floors, and ceilings. This step ensures you don’t overlook any problem areas that could lead to future issues.
Next, deploy dehumidifiers throughout the space. These devices pull moisture from the air, accelerating the drying process. Make sure to empty the dehumidifier regularly, as it can fill up quickly in humid environments.
Also, open windows and doors to promote airflow, and use fans to circulate air, further assisting in moisture removal.
Monitor the drying progress daily, keeping an eye on any areas that may still feel damp. By diligently following these steps, you’ll effectively mitigate risks and restore your space to a safe, dry condition.
Cleaning and Sanitizing Surfaces
Once you’ve dried the affected areas, it’s vital to assess the surfaces for any signs of mold or residue.
Choosing the right cleaners is essential for effective sanitation, so make certain you select products that suit the materials you’re dealing with.
After cleaning, follow up with proper sanitizing and drying steps to prevent future damage and ensure a safe environment.
Assessing Affected Areas
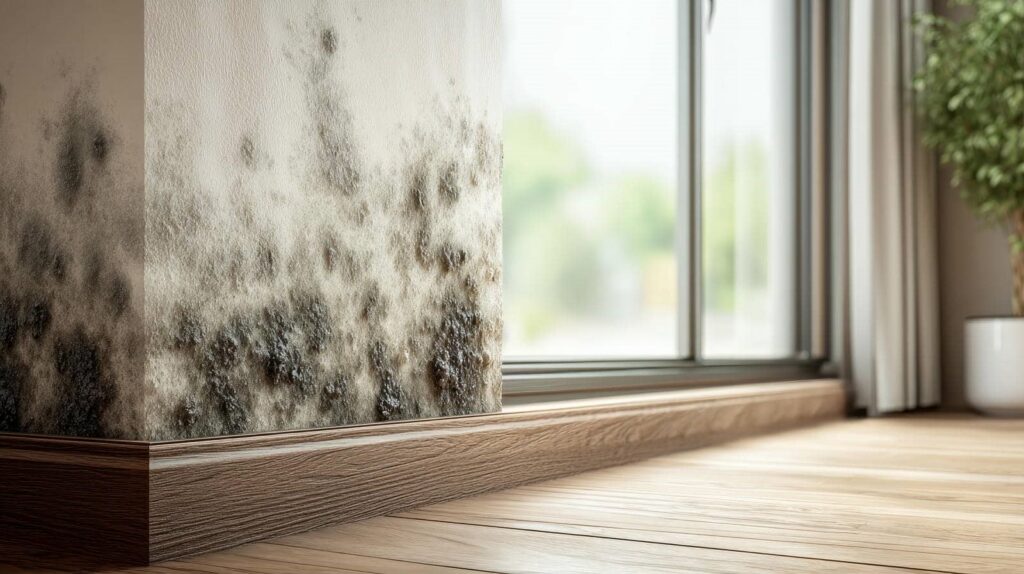
While evaluating water-damaged areas, it’s crucial to thoroughly clean and sanitize all affected surfaces to prevent mold growth and further deterioration.
Start by identifying hotspots where moisture collects, as these areas are more prone to mold. Next, evaluate moisture levels using a moisture meter to confirm you’re targeting the right spots.
Follow these steps for effective cleaning:
- Remove standing water with a wet vacuum.
- Scrub surfaces with a mixture of water and detergent to eliminate dirt and contaminants.
- Rinse thoroughly and dry the area to remove residual moisture.
- Apply a disinfectant specifically designed for water damage to sanitize surfaces.
Choosing Appropriate Cleaners
How can you ensure that the cleaners you choose effectively tackle water damage? Start by evaluating the specific surfaces you’re dealing with. Different materials require different cleaners for ideal results.
Look for eco-friendly options that won’t harm your family or pets while ensuring a deep clean. Check for surface compatibility; for instance, wood surfaces may not respond well to harsh chemicals, while tile can handle stronger solutions.
Always read labels and choose products designed for mold and mildew removal, as these are essential in water-damaged areas. By selecting the right cleaners, you’re protecting your home and creating a safe environment for everyone.
This thoughtful approach fosters a sense of belonging and care within your living space.
Sanitizing and Drying Steps
To effectively sanitize and dry water-damaged surfaces, you must act quickly and methodically. Follow these steps to ensure thorough cleaning and mold prevention:
Remove Excess Water: Use a wet/dry vacuum to extract standing water from surfaces.
Clean Surfaces: Apply a suitable cleaner to affected areas, scrubbing surfaces to remove dirt and contaminants.
Disinfect: Use a bleach solution or a commercial disinfectant to treat surfaces, following the manufacturer’s instructions for dilution and application.
Dry Thoroughly: Use fans and dehumidifiers to facilitate drying, ensuring moisture is eliminated to prevent mold growth.
Repairing Structural Damage
When dealing with water damage, addressing structural damage promptly is essential to prevent further deterioration. You’ll want to assess the affected areas for compromised structural integrity.
Start by checking beams, joists, and walls for signs of weakness or warping. If you notice any issues, use repair techniques like reinforcing beams with steel brackets or replacing damaged wood with treated lumber.
For minor cracks in walls or ceilings, a simple patching compound may suffice. Confirm the area is dry before applying any materials, as moisture can hinder adhesion.
If the damage is extensive, consider consulting a professional contractor who specializes in structural repairs. They can provide more advanced solutions tailored to your situation.
Preventing Future Issues
While you can’t always prevent water damage, implementing proactive measures greatly reduces the risk of future issues.
By focusing on preventive maintenance and regular plumbing inspections, you can safeguard your home effectively.
Here are four essential steps to take:
Schedule Regular Plumbing Inspections: Have a professional check your pipes and fixtures at least once a year to identify potential problems early.
Inspect Water Heater: Regularly examine your water heater for leaks or corrosion. Replace it if it shows signs of wear.
Monitor Water Pressure: Keep your water pressure below 80 psi to reduce stress on your pipes, minimizing the risk of bursts.
Install Leak Detectors: Use smart leak detectors in vulnerable areas like basements and under sinks. They can alert you to leaks before they cause significant damage.
When to Call a Professional
Knowing when to call a professional can make all the difference in effectively addressing water damage. If you notice persistent signs of damage, such as water stains, mold growth, or a musty odor, it’s time to seek help.
Don’t underestimate the severity of these issues; they can escalate quickly if left untreated. Additionally, if the damage extends beyond a small area or if you’re dealing with structural issues, contacting an expert is essential.
Professionals have the right tools and experience to assess the situation accurately and implement suitable solutions. If you’re unsure about the extent of the damage or how to proceed, it’s never a bad idea to consult a specialist.
They can provide peace of mind, ensuring your home is safe and secure. Remember, addressing water damage promptly can save you time, money, and stress in the long run.
Frequently Asked Questions
How Long Does It Take to Dry Out Water-Damaged Areas?
It typically takes 3 to 7 days to dry out water-damaged areas, depending on moisture levels and air circulation. Monitoring the drying timeline is essential for preventing mold growth and ensuring a successful restoration.
Can I Use a Regular Vacuum to Remove Water?
No, you shouldn’t use a regular vacuum for water extraction. Instead, opt for a wet/dry vacuum specifically designed for this task, ensuring effective removal of water without damaging your equipment or the affected area.
What Items Should I Discard After Water Damage?
You should discard damaged belongings like saturated carpets, upholstered furniture, and porous materials. For furniture removal, focus on items that cannot be thoroughly dried or sanitized, ensuring a safe and healthy living environment post-damage.
Will My Insurance Cover Water Damage Restoration Costs?
Your insurance policies might cover water damage restoration costs, but it depends on your coverage limits. Review your policy details and consult your agent to understand what’s included, ensuring you’re prepared for potential expenses.
How Can I Prevent Mold Growth After Water Damage?
You can prevent mold growth by promptly drying affected areas, using dehumidifiers for humidity control, and applying mold-resistant paint. Regularly inspect your space for leaks and maintain ventilation—these mold prevention tips help create a healthier home.
Summary
Restoring water damage from burst pipes can feel like fighting a losing battle, but with the right steps, you can turn the tide. By evaluating the damage, shutting off the water, and thoroughly drying the area, you’re already on the path to recovery. Remember to clean and repair any structural issues to prevent future leaks. If the damage feels overwhelming, don’t hesitate to call in the pros. You’ve got this—let’s get your space back in shape!