Contents
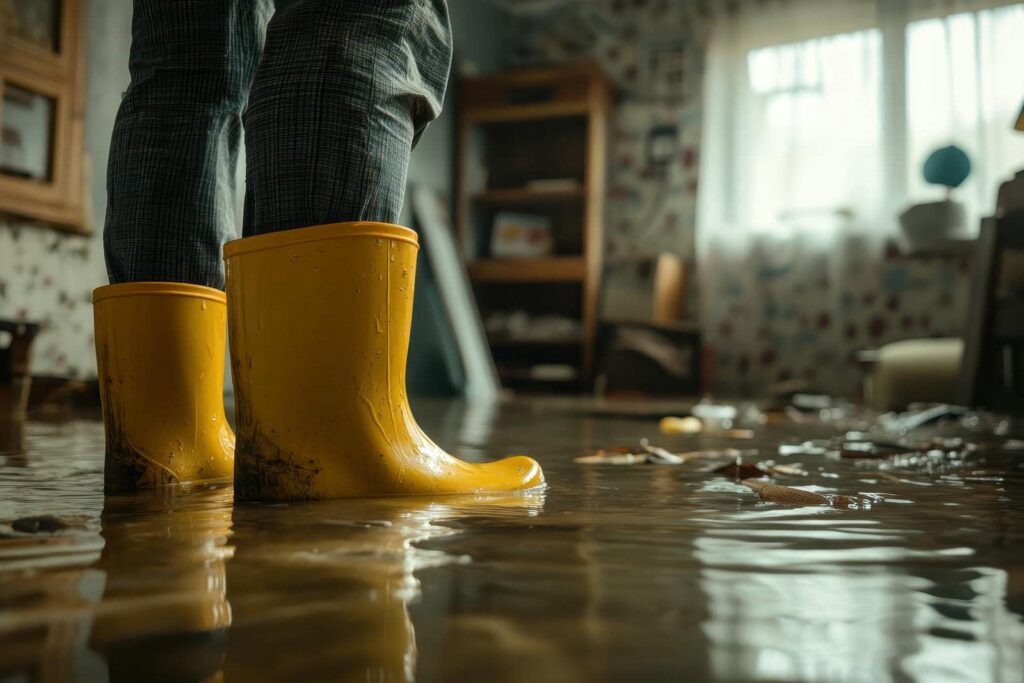
When faced with the unfortunate challenge of sewage damage, it’s essential to approach the situation with a clear and systematic plan. You’ll need to assess the damage carefully and prioritize safety throughout the restoration process. From gathering the right supplies to effectively cleaning and disinfecting, each step plays a vital role in restoring your space. Understanding these methods can make all the difference, especially when you consider the potential risks involved. What’s your next move?
Key Takeaways
- Conduct a thorough damage assessment to identify affected areas and determine the sewage source before starting restoration efforts.
- Wear appropriate Personal Protective Equipment (PPE) such as gloves, masks, and goggles to ensure safety during the cleaning process.
- Use heavy-duty cleaners and disinfectants on surfaces to effectively eliminate bacteria and prevent mold growth after sewage exposure.
- Employ a wet/dry vacuum to remove excess water, followed by mopping with hot water and detergent for deep cleaning.
- Allow time for surfaces to dry completely and monitor for lingering odors or slow drainage, which may require professional assistance.
Assessing the Damage
When dealing with sewage damage, the first step is to thoroughly assess the extent of the harm.
Begin with a damage assessment, which involves identifying affected areas and understanding the source of the sewage. Conduct a visual inspection of the property, focusing on walls, floors, and any porous materials like carpets or drywall that might’ve absorbed contaminants.
Look for signs of discoloration, mold, or structural damage, as these can indicate the severity of the issue.
Document your findings, noting the specific locations and conditions of the damage. This information will guide your restoration efforts and help if you need to file an insurance claim.
Remember, addressing sewage damage quickly is essential to prevent further deterioration and health risks.
Safety Precautions to Consider
Before you begin any restoration work, it’s vital to prioritize safety precautions to minimize health risks. Sewage damage can expose you to harmful bacteria and pathogens, so taking the right steps is important.
Here are three key safety measures to keep in mind:
Wear Personal Protective Equipment (PPE): Always use gloves, masks, and goggles to shield yourself from contaminants.
Ensure Proper Ventilation: Open windows and doors to allow fresh air to circulate, reducing the concentration of airborne pathogens.
Avoid Direct Contact: Keep your hands and exposed skin away from contaminated surfaces and materials to prevent infections.
Gathering Necessary Supplies
After ensuring your safety, the next step involves gathering the necessary supplies for sewage damage restoration. A well-prepared supply checklist is essential for effective remediation.
Start with essential tools like gloves, masks, and protective eyewear to safeguard yourself from harmful contaminants. You’ll need buckets and mops for water removal, along with heavy-duty trash bags for waste disposal.
Don’t forget industrial-grade cleaners and disinfectants to sanitize affected areas thoroughly. A wet/dry vacuum can be invaluable for extracting excess water and debris.
Additionally, stock up on absorbent materials like towels and rags for quick clean-up. If you have access to a dehumidifier, it can help prevent mold growth post-cleanup.
Finally, confirm you have a sturdy shovel and a trowel if you need to dig out contaminated soil or materials. With your supply checklist in hand, you’re ready to tackle the restoration process effectively.
Containing the Sewage Leak
As soon as you identify a sewage leak, your immediate priority should be to contain it to prevent further contamination.
Effective sewage containment is essential, and taking swift action can minimize damage.
Here are three steps you can follow for leak prevention:
Shut off the water supply: Locate the main valve and turn it off to stop additional sewage from flowing.
Seal off the affected area: Use heavy-duty plastic sheeting or tarps to isolate the leak, preventing it from spreading to other parts of your home.
Create a barrier: If possible, use absorbent materials like sandbags or commercial absorbent booms to contain the sewage leak and absorb excess liquid.
Cleaning and Disinfecting Affected Areas
Once you’ve contained the sewage leak, the next step is to clean and disinfect the affected areas thoroughly.
Start by wearing appropriate personal protective equipment—gloves, mask, and goggles—to ensure your safety. Use a mixture of hot water and a heavy-duty detergent to scrub the surfaces. Focus on high-touch areas like doorknobs, light switches, and faucets.
After cleaning, it’s essential to disinfect surfaces to eliminate pathogens. Use a commercial disinfectant or a bleach solution (1 cup of bleach per gallon of water) for effective sanitization. Apply it generously and let it sit for at least 10 minutes before rinsing.
For porous materials, consider using steam cleaning techniques, as they can penetrate deeper. Confirm the area is well-ventilated during this process to reduce exposure to harmful fumes.
Properly Disposing of Contaminated Materials
Proper disposal of contaminated materials is essential to prevent further contamination and health risks. When dealing with sewage damage, you must handle contaminated waste carefully.
Here are three effective disposal methods you should consider:
Local Regulations: Check your local regulations for hazardous waste disposal. Many municipalities offer specific guidelines for disposing of contaminated materials.
Sealed Containers: Place all contaminated waste in sturdy, sealed containers. This minimizes the risk of leaks and protects you and others from harmful pathogens.
Professional Services: If the waste is extensive, hiring a professional waste disposal service is advisable. They’re equipped to handle hazardous materials safely and in compliance with regulations.
Repairing Structural Damage
When sewage damage occurs, addressing structural damage promptly is crucial to prevent further deterioration and ensure safety.
Start by evaluating the affected areas, focusing on the framework of your home. If you notice compromised framing, you’ll need to carry out framing repairs to secure stability. Remove any damaged sections and replace them with new, pressure-treated lumber to resist moisture.
Next, incorporate waterproofing techniques to protect your repairs from future issues. Apply a waterproof sealant to vulnerable areas, and consider installing drainage solutions to divert water away from your foundation.
Additionally, inspect insulation and drywall for any signs of water damage; replace these materials as necessary to maintain a healthy living environment.
Preventing Future Sewage Issues
To effectively prevent future sewage issues, you should start by maintaining your plumbing system and being vigilant about potential problem areas.
Regular sewage maintenance can save you from costly repairs down the line. Here are three essential steps to follow:
Schedule Routine Plumbing Inspections: Regular check-ups can identify issues before they escalate, ensuring your plumbing remains in good condition.
Monitor Drainage Systems: Keep an eye on your drains for slow drainage or unusual odors, and address any blockages promptly.
Educate Household Members: Make sure everyone knows what can and can’t go down the drain. Simple education can prevent many problems.
When to Call a Professional
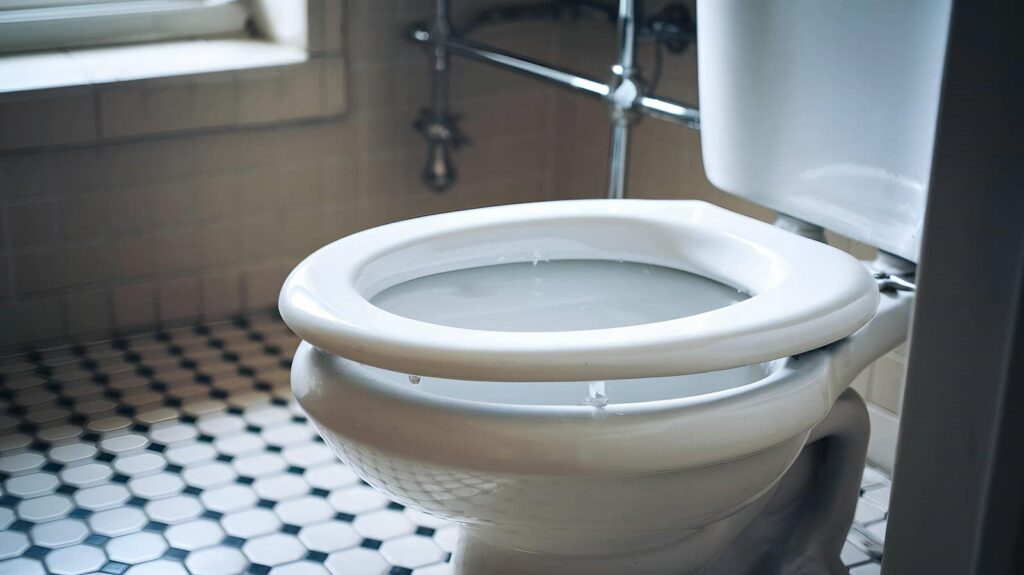
Recognizing the right time to call a professional can make a significant difference in managing sewage issues effectively. If you notice red flags like persistent foul odors, sewage backups, or unusually slow drainage, it’s vital to act swiftly. These signs often indicate serious underlying problems that DIY methods may not adequately resolve.
When the affected area is extensive, or if the damage involves multiple rooms, don’t hesitate to reach out for emergency services. Professional restorers have the expertise, equipment, and protective gear necessary to handle hazardous materials safely.
Additionally, if you’re dealing with contaminated water, calling a professional is imperative. They can ensure thorough cleaning and sanitation, minimizing health risks.
Frequently Asked Questions
How Do I Identify Sewage Leaks in My Home?
To identify sewage leaks in your home, look for sewage odors, damp spots, or discoloration on walls and floors. Use leak detection tools like moisture meters to confirm suspicions and locate the source effectively.
Can I Use Bleach to Clean Sewage Spills?
You shouldn’t use bleach for sewage spills. While it masks sewage odor temporarily, it doesn’t eliminate pathogens. Instead, opt for specialized cleaners designed for biohazard situations to ensure thorough decontamination and safety.
What Personal Protective Equipment Do I Need?
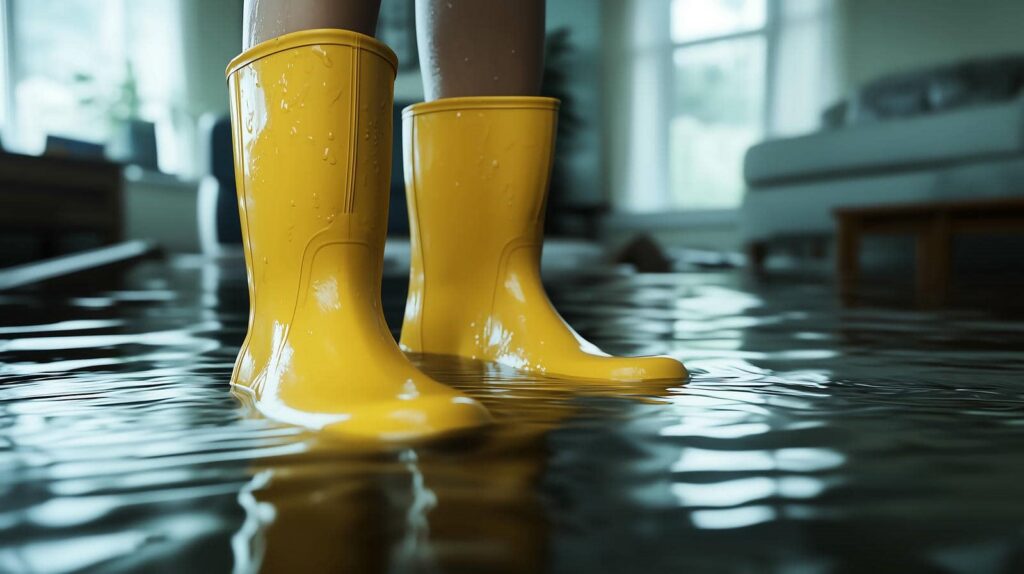
You need safety gear like gloves, goggles, and a mask. Wear protective clothing, such as coveralls or rubber boots, to shield yourself from harmful pathogens and chemicals during cleanup. Your safety’s essential in these situations.
How Long Does It Take for Sewage Damage to Dry?
Sewage damage can take anywhere from 24 to 72 hours to dry, depending on conditions. During the drying process, proper sewage remediation techniques can greatly expedite evaporation and prevent further damage.
Will Homeowners Insurance Cover Sewage Damage Restoration?
Homeowners insurance often covers sewage damage restoration, but it depends on your policy. You’ll need to initiate the claim process promptly, providing detailed documentation to ensure you maximize your insurance coverage effectively.
Summary
Restoring sewage damage is like maneuvering through a treacherous maze; you need a clear plan to find your way out safely. By following these effective DIY methods, you can tackle the issue methodically, ensuring thorough cleaning and prevention of future problems. Remember, safety is paramount, and if the situation feels overwhelming, don’t hesitate to call a professional. Taking timely action protects your home and safeguards your health from potential contaminants.