Contents
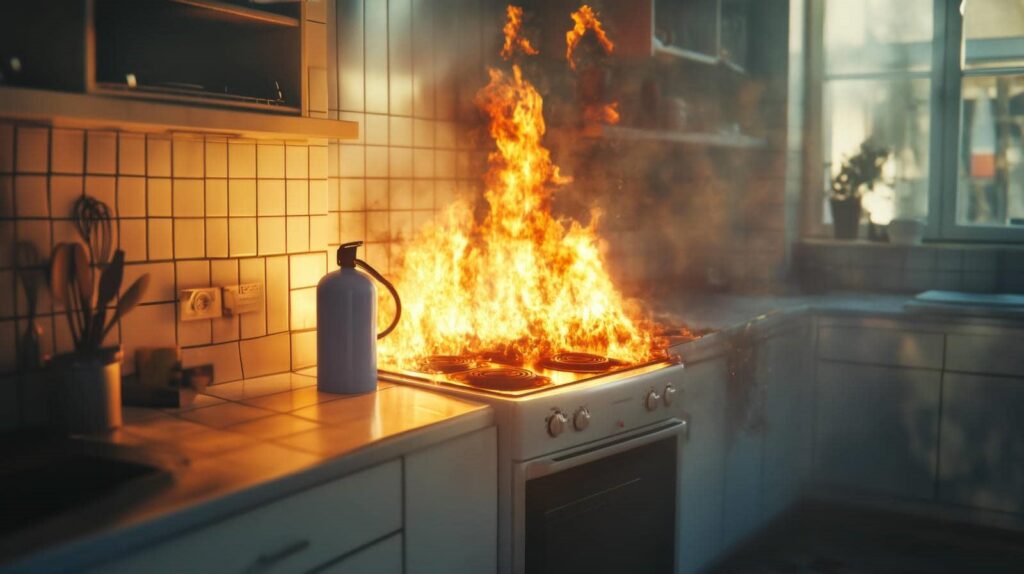
Water damage can be like a silent thief, stealthily inviting mold into your space. To combat this, you must first assess the mold remediation damage and pinpoint moisture sources. Safety is paramount, so gear up and ventilate. Removing affected materials is essential, but that’s just the beginning. Effective mold removal techniques are needed, alongside future preventative measures. What steps will you take to guarantee your environment remains safe and mold-free?
Key Takeaways
- Assess the extent of water damage and identify moisture sources to inform your remediation strategy.
- Ensure proper safety measures by wearing PPE and sealing off affected areas to prevent mold spread.
- Remove all contaminated porous materials, sealing them in plastic bags before disposal to comply with regulations.
- Use effective mold removal techniques, opting for professional help for extensive infestations, while ensuring proper ventilation.
- Implement preventative measures, such as using mold-resistant materials and maintaining good ventilation to mitigate future mold growth.
Assess the Extent of Water Damage
Before you can effectively tackle mold remediation, you need to assess the extent of water damage in your space. Start with water source identification; pinpoint where the moisture originated, whether from a leaky roof, burst pipes, or flooding. This step is essential, as it informs your remediation strategy and helps prevent future issues.
Next, conduct a thorough damage evaluation. Inspect walls, ceilings, and floors for signs of water intrusion or discoloration.
Pay close attention to areas that might be hidden, such as behind appliances or under carpets. Use moisture meters to measure dampness levels, ensuring you understand the full scope of the damage.
Ensure Proper Safety Measures
When tackling mold remediation, it’s vital to prioritize safety measures to protect yourself and others in the affected area.
Start by donning appropriate personal protective equipment (PPE), including gloves, goggles, and an N95 respirator, to minimize exposure to mold spores.
Verify the workspace is well-ventilated; open windows and use fans to reduce airborne contaminants.
Adopt safe work practices by sealing off the area to prevent mold spores from spreading to unaffected spaces.
Use plastic sheeting to contain the work zone effectively.
Keep your tools clean and disinfected to avoid cross-contamination.
Regularly check your PPE for damage and replace it as needed.
Remove Affected Materials
Once you’ve secured a safe working environment, it’s time to remove affected materials.
Begin with a thorough mold assessment to identify all items contaminated by water and mold. This includes drywall, insulation, carpets, and furniture. For porous materials, like carpets and drywall, it’s often necessary to dispose of them entirely, as they can harbor mold spores.
When disposing of these materials, make sure you follow local regulations for hazardous waste and conduct proper material disposal. Seal all contaminated items in plastic bags before removing them from your premises to prevent spreading mold spores.
Document the removal process for insurance purposes, and take photos to support your claims.
Working methodically not only helps you maintain control but also guarantees that you’re creating a mold-free environment for your home. This step is essential for restoring safety and comfort, so don’t rush it.
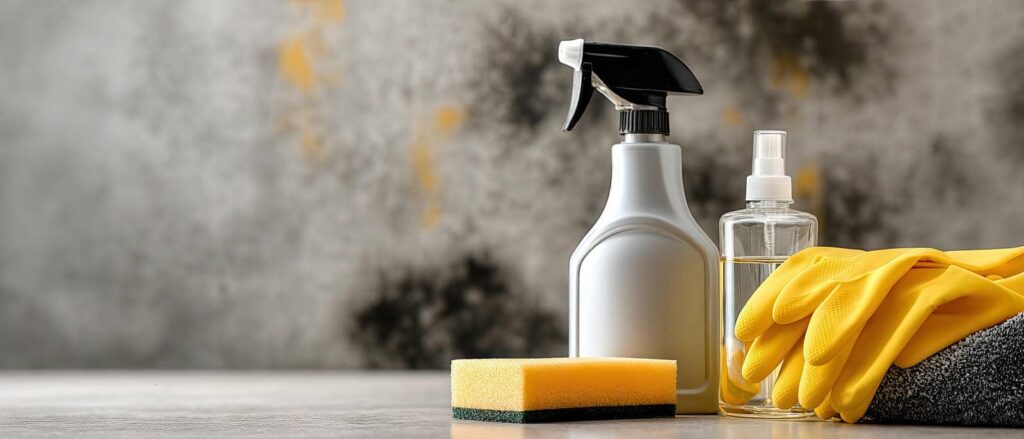
Use Effective Mold Removal Techniques
As you tackle mold removal, employing effective techniques is crucial for achieving lasting results.
Begin by evaluating the extent of the mold growth and determining whether you can manage it with DIY techniques or if you should seek professional services. For small areas, use a mixture of water and detergent or a specialized mold cleaner, scrubbing surfaces thoroughly. Make sure you’re wearing protective gear, including gloves and a mask, to avoid inhaling spores.
For larger infestations, engaging professional services is often the safest route. They possess the necessary equipment and expertise to eliminate mold effectively, minimizing the risk of recurrence.
Always make sure proper ventilation during the process, as it helps reduce moisture levels that contribute to mold growth.
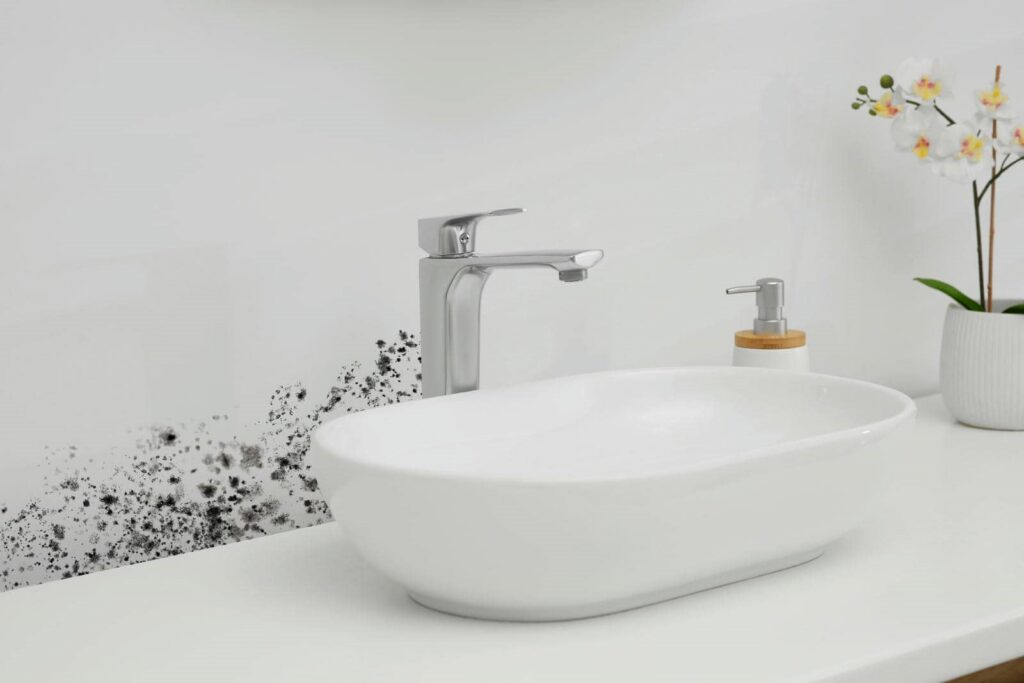
Implement Preventative Measures for the Future
To prevent mold growth in the future, it’s essential to control moisture levels within your home.
Start by using mold resistant materials during renovations, such as drywall and paint specifically designed to resist moisture. This proactive choice can greatly reduce the likelihood of mold developing in vulnerable areas.
Additionally, implement a regular inspection routine for areas prone to dampness, such as basements, bathrooms, and kitchens.
Look for signs of leaks or water damage, and address them immediately to prevent mold spores from taking hold.
Make sure your home is well-ventilated, especially in high-humidity areas.
Utilize exhaust fans and dehumidifiers to keep moisture at bay.
By taking these measures, not only will you create a healthier living environment, but you’ll also foster a sense of security and community among those who share your space.
Together, you can maintain a mold-free home.
Frequently Asked Questions
How Long Does It Take for Mold to Start Growing After Water Damage?
Mold can start growing within 24 to 48 hours after water damage, depending on factors like humidity, temperature, and material type. Understanding this mold growth timeline helps you take timely action to prevent further issues.
Can I Use Bleach to Kill Mold Effectively?
Using bleach to kill mold isn’t always effective; it only works on certain mold types. It can mask the issue instead of eliminating it, so you might want to think about more thorough solutions for lasting results.
What Are the Health Risks Associated With Mold Exposure?
Mold exposure can lead to mold allergies, causing symptoms like sneezing and skin irritation. It can also trigger respiratory issues, including asthma and chronic bronchitis, particularly in sensitive individuals. Protect yourself by managing mold effectively.
Should I Hire a Professional for Mold Remediation?
When it comes to mold removal, you’re better off letting professionals handle it. Their expertise guarantees thorough remediation, reducing health risks and preventing future issues. It’s worth it to leave this one to the experts.
How Often Should I Check for Mold After Water Damage?
You should conduct mold inspections regularly, ideally every few weeks post-water damage. Consistent water damage assessments help detect mold growth early, ensuring a safe environment and preventing further complications from prolonged exposure. Stay vigilant!
Summary
Tackling mold after water damage isn’t just important; it’s essential for your health and home. By carefully evaluating the damage, ensuring safety, removing affected materials, employing effective removal techniques, and implementing preventative measures, you can fend off a mold invasion that feels like a relentless army. Don’t underestimate the impact of mold; act quickly and decisively to protect your environment and well-being. Your diligence today can save you from a future of headaches tomorrow.