Contents
Sewage cleanup can be more manageable than you think, even on a tight budget. Many people overlook the importance of quick assessment and documentation, which are essential for insurance claims. Knowing where to start and what supplies to gather can save you time and money. From protective gear to DIY solutions, effective strategies exist. Let’s explore how to tackle this unpleasant task without breaking the bank.
Key Takeaways
- Use household items like baking soda and vinegar for odor neutralization and surface cleaning instead of costly commercial products.
- Create a DIY disinfectant solution by mixing bleach with water for effective sanitation of affected areas.
- Gather old towels or rags for liquid absorption, reducing the need for expensive absorbent materials.
- Monitor moisture levels with a hygrometer to prevent mold growth and avoid costly remediation later.
- Engage your community to share resources and knowledge on preventative measures and maintenance for plumbing systems.
Assess the Damage Quickly
How can you effectively assess the damage after a sewage backup? Start with a quick evaluation of the affected areas. Look for signs like discoloration on walls or floors, odors, and any visible sewage.
Use a flashlight to inspect hidden corners and behind appliances, as damage can often be concealed.
Next, take notes and photographs of all impacted areas; this documentation will be crucial for insurance claims and future reference. Pay particular attention to flooring, walls, and personal items that may need disposal due to contamination.
Estimate the extent of the damage and categorize it as minor, moderate, or severe. This damage assessment will help you prioritize your cleanup efforts and determine if professional assistance is necessary.
Gather Essential Cleanup Supplies
Before diving into the cleanup process, it’s crucial to gather the right supplies to guarantee a safe and effective response to sewage damage. Start by collecting necessary cleaning products like disinfectants, detergents, and absorbent materials. These will help neutralize harmful bacteria and eliminate odors.
Next, don’t forget your safety equipment. You’ll need gloves, masks, and goggles to protect yourself while handling contaminated materials. Consider wearing waterproof boots to keep your feet dry and safe from exposure.
Having buckets or bins on hand will make it easier to dispose of any waste you collect.
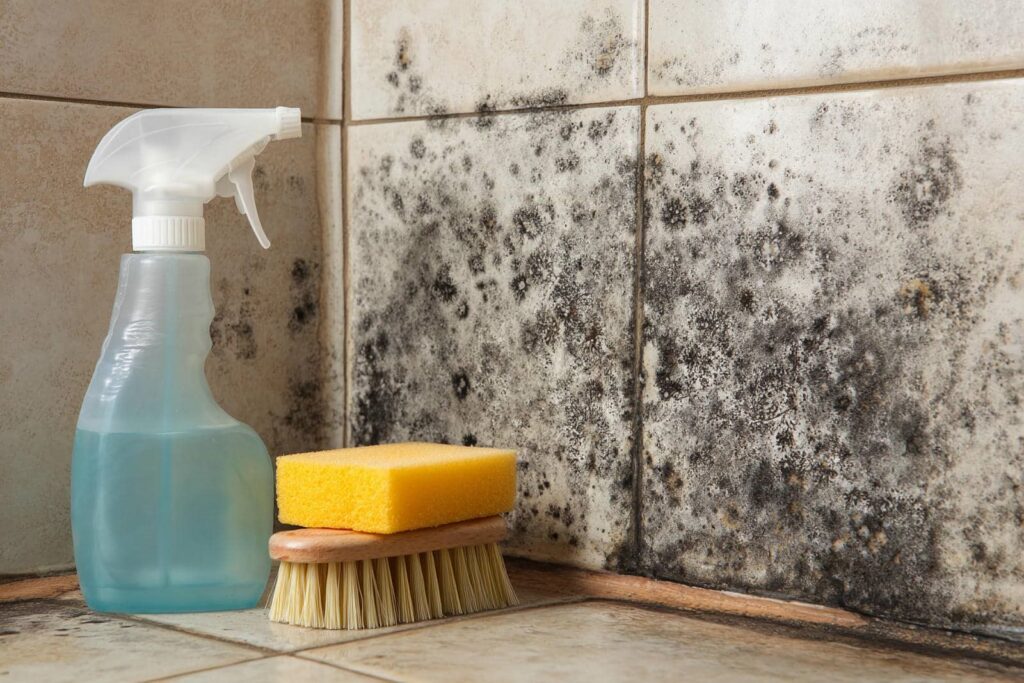
Utilize Household Items for Initial Cleanup
While professional cleanup services can be costly, you can effectively utilize household items for the initial stages of sewage cleanup.
Start by gathering basic household cleaners, like bleach and vinegar, which are powerful against bacteria and odors. Mix one cup of bleach with a gallon of water to create a disinfectant solution. Use this to wipe down surfaces and sanitize affected areas.
For absorbing liquids, grab old towels or rags—you’d be surprised how effective they can be. If you have baking soda on hand, sprinkle it over damp areas to neutralize odors.
Additionally, a DIY solution of dish soap and warm water can help break down grime.
These household items not only save you money but also allow you to take charge of the situation. By using what you already have, you’ll feel empowered and connected to your space, promoting a sense of belonging.
Wear Protective Gear
Protecting yourself during sewage cleanup is essential for your health and safety. Following proper safety protocols guarantees you’re shielded from harmful contaminants.
Choosing the right gear types can make a significant difference in your protection. Here are four essential items you should wear:
Gloves: Use thick, rubber gloves to prevent skin contact with sewage.
Mask: A respirator mask filters out harmful bacteria and odors, protecting your lungs.
Goggles: Protective eyewear keeps sewage and debris from irritating your eyes.
Boots: Waterproof boots protect your feet from exposure to contaminated water.
Use a Wet/Dry Vacuum
A wet/dry vacuum is an invaluable tool for efficiently removing sewage and contaminated water from your space. Its ability to handle both wet and dry debris makes it ideal for tough cleanup jobs.
One of the significant wet/dry vacuum benefits is its powerful suction, which enables you to tackle large volumes of liquid quickly, saving you time and effort.
To maximize its effectiveness, it’s crucial to follow vacuum maintenance tips. Regularly check and clean the filters to guarantee peak performance, and empty the tank frequently to prevent clogs.
After use, inspect the hoses for any damage and clean them to prevent bacteria growth.
Disinfect Affected Areas
After you’ve removed the sewage, it’s essential to disinfect the affected areas to eliminate harmful pathogens.
You’ll want to choose effective disinfectants, such as bleach or hydrogen peroxide, and apply them safely to guarantee thorough coverage.
Understanding the right application techniques will help you avoid potential hazards while effectively sanitizing your space.
Essential Disinfectant Choices
When dealing with sewage cleanup, selecting the right disinfectants is essential to effectively eliminate harmful pathogens.
You want to guarantee both safety and effectiveness, so consider these options:
Bleach: A powerful disinfectant that kills most pathogens but requires careful handling due to its chemical nature.
Hydrogen Peroxide: An eco-friendly option that’s less harsh than bleach, making it safer for various surfaces.
Vinegar: A natural disinfectant that’s effective against some bacteria and viruses, perfect for light cleaning tasks.
Commercial Bio-Cleaners: Formulated specifically for sewage, these often feature eco-friendly options and adhere to chemical safety standards.
Choose wisely to protect your health and the environment while guaranteeing a thorough cleanup.
Safe Application Techniques
Selecting the right disinfectants is just the first step in effectively managing sewage cleanup; applying them safely is equally important. You should always prioritize safe chemical handling to protect yourself and others.
Begin by wearing appropriate personal protective equipment, including gloves and masks. When preparing your disinfectant solution, verify you’re following the proper dilution ratios specified on the label. This not only maximizes the effectiveness of the disinfectant but also minimizes harmful chemical exposure.
Apply the solution using a spray bottle or mop, making sure to cover all affected areas thoroughly. Allow the disinfectant to sit for the recommended time before wiping or rinsing.
Dry Out the Space Efficiently
To effectively dry out the affected space, you should utilize fans and dehumidifiers to enhance air circulation and reduce humidity levels.
Opening windows will also promote airflow, aiding the drying process.
Implementing these methods will help prevent mold growth and further damage.
Utilize Fans and Dehumidifiers
Utilizing fans and dehumidifiers is crucial for efficiently drying out a space after a sewage cleanup. Proper fan placement and dehumidifier settings can greatly reduce moisture levels, preventing mold growth and further damage.
Here are some tips to enhance your drying process:
Place fans strategically to create airflow across wet surfaces, directing air toward damp areas.
Set your dehumidifier to a low setting to maintain ideal humidity levels (around 30-50%).
Run fans continuously until the area feels dry, usually for several days.
Monitor moisture levels regularly using a hygrometer to guarantee complete dryness.
Open Windows for Airflow
Opening windows can greatly enhance airflow, complementing the efforts of fans and dehumidifiers in drying out a space after sewage cleanup.
When you open windows, you create natural ventilation, which considerably improves air quality by allowing fresh air to circulate and replace stale, contaminated air. This process not only helps in reducing odors but also promotes a healthier environment by decreasing the risk of mold growth.
Additionally, the ventilation benefits of open windows can expedite the drying process, making it more efficient. Make sure that you monitor outdoor conditions to maximize effectiveness; a breezy day can work in your favor.
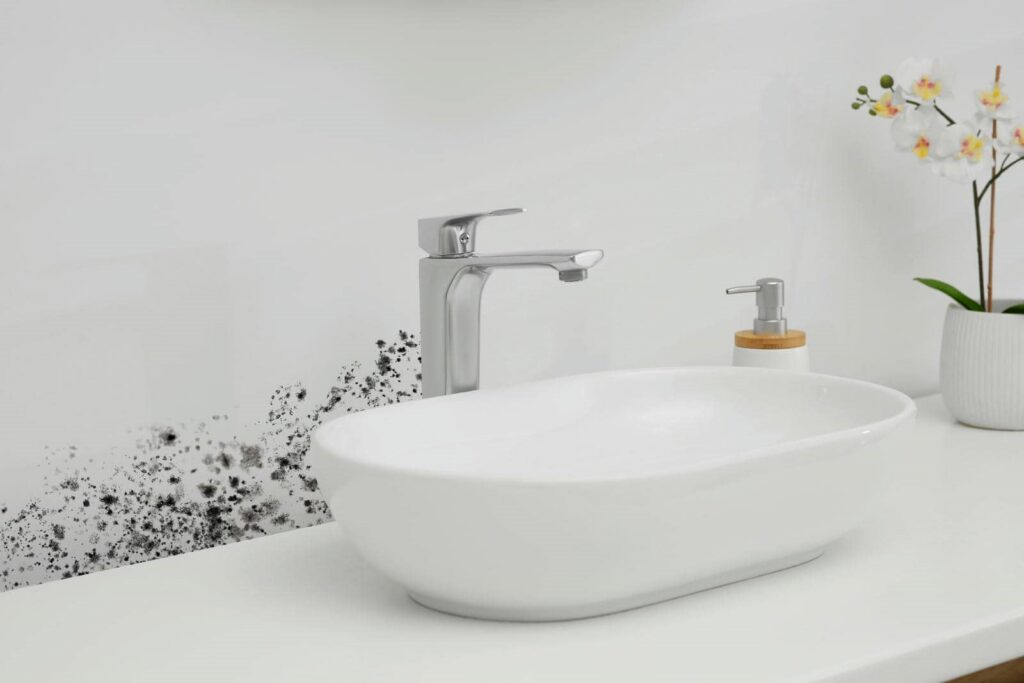
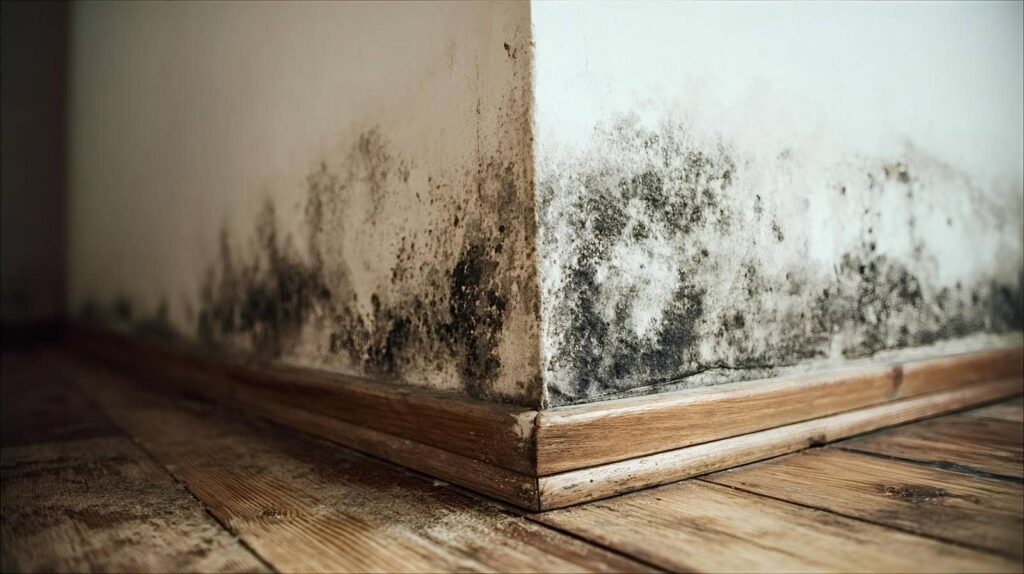
Check for Mold Growth
Since mold can start growing within 24 to 48 hours after a sewage leak, it’s important to check for its presence as soon as possible.
You’ll want to utilize effective mold identification techniques to guarantee your home remains safe. Here are some steps to guide you:
Visual Inspection: Look for dark spots or discoloration on walls, ceilings, and floors.
Odor Detection: Pay attention to musty odors, which often indicate mold growth in hidden areas.
Moisture Checks: Use a moisture meter to identify damp spots that could harbor mold.
Air Quality Testing: Consider using mold testing kits to detect airborne spores.
Implementing mold prevention strategies, like maintaining low humidity and proper ventilation, can help protect your home.
Regular checks and prompt action can foster a healthier environment for you and your loved ones.
Contact Your Insurance Provider
After addressing any mold concerns, the next step involves contacting your insurance provider.
It’s essential to understand your insurance coverage regarding sewage cleanup. Reach out to them as soon as possible to discuss the specifics of your situation. They’ll guide you through the claim process, helping you gather necessary documentation like photos and repair estimates.
Be prepared to explain the extent of the damage and any immediate actions you’ve taken. This information can greatly impact your coverage and the speed of your claim. Your provider may require you to fill out forms or provide additional details, so keep organized records.
Stay persistent and follow up regularly; this guarantees your claim stays on track. Engaging with your insurance provider promptly not only helps alleviate financial burdens but also reinforces your connection to a community that understands the challenges of homeownership.
Learn Preventative Measures for the Future
To prevent sewage issues in the future, you should prioritize regular maintenance checks of your plumbing systems.
Ensuring proper waste disposal habits can also greatly reduce the risk of blockages and backups.
Regular Maintenance Checks
While you may not always think about your plumbing system, conducting regular maintenance checks can greatly reduce the risk of sewage issues in the future.
By implementing preventive inspections and routine assessments, you can guarantee your system remains in top condition. Here are four key actions to take into account:
Inspect for leaks: Regularly check pipes and connections for signs of dripping or water accumulation.
Clean drains: Keep drains free of debris and buildup to prevent clogs.
Test sump pumps: Confirm your sump pump functions properly to handle excess water.
Check sewer lines: Schedule professional inspections to identify potential blockages early.
Proper Waste Disposal
Proper waste disposal is essential for preventing sewage problems, as improper practices can lead to blockages and backups in your plumbing system.
To maintain an efficient waste management system, start with waste segregation; separating organic waste from recyclables and non-recyclables can greatly reduce the strain on your plumbing.
Implement effective recycling practices to guarantee that materials are reused rather than discarded improperly. For instance, avoid flushing items like wipes or hygiene products, which can cause major plumbing issues.
By committing to these methods, you contribute to a cleaner environment while protecting your home from sewage-related troubles.
Together, we can foster a community that values responsible waste disposal and works towards preventing future plumbing disasters.
Frequently Asked Questions
How Can I Prevent Sewage Backups in the Future?
To prevent sewage backups, prioritize preventive maintenance and schedule regular inspections of your plumbing system. Staying proactive helps identify potential issues early, ensuring your home remains safe and functional for you and your loved ones.
What Should I Do if I Experience Sewage Exposure?
If you experience sewage exposure, prioritize safety. Remove yourself from the area, wash your skin, and monitor for exposure symptoms like nausea or dizziness. Seek medical help if symptoms persist, ensuring you stay safe and informed.
Are There Specific Chemicals to Avoid During Cleanup?
You should avoid harsh cleaning agents like bleach and ammonia during cleanup, as they can create dangerous chemical hazards. Opt for safer alternatives that effectively eliminate bacteria without posing additional health risks to you or others.
How Long Does It Take for Sewage to Dry Completely?
Sewage can feel like a stubborn stain, taking anywhere from a few hours to several days to dry completely. Factors like humidity, ventilation, and sewage drying methods greatly influence the drying time you’ll experience.
Can Pets Safely Return to the Area After Cleanup?
After cleanup, wait until the area’s thoroughly dried and sanitized, ensuring all cleanup protocols are followed. You should verify that no harmful residues remain before letting your pets safely return to the space.
Recap
By following these budget-friendly tips, you can transform a chaotic sewage cleanup into a manageable task. Picture yourself standing in a once-drenched room, now dry and fresh, with the lingering odors replaced by a clean scent. Armed with essential supplies and a proactive mindset, you’re not just fixing the problem; you’re fortifying your space against future mishaps. Remember, regular maintenance and community knowledge are your allies in keeping your home safe and sound.