Contents
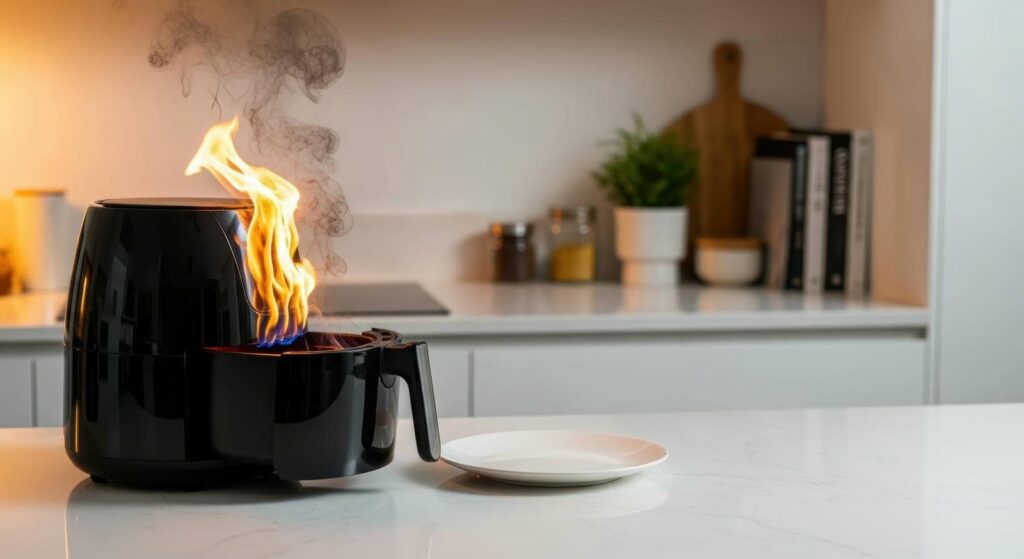
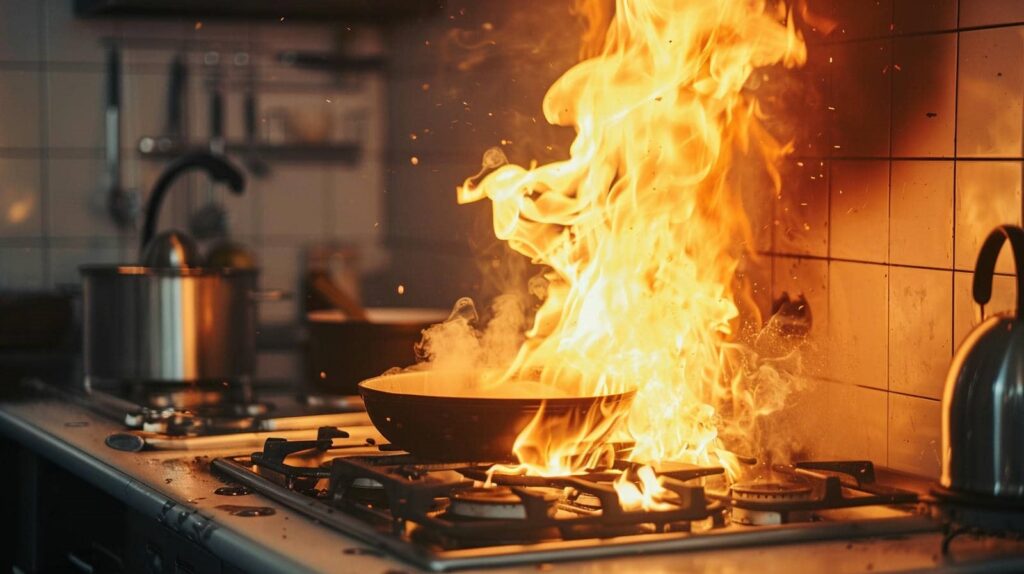
Just like a phoenix rising from the ashes, your property can recover after a fire. But the cleanup process requires a systematic approach to guarantee nothing is overlooked. Start by evaluating the damage and prioritizing safety. It’s essential to contact your insurance provider next. What comes after that? Each step plays an important role in restoring your space and preventing future incidents, and the details matter more than you might think.
Key Takeaways
- Assess and document all visible and hidden damage to inform cleanup and insurance claims.
- Ensure safety by evaluating structural integrity and wearing protective gear during the cleanup process.
- Remove debris and clean affected areas while distinguishing between salvageable items and trash.
- Address smoke odor and water damage through ventilation, extraction, and specialized cleaning products.
- Conduct a thorough final inspection to confirm repairs, safety, and odor removal before leaving the site.
Assess the Fire Damage
When it comes to evaluating fire damage, the first step is to carefully appraise the extent of the destruction.
Start your fire assessment by documenting visible damage, including charred materials and smoke stains. Use a notepad or voice recorder to capture details that can assist in the damage evaluation process later. Pay attention to structural elements like beams and walls, as they may require professional inspection for safety.
Next, assess the affected areas for hidden damage, such as water from firefighting efforts or potential mold growth.
This thorough approach guarantees you don’t overlook anything critical.
Ensure Safety Precautions
Before you start the cleanup, make certain to assess the structural integrity of the building to identify any hazards.
Don’t underestimate the importance of wearing protective gear, as it shields you from harmful debris and toxins.
Prioritizing safety is essential to guarantee a successful and secure restoration process.
Assess Structural Integrity
As you begin the fire damage cleanup process, evaluating the structural integrity of the building is essential to confirm your safety and that of anyone involved in the restoration.
A thorough structural assessment and safety evaluation will help identify potential hazards. Here are some steps to take into account:
- Inspect load-bearing walls for damage.
- Check the roof for sagging or collapse.
- Look for cracks in the foundation.
- Assess the stability of staircases and balconies.
- Verify electrical and plumbing systems are intact.
Use Protective Gear
After confirming the structural integrity of the building, the next step in the fire damage cleanup process involves prioritizing safety through proper protective gear.
You’ll want to equip yourself with high-quality protective clothing, including gloves, goggles, and masks, to shield against harmful residues and airborne toxins. Safety equipment like hard hats and steel-toed boots can protect you from potential hazards during the cleanup.
Always verify your gear fits properly and is in good condition, as this directly impacts your safety. By taking these precautions, you not only protect yourself but also set a standard for others involved in the cleanup.
Contact Insurance Provider
After a fire incident, it’s essential to notify your insurance provider immediately.
This prompt communication helps you understand your coverage and limits, ensuring you know what to expect during the claims process.
Notify Immediately After Incident
Once the flames have been extinguished and it’s safe to assess the damage, contacting your insurance provider should be your top priority. An immediate response is essential for a smooth recovery process.
Here’s what you need to do:
Notify the fire department if they haven’t been informed yet.
Gather all necessary documentation, including photos of the damage.
Make a detailed list of affected items and their estimated values.
Report any injuries or evacuations that occurred during the incident.
Ask your insurance provider about the next steps in the claims process.
Taking these steps right away can greatly impact your recovery journey.
Understand Coverage and Limits
Understanding your insurance coverage and limits is essential for effectively maneuvering the aftermath of fire damage. Start by reviewing your insurance policy to identify the specific coverage options available to you. This includes dwelling coverage, personal property protection, and additional living expenses.
Make a list of damaged items and take photographs, as this will help substantiate your claim. Don’t hesitate to contact your insurance provider for clarification on what’s covered and the limits of your policy. They can guide you through the claims process, ensuring you understand any deductibles or timeframes involved.
Being informed will empower you to make decisions that align with your financial recovery, fostering peace of mind during this challenging time.
Remove Debris and Salvageable Items
Begin by carefully evaluating the area affected by the fire to identify debris and any items that may be salvageable. This step is essential for effective debris removal and conducting a thorough salvage evaluation.
Start by documenting everything, taking notes or photos to help with insurance claims later.
When analyzing the space, consider these key points:
Safety First: Wear protective gear to avoid injuries from sharp or toxic materials.
Identify Salvageable Items: Look for items that are intact and can be cleaned or repaired.
Separate Debris: Create distinct piles for trash and salvageable belongings.
Check for Hazards: Be aware of structural damage or hazardous materials.
Dispose Responsibly: Follow local guidelines for disposing of debris and damaged items.
Ventilate the Area
To effectively ventilate the area after a fire, start by opening all windows and doors to promote air circulation.
This step helps remove lingering smoke and odors, improving air quality.
Additionally, using fans can further expedite the process, directing fresh air into the space while pushing out contaminants.
Open Windows and Doors
Ventilating the area is essential after a fire, and opening windows and doors is one of the simplest yet most effective steps you can take. This action promotes air circulation, which helps to dissipate smoke and odors, enhancing fire safety in your environment.
Here are a few tips to keep in mind:
Open windows and doors on opposite sides for cross-ventilation.
Make certain that you’re wearing a mask to avoid inhaling any remaining particles.
Check for structural damage before entering and opening windows.
Monitor weather conditions to prevent rain or wind from worsening the situation.
Keep doors open to allow for continuous airflow throughout the space.
Use Fans Effectively
After opening windows and doors to encourage airflow, using fans can greatly enhance the ventilation process.
Proper fan placement is essential; position them near the windows, facing outward, to expel smoke and odors effectively. This creates a strong airflow direction that pulls fresh air in while pushing contaminated air out.
You might also place smaller fans strategically around the affected areas to circulate air and reach spots that larger fans can’t. Keep an eye on the airflow; adjust the fans as needed to optimize circulation.
Remember, good ventilation not only helps in removing lingering smells but also aids in drying out moisture from firefighting efforts.
Clean Surfaces and Structures
Once the fire has been extinguished, the next critical step involves cleaning surfaces and structures to prevent further damage and restore your space.
It’s vital to use effective cleaning techniques and appropriate surface treatments to tackle soot, ash, and debris. Here’s how to approach this task methodically:
Assess the Damage: Identify affected areas and materials.
Gather Supplies: Use brushes, sponges, and specialized cleaners.
Test Surfaces: Start with a small area to check for adverse reactions.
Apply Cleaning Techniques: Use a combination of wiping, scrubbing, and vacuuming to remove residues.
Seal and Protect: Once clean, consider applying protective coatings to prevent future issues.
Taking these steps helps guarantee that your space isn’t only clean but also safe and ready for recovery.
Address Smoke Odor Removal
Although cleaning surfaces is essential, addressing smoke odor removal is equally crucial for restoring your space after a fire. Smoke can infiltrate materials, leaving behind persistent odors that can affect your comfort and sense of belonging.
Start by ventilating the area; open windows and use fans to promote airflow. Next, focus on odor absorption techniques. Baking soda is an effective natural remedy—sprinkle it on carpets and upholstery, let it sit, then vacuum. For hard surfaces, consider commercial scent neutralization products designed specifically for smoke odors.
Don’t overlook fabrics; curtains, clothing, and cushions can trap scents. A thorough wash or professional cleaning can work wonders.
Finally, using an ozone generator or air purifier can help eliminate lingering odors, ensuring your space feels fresh and welcoming again. By methodically addressing smoke odor removal, you’ll create a healthier environment you can truly call home.
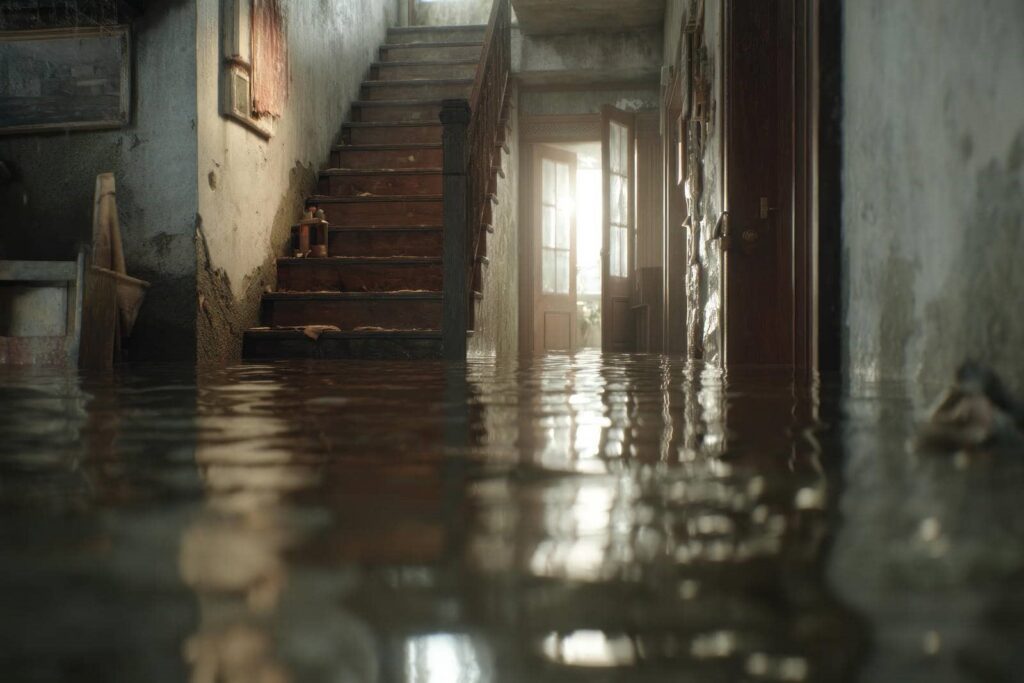
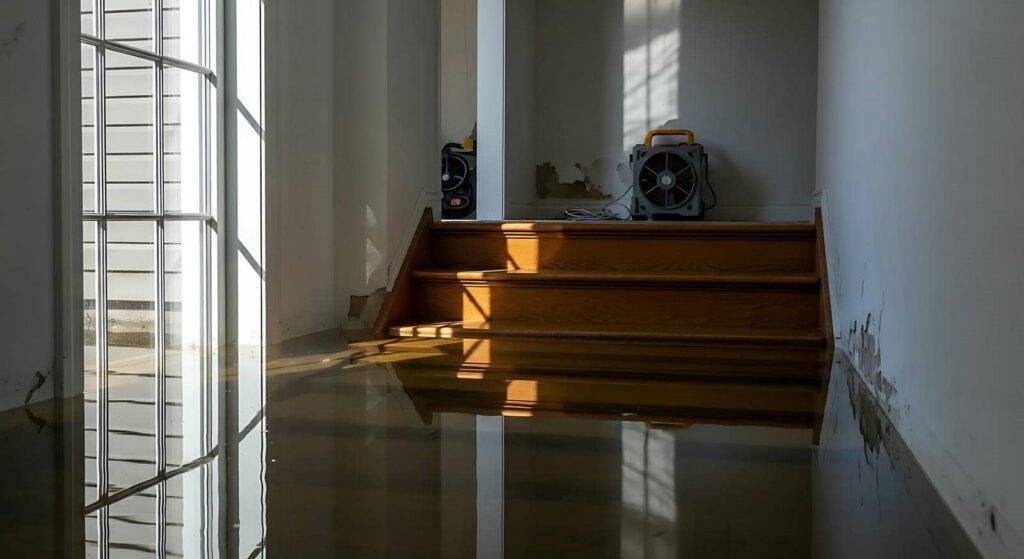
Water Damage Mitigation
When facing water damage, acting quickly can greatly reduce the impact on your property.
Start by prioritizing water extraction to minimize further damage. Here’s a methodical approach to help you through the process:
Assess the situation: Identify the source of the water and the extent of the damage.
Shut off utilities: Verify safety by turning off electricity and gas if necessary.
Begin water extraction: Use pumps and wet vacs to remove standing water efficiently.
Implement moisture control: Use dehumidifiers and fans to dry out affected areas thoroughly.
Document damage: Take photos for insurance claims and future reference.
Restore and Repair Affected Areas
After addressing the immediate concerns of water damage, it’s time to focus on restoring and repairing the affected areas of your property.
Start by evaluating the condition of your furniture. You may be able to restore furniture through cleaning, refinishing, or reupholstering, depending on the extent of the damage. Prioritize items with sentimental value, as they can often be salvaged with care.
Next, turn your attention to the drywall. Inspect for any signs of water damage or structural compromise. If necessary, you’ll need to repair drywall by cutting out damaged sections, replacing them, and applying a fresh coat of paint to match the surrounding areas.
Make sure that you follow safety protocols throughout this process. By taking these steps, you’ll not only restore the aesthetics of your home but also create a safe and welcoming environment that truly feels like yours again.
Final Inspection and Prevention Measures
Once you’ve completed the restoration and repair process, conducting a thorough final inspection is essential to confirm every aspect of your property is safe and up to standard.
This final walkthrough allows you to identify any lingering issues and verify everything meets your expectations.
During your inspection, focus on the following areas:
Structural integrity: Check for any signs of damage that may have been overlooked.
Smoke odor elimination: Confirm that all traces of smoke are completely removed.
Electrical systems: Verify that all wiring and outlets are functioning properly.
HVAC systems: Inspect ducts and filters for contamination from soot or smoke.
Preventative maintenance: Establish a plan for regular checks to avoid future hazards.
Frequently Asked Questions
How Long Does the Fire Damage Cleanup Process Typically Take?
Fire damage cleanup timelines usually vary, but you can expect the process to take days to weeks, depending on the extent of the damage. Staying organized and following a methodical approach can help shorten the cleanup duration.
Can I Handle Fire Damage Cleanup Myself?
You can handle fire damage cleanup yourself, but it’s essential to prioritize safety precautions. DIY cleanup requires proper gear and knowledge of hazardous materials. Assess the damage thoroughly before deciding if you need professional assistance.
What Costs Are Associated With Fire Damage Restoration?
Imagine a puzzle missing pieces; that’s your space post-fire. Restoration expenses can pile up quickly, especially if you’re filing insurance claims. You’ll need to cover repairs, cleaning, and materials to restore your home fully.
Will My Belongings Be Covered by Insurance?
Your belongings might be covered by your insurance policy, but it depends on your coverage limits. Review your policy details closely to understand what’s included and consult your agent for specific guidance on claims.
How Can I Prevent Future Fire Hazards?
To prevent future fire hazards, guarantee smoke alarms work and replace batteries regularly. Practice fire safety by keeping flammable materials away from heat sources and creating an emergency escape plan for everyone in your home.
Recap
As you stand amid the remnants of chaos, the scent of charred wood and lingering smoke fills the air, reminding you of the battle fought. By following these ten steps, you transform devastation into renewal, restoring not just your property but your peace of mind. Each careful action removing debris, repairing structures brings you closer to reclaiming your space. With vigilance and preparation, you can safeguard against future threats, ensuring your home remains a sanctuary of safety and warmth.